Buy with this product
 set of 10 PCs")
")
")
5421 bought
ID: 3678
")
")
")
")
80 MDL
-33%


")


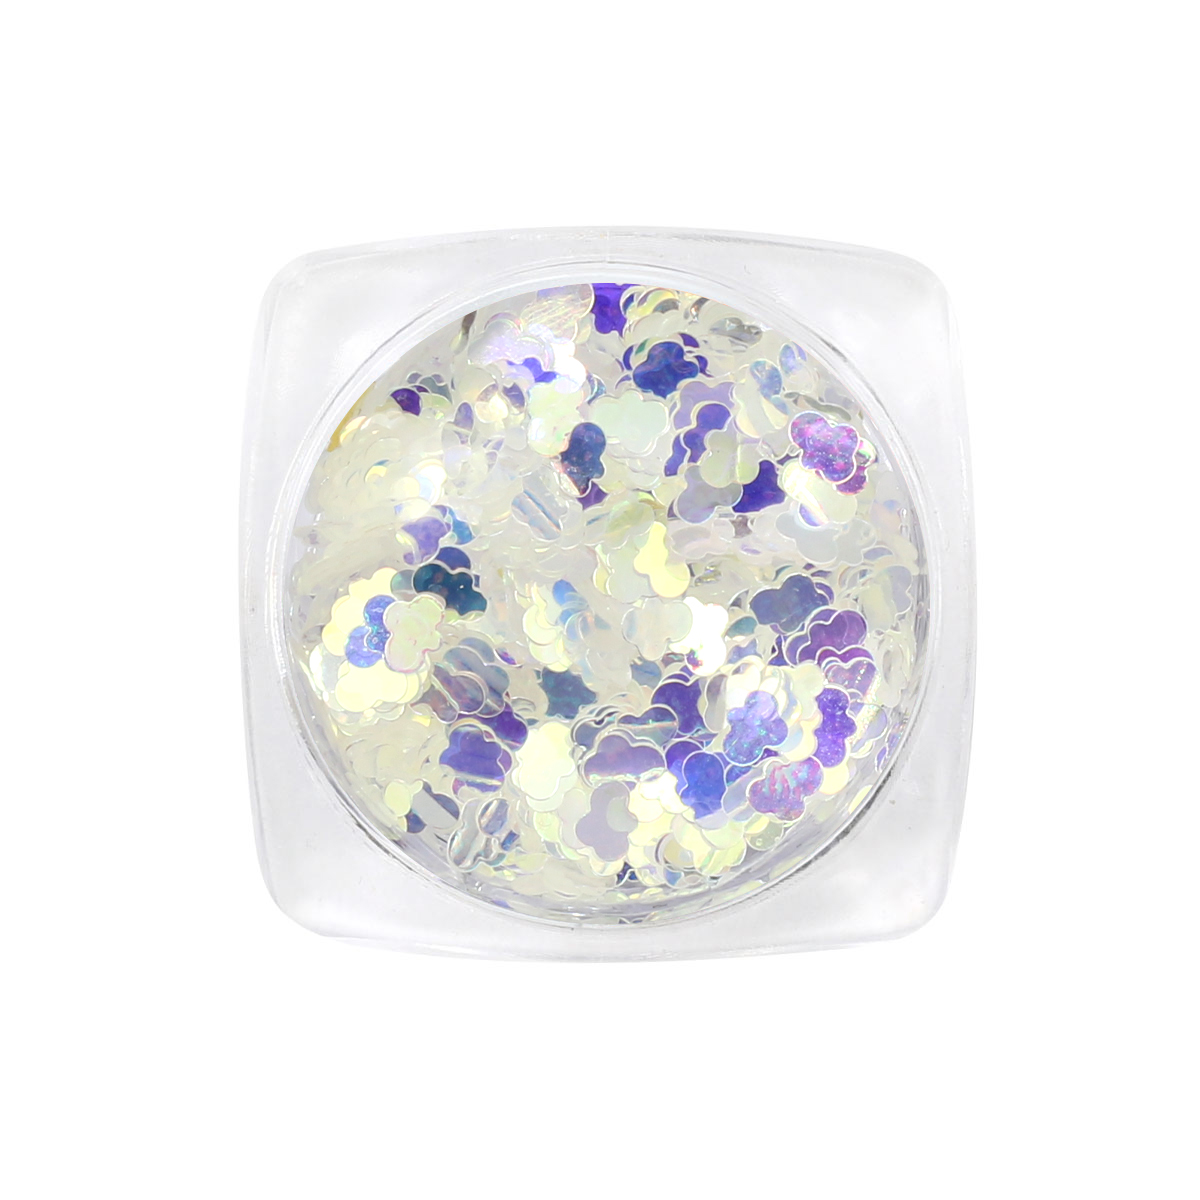
Decor for Nails: How to Achieve the Broken Glass and Cloud Look

If you're into nail art, you're probably always looking for new and interesting ways to decorate your nails. Two popular trends of late are the broken glass and cloud looks. While they may seem complicated, with the right tools and techniques, anyone can achieve these unique styles.

Broken Glass Nails

To achieve the broken glass look, you'll need a few supplies. Firstly, you'll need a base coat of nail polish. Then, you'll need some iridescent cellophane or foil. You can usually find these at a craft store or online. Using scissors, cut the cellophane or foil into small, irregular shapes - these will be your "broken glass" pieces.

Next, apply a second coat of nail polish, but do not let it dry completely. While it's still wet, carefully lay your "broken glass" pieces onto your nail, making sure to spread them out evenly. Press down gently to ensure they stick to your nail. Once you're satisfied with the placement, let your nails dry completely before applying a top coat. This will help lock the "broken glass" in place and give your nails a glossy finish.

Cloud Nails

For a cloud look, you'll need a pale blue or white base coat, as well as a makeup sponge and a darker blue or gray nail polish. After applying your base coat, let it dry completely. Then, dab a bit of the darker polish onto your makeup sponge and lightly press it onto your nail in random spots. Make sure to blend the color so it looks like a cloud formation.

Repeat this process until your nails look like clouds in the sky. Let the polish dry before applying a top coat.

Decor in a Container

Another way to achieve unique nail décor is by using a container. Simply add some decorative elements into the container that coordinate with the color of your nail polish. Then, cover the container with a lid and shake it up. This will disperse the decorations randomly.

With a pair of tweezers, remove the décor and place it onto your still-wet nail polish. Once the decorations are in place, let your nails dry completely before applying a top coat.

In conclusion, nail art doesn't have to be complicated or expensive. With a few simple tools and techniques, you can create unique and beautiful nails at home. Give the broken glass, cloud, or décor in a container trends a try and see what works best for you!
5421 bought
ID: 3678
80 MDL
-33%


1773 bought
ID: 3642
")
")
")
130 MDL
1560 bought
ID: 3650
, Ultrabond Global Fashion 15 ml")
, Ultrabond Global Fashion 15 ml")
, Ultrabond Global Fashion 15 ml")
, Ultrabond Global Fashion 15 ml")
, Ultrabond Global Fashion 15 ml")
45 MDL
-50%
2752 bought
ID: 3688
, 30 ml")
, 30 ml")
, 30 ml")
200 MDL
")
")
")
840 bought
ID: 2003


64 MDL
-20%