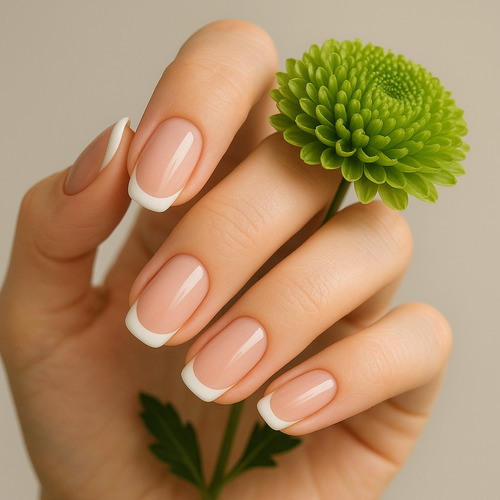
It seems that the French manicure will never go out of style. It’s the perfect choice for creating a clean, elegant, and natural look. Regardless of trends, this manicure is always popular. Learn how to do it properly in our article.
Step-by-Step French Manicure Technique
1. Removing old polish
Start by completely removing all traces of regular nail polish, gel polish, or shellac using acetone. If you had a gel or shellac manicure, soak cotton pads in acetone, place them on your nails, and wrap them in foil for 10–15 minutes. After that, gently remove the remaining polish with an orange stick or pusher.
2. Buffing the surface
After cleaning the nails, gently file them with a fine-grit nail file (recommended 180/240) or a buffer to lightly mattify the surface. This step removes the natural shine and ensures better adhesion for subsequent products.
3. Cuticle care
Soak your fingers in warm water for a few minutes or apply a special cuticle-softening oil. Carefully push back the cuticles with an orange stick or pusher, and remove excess dead skin using cuticle scissors or nippers.
4. Nail Degreasing
To completely remove dust, oil, and moisture from your nails, apply a nail degreaser to a lint-free wipe and thoroughly clean each nail. This step is extremely important: it ensures perfect adhesion of the base coat to the nail and prevents issues such as premature peeling or air bubbles.
5. Primer Application (Optional)
If your nails tend to split or sweat excessively, it is recommended to use a acid-free primer before applying the base coat. It enhances the coating’s adhesion to the nail plate and significantly extends the manicure’s longevity.
By following these steps, you will create a strong foundation for the base coat, allowing you to achieve a flawless French manicure with long-lasting wear and no imperfections.
6. Applying Base to the Entire Nail Surface
After preparing the nail, apply a thin layer of base from the professional Global Fashion Rubber Base French collection over the entire surface. This will provide not only excellent adhesion but also a natural, well-groomed look—perfect for a French manicure. Nude, light pink, or milky shades are ideal for this style.
Polymerize under the lamp according to the instructions: 60–90 seconds in an LED lamp or 2 minutes in a UV lamp. For a more opaque finish or if the nail surface is uneven, you can apply a second layer of the self-leveling base and polymerize again.
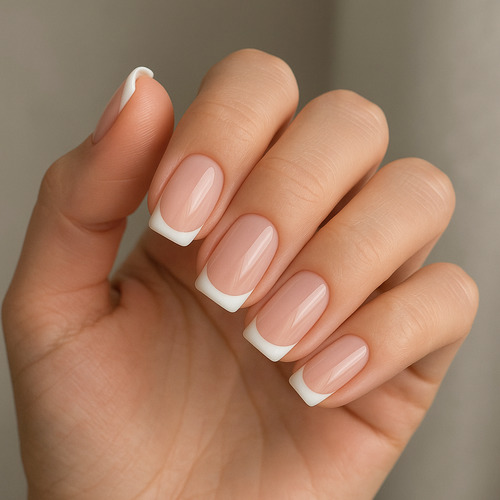
7. Creating the White Tip
Once the base is fully cured, carefully draw the white line characteristic of a French manicure. For a perfect and neat result:
- Use a fine brush and white gel paint.
- Use a fine brush and white gel paint.
* If you need a more intense white French tip, mix the gel paint with white gel stamping polish in a 2:1 ratio.
- Draw the smile line at the tip of the nail, choosing the shape according to the nail’s length and style: classic, rounded, or slightly curved.
- For greater accuracy and symmetry, it’s easier to draw the line from the center toward the edges.
Once you’ve finished painting all the tips, place the nails under the lamp and cure to set the gel paint.
8. Applying the Top Coat
Apply a single layer of top coat over the entire nail surface to securely protect the design and add shine. Be sure to seal the free edge, then cure under the lamp according to the instructions.
9. Final Step and Moisturizing
If a sticky layer remains after applying the top coat, gently remove it using a cleaner and lint-free wipes. Then apply cuticle oil and massage lightly to give your nails a well-groomed, healthy appearance.
With high-quality professional products, you can easily recreate a salon manicure effect—without any extra complicated steps or unnecessary stress.
Read also: How to Properly Care for Your Cuticles to Keep Your Nails Perfect: Top 5 Life Hacks
Read also: How to Properly Care for Your Cuticles to Keep Your Nails Perfect: Top 5 Life Hacks