Want smooth, shiny, silky hair without having to style it every day? Brazilian hair straightening can help tame unruly strands, eliminate frizz, and give your hair a mirror-like shine. This semi-permanent treatment uses a protein-based formula to smooth the hair. However, unlike Japanese hair straightening, it does not permanently alter the hair's structure or require a recovery period.
Brazilian hair straightening is typically performed in salons by stylists with specialized training and certification. But can you achieve a similar result at home? Yes, with the help of a keratin treatment and the right technique. In this article, we share expert recommendations and walk you through how to perform the treatment yourself, step by step.
Keep reading to learn more about Brazilian hair straightening and how to achieve smoother hair at home.
What Is Brazilian Hair Straightening?
Brazilian hair straightening is a salon treatment that uses professional products to smooth the hair by coating each strand with a protective layer of protein. It helps eliminate frizz and seal the hair cuticle.
How Does Brazilian Hair Straightening Work?
Brazilian hair straightening involves applying a liquid protein-based formula that coats each strand with a protective film, smooths the cuticle, and gives hair more body, softness, and shine. Results can last up to three months, depending on your hair type and texture.
The treatment is suitable for different hair types and textures, but the most noticeable results are typically seen on thick, coarse, and unruly hair. For weakened, previously colored, or chemically treated strands, a formula can be selected based on the hair's condition.
The cost of Brazilian hair straightening depends on the salon's reputation and location, as well as the length and thickness of your hair. On average, the treatment costs between 700 and 3,700 Moldovan lei. Another advantage is that you do not have to wait several days before washing your hair. With proper aftercare, results can last up to three months, according to the manufacturer.
Can You Do a Keratin or Brazilian Hair Straightening Treatment at Home?
Brazilian hair straightening is a branded salon keratin treatment performed by certified professionals. However, you can achieve a similar effect at home with specially formulated keratin products.
We recommend leaving these treatments to professionals, especially when using formulas containing harsh ingredients such as formaldehyde. If you want an authentic Brazilian straightening treatment, visit a certified stylist and discuss your desired results beforehand.
Stylists also advise against performing keratin treatments at home. You could accidentally purchase a professional-grade formula that, if used incorrectly or without adequate ventilation, may pose health risks.
If you still want to try the treatment at home, consult a specialist first. They can assess the potential risks, help you choose a suitable formaldehyde-free product, and explain how to use it correctly.
What You'll Need:
• A mixing bowl and application brush
• A mixing bowl and application brush
• Protective gloves. Chemicals can penetrate the skin and enter the bloodstream, so it's important to minimize direct contact.
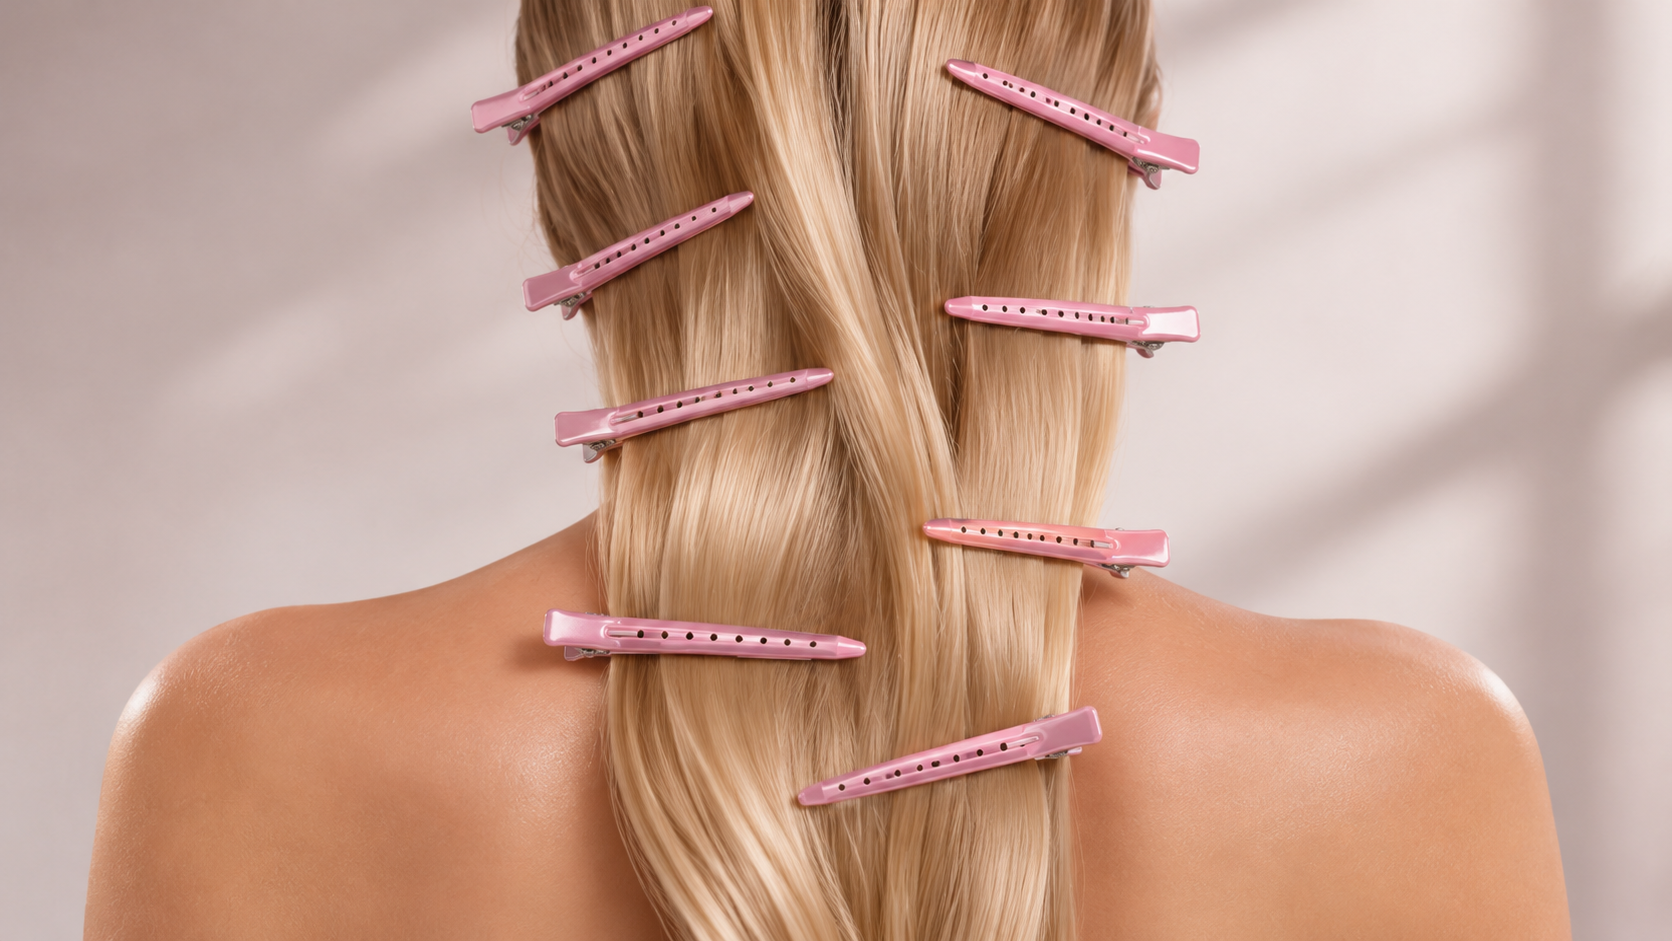
• Hair clips for sectioning
• A salon cape or towel for protection
• A comb
• A high-quality hair dryer
• A wide flat iron with titanium plates and adjustable heat settings up to 450 degrees
• A narrow flat iron for working around the hairline
• A protective cream for the skin along your hairline to help prevent facial irritation
• A well-ventilated space, which is essential for this treatment
Potential Side Effects
If you decide to perform the treatment at home, prepare all the necessary products and tools in advance and read the instructions carefully. Prolonged exposure to chemical formulas or high temperatures can damage the hair structure.
Formaldehyde can also cause burning sensations, nausea, and headaches. Pregnant women should avoid this treatment, whether performed at home or in a salon.
Formaldehyde can also cause burning sensations, nausea, and headaches. Pregnant women should avoid this treatment, whether performed at home or in a salon.
Another important risk is eye irritation caused by harsh ingredients, especially in poorly ventilated spaces. Whenever possible, perform the treatment outdoors or in a well-ventilated area.
With these precautions in mind, let's move on to the step-by-step guide to achieving smoother, salon-like results at home.
1. Choose the Right Formula
Original Brazilian straightening formulas are not sold in regular beauty stores. They contain harsh chemicals and are intended exclusively for professional salon use. The formaldehyde concentration in these products can reach 10%. Formaldehyde is a carcinogen that may also cause birth defects and fertility problems in women planning to become pregnant.
In addition to formaldehyde, these products contain other potent, potentially harmful ingredients. Professional keratin formulas are available to purchase online, but we strongly advise against buying them. If the packaging states "for professional use only," it's best to avoid the product. Without the necessary experience, using these formulas can be dangerous.
Instead, choose formaldehyde-free products specifically designed for at-home use. Their results may be less dramatic than those of professional formulas, but the risk of serious health consequences from improper application is lower. Beautiful hair is never worth compromising your health.
2. Perform a Patch Test
Experts recommend performing a patch test before using any chemical hair products, including formaldehyde-free protein treatments purchased online. Ideally, do this at least 48 hours before applying the product to your scalp.
This can help identify a possible allergic reaction to the product's ingredients. Testing the formula on a small section of hair will also allow you to assess the results in advance.
Follow the manufacturer's instructions and apply a small amount of the product to the inside of your wrist to check for a skin reaction. If you experience burning or irritation, seek medical attention immediately.
3. Wash Your Hair Multiple Times
Start by washing your hair three times in a row. Products designed to create a salon-smooth finish work best on porous hair. Washing three times helps open the hair cuticle, allowing the formula to penetrate more effectively. Otherwise, you may not achieve the desired results.
4. Prepare Your Hair and Workspace
After washing your hair thoroughly, get it ready for the treatment by following three simple steps:
• Gently towel-dry your hair.
• Divide your hair into four sections: two in the front, running from behind the ears toward the face, and two in the back.
• Take safety precautions: put on gloves, cover your shoulders with a towel or salon cape, and make sure the room is well ventilated. If you have a protective mask, wear it as well.
• Gently towel-dry your hair.
• Divide your hair into four sections: two in the front, running from behind the ears toward the face, and two in the back.
• Take safety precautions: put on gloves, cover your shoulders with a towel or salon cape, and make sure the room is well ventilated. If you have a protective mask, wear it as well.
5. Apply the Formula Evenly from Roots to Ends
Start applying the formula at the back of your head. Use the pointed end of your application brush, like the tail of a comb, to separate small sections of hair into thin diagonal partings. Apply the product as you would hair dye, then gently move the treated strands to the opposite side, leaving the front sections untouched for now. The thickness of each section depends on your hair density: the thicker your hair, the smaller the sections should be.
Work the formula from roots to ends. Since the roots are usually the thickest and curliest part of the hair, pay extra attention to this area. Then comb through each section to distribute the product evenly. Any remaining formula should be enough for the ends, which generally need less product than the roots.
The key is not to overapply. Use a small amount of product on your brush and work in a thin layer. Your hair should be lightly coated and slightly damp. The longer the formula stays on your hair, the smoother and straighter the strands may become. However, experts point out that leaving the product on longer does not necessarily lead to additional problems. Still, exercise caution and avoid rushing through the process.
Remember that you are working with a chemical formula, so always follow safety precautions. If you experience scalp irritation, severe dizziness, a burning sensation around the application area, or any other signs of an allergic reaction, stop the treatment immediately and seek medical advice.
6. Blow-Dry Your Hair
Once your hair is fully coated with the formula and the product has been distributed evenly, begin blow-drying.
Heating the formula may release harsh chemical fumes that can cause dizziness and weakness. Exercise caution and stop the treatment at the first sign of discomfort.
During the treatment, a keratin layer forms on the surface of the hair. The keratin used in these formulas is often derived from animal horns, hooves, and wool. When heated with a blow-dryer, the ingredients interact with the hair's inner layer, known as the cortex.
At this stage, the formula helps repair damaged hydrogen, salt, and disulfide bonds by interacting with the hair's natural keratin. As a result, the strands become stronger and their structure more resilient.
Smoothing the cuticle makes hair look sleeker and shinier. You can think of this process as filling cracks in concrete.
7. Straighten Your Hair with a Flat Iron
Now that your hair is dry and its internal bonds have been restored, it's time to seal in the results. This requires another round of heat styling, as heat helps alter the hair's structure.
For fine, severely damaged, or chemically treated hair, the recommended flat iron temperature is between 400 and 425 degrees. For thick, relatively healthy hair, the temperature can be increased to 450 degrees.
Experts recommend using two flat irons: a wide one with titanium plates for straightening the main sections and a narrow one for working around the roots and hard-to-reach areas. Wide plates allow you to straighten larger sections more quickly, while narrow plates provide greater precision near the roots. Titanium heats up faster than ceramic and distributes heat evenly.
Although the treatment is suitable for different hair types, experts warn that using the wrong temperature on severely damaged, overprocessed, or brittle hair can make its condition worse. That's why it's important to consult a stylist before proceeding. The temperature should be selected individually, based on your hair type and condition.
Always choose a trusted, qualified professional and schedule a thorough consultation before the treatment.
8. Rinse Your Hair Thoroughly
Once you've finished straightening your hair with a flat iron, it's time for the final rinse. Why wash out the formula if your hair is already smooth and straight? Because some product residue may still remain on the strands.
To prolong the results, it's important to follow a proper hair care routine and use a sulfate-free shampoo. Sulfates are cleansing and foaming agents found in many shampoos that can be harsh on your hair. They strip away natural oils and may damage the cuticle. When the hair cuticle is raised or damaged, the strands have a harder time retaining the keratin deposited during the treatment.
As a result, sulfates may accelerate keratin loss and shorten the lifespan of your results. A sulfate-free shampoo can help maintain the treatment's effects and is suitable for all hair types.
9. Use an Intensive Hair Conditioner
After rinsing out the formula thoroughly, move on to deep conditioning. Apply a hair mask for 5–10 minutes, then rinse. This step, along with your regular aftercare routine, will help maintain hair health and prolong the straightening results.
The chemicals and high temperatures involved in Brazilian hair straightening can damage your hair, so it's recommended to use restorative, sulfate-free products enriched with proteins. Keeping your hair adequately hydrated is especially important for maintaining its smoothness and health. Your hair's moisture needs depend on its texture: the curlier your hair, the more hydration it generally requires.
Brazilian straightening makes everyday styling easier, but it doesn't eliminate the need for smoothing hair care. Oils and leave-in conditioners help maintain softness and prevent frizz. Whenever possible, choose products without parabens or sulfates. Look for formulas containing water-soluble silicones. They add shine to your hair but can also mask damage, so it's important to monitor your hair's condition and address any signs of deterioration promptly.
10. Finish by Blow-Drying Your Hair
The final blow-dry doesn't require much effort because the formula has already been sealed into the hair. Simply dry your strands lightly to see the results. You can also let your hair air-dry naturally, as it has already undergone significant heat exposure.
After the treatment, your hair should look smoother, straighter, and shinier, with a healthier appearance.
Keep in mind that performing Brazilian hair straightening at home carries serious risks. Do not attempt the treatment without the approval, assistance, and detailed guidance of a certified professional. If you still decide to do it yourself, choose alternative keratin formulas that are free of formaldehyde.
11. Aftercare Tips
Proper aftercare is essential for maintaining your hair's health and appearance. Unlike more complex salon treatments, such as a chemical perm, keratin straightening does not require an elaborate maintenance routine.
Since the results gradually fade over time, stylists recommend washing your hair less frequently to help prolong the effect. They also suggest using keratin-infused shampoos and deeply hydrating conditioners. In general, avoid products that strip away your hair's natural oils, especially after Brazilian straightening, to prevent further damage to the cuticle.
Read also: