
Nail extensions may seem complicated at first glance. However, you can master the basic technique at home if you properly prepare the nail plate, choose the right materials, and follow the correct sequence of steps.
In this article, we’ll explain what a beginner nail technician needs and how to perform nail extensions step by step.
What You Need for Nail Extensions
Before starting, prepare all the necessary materials and tools. At the beginning, you don’t need to buy a large number of products — a basic set is enough for practice.
The easiest option is to purchase a ready-made starter kit that already includes the essential nail extension materials. This way, you won’t have to buy dozens of products separately and can start practicing right away.
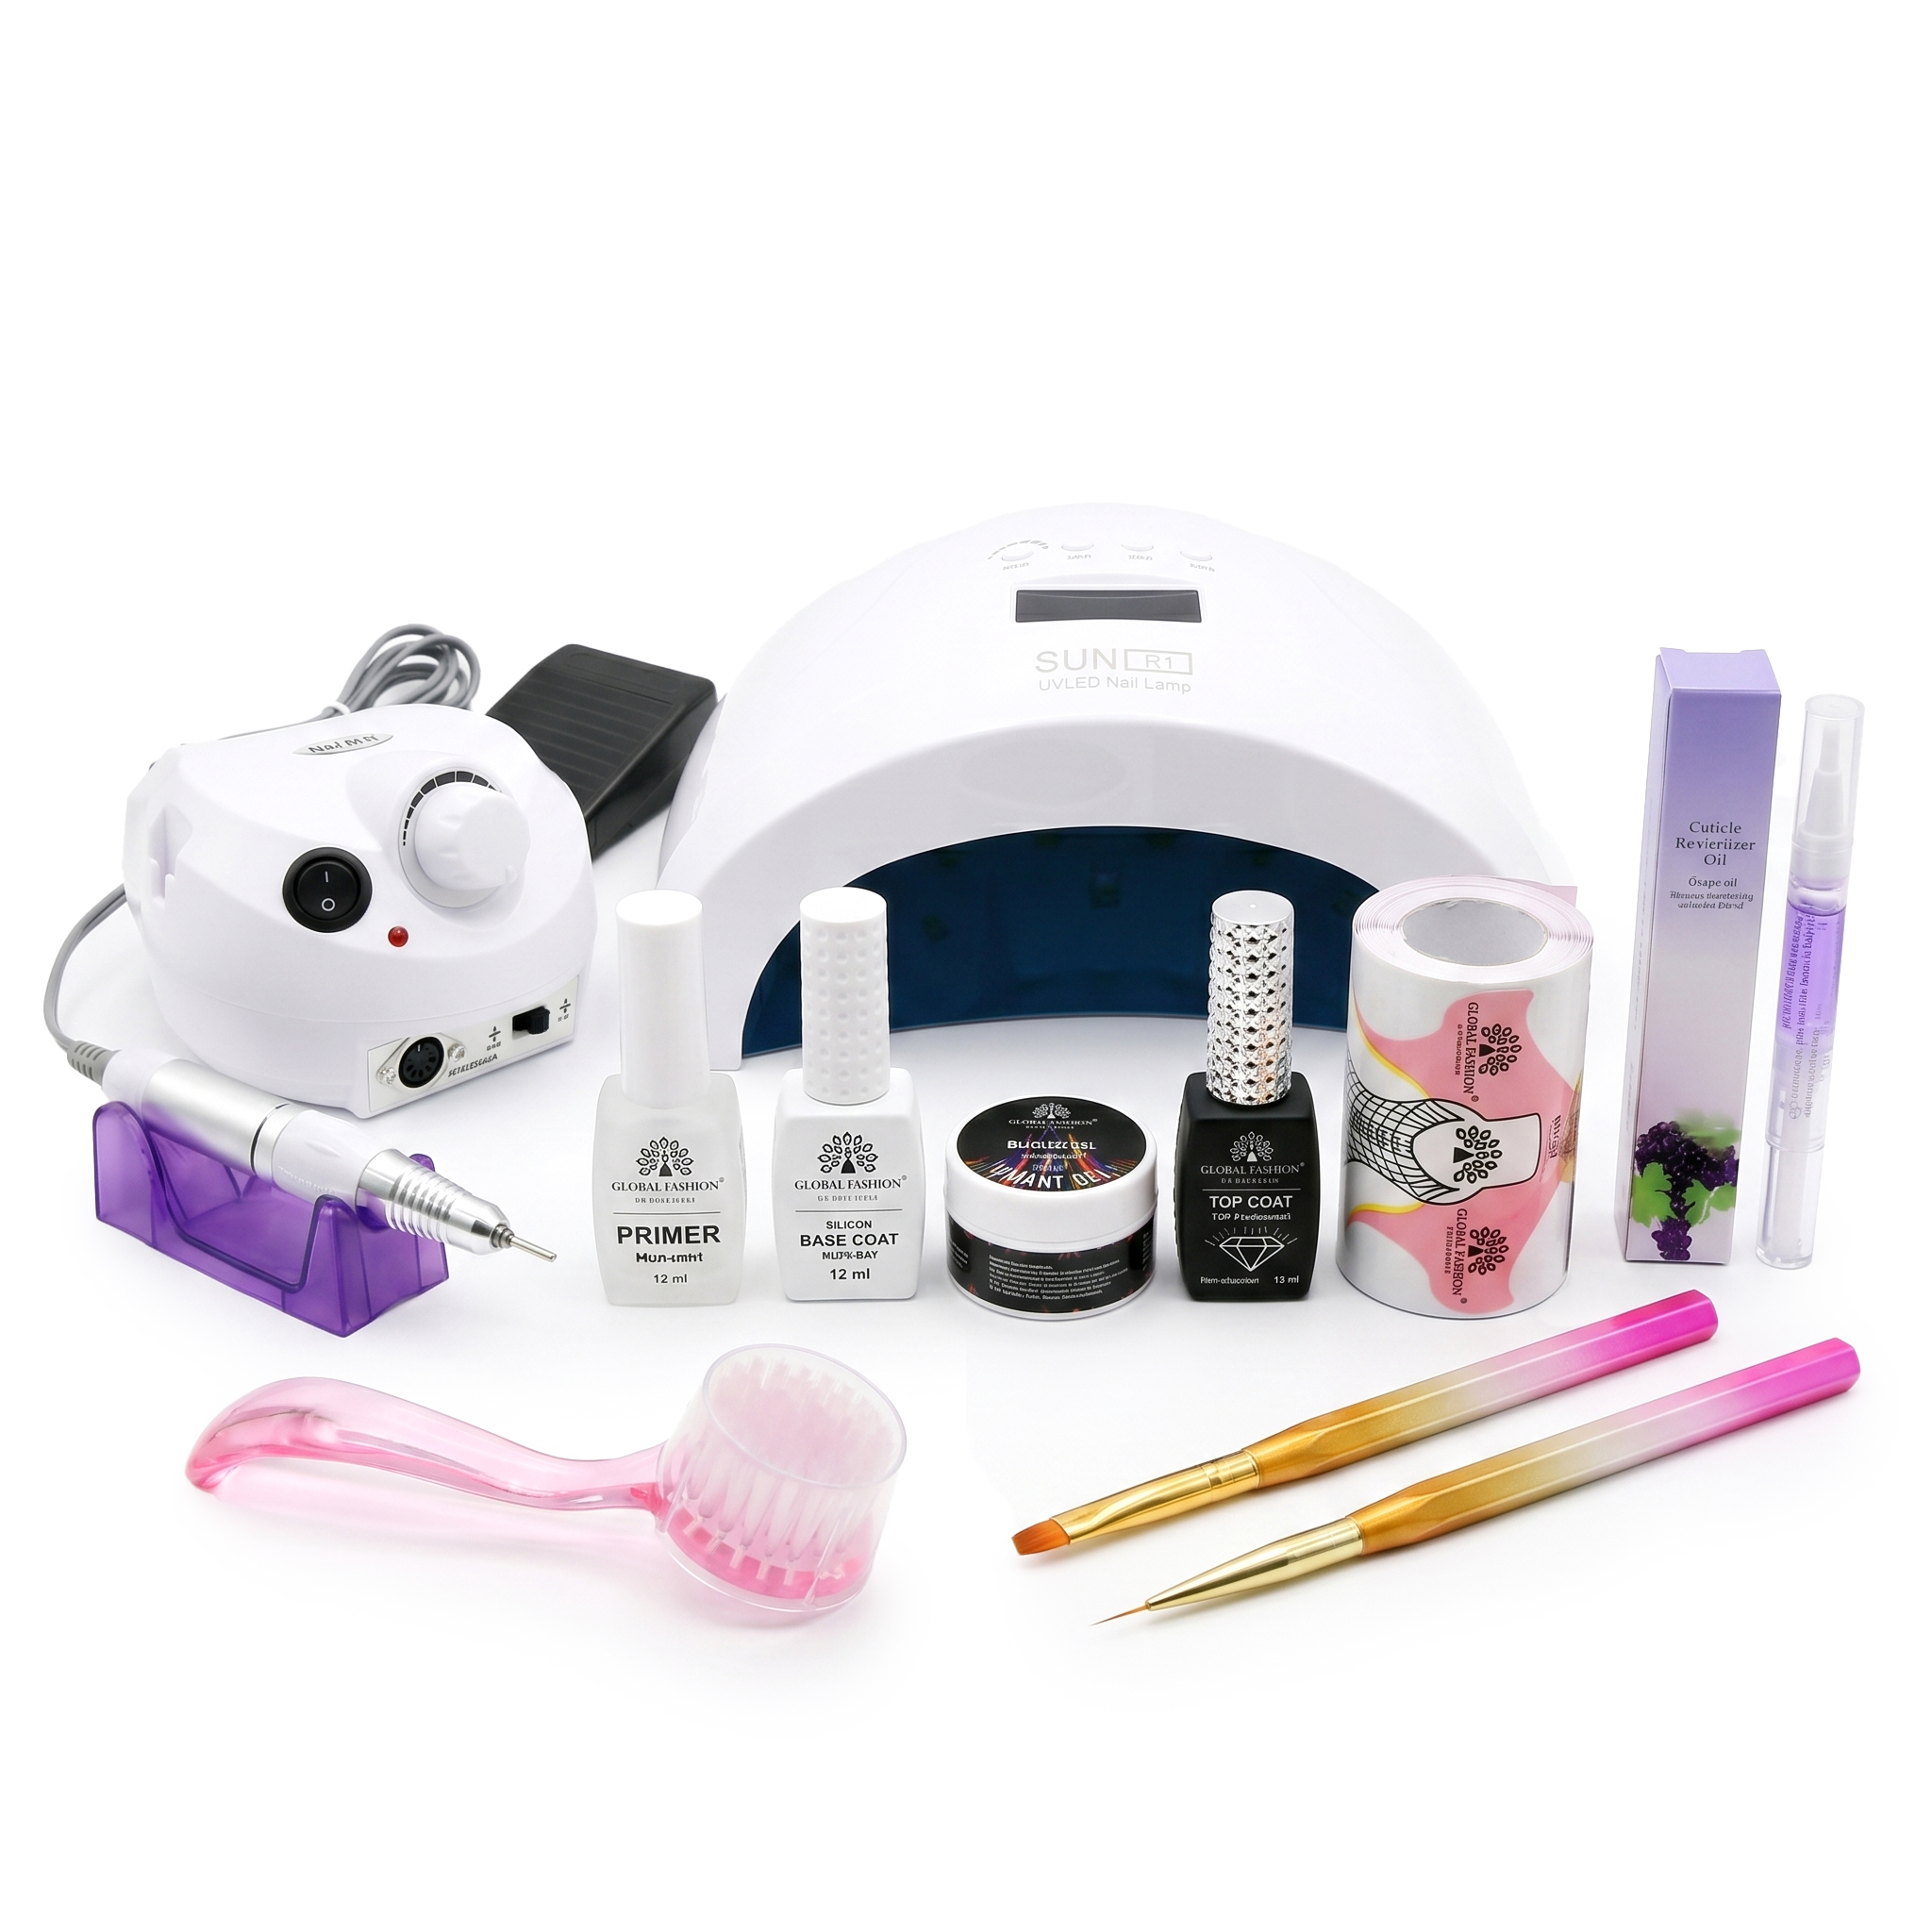
For beginners, we recommend the Global Fashion starter manicure kit — it contains everything you need for professional nail extensions at home. It includes:
• LED/UV lamp
• Nail drill
• Primer
• Base coat
• Builder gel
• Top coat
• Nail forms
• Cuticle oil
• Brushes
• Nail brush
• Nail drill
• Primer
• Base coat
• Builder gel
• Top coat
• Nail forms
• Cuticle oil
• Brushes
• Nail brush
How to Use a Nail Extension Kit: Step-by-Step Guide
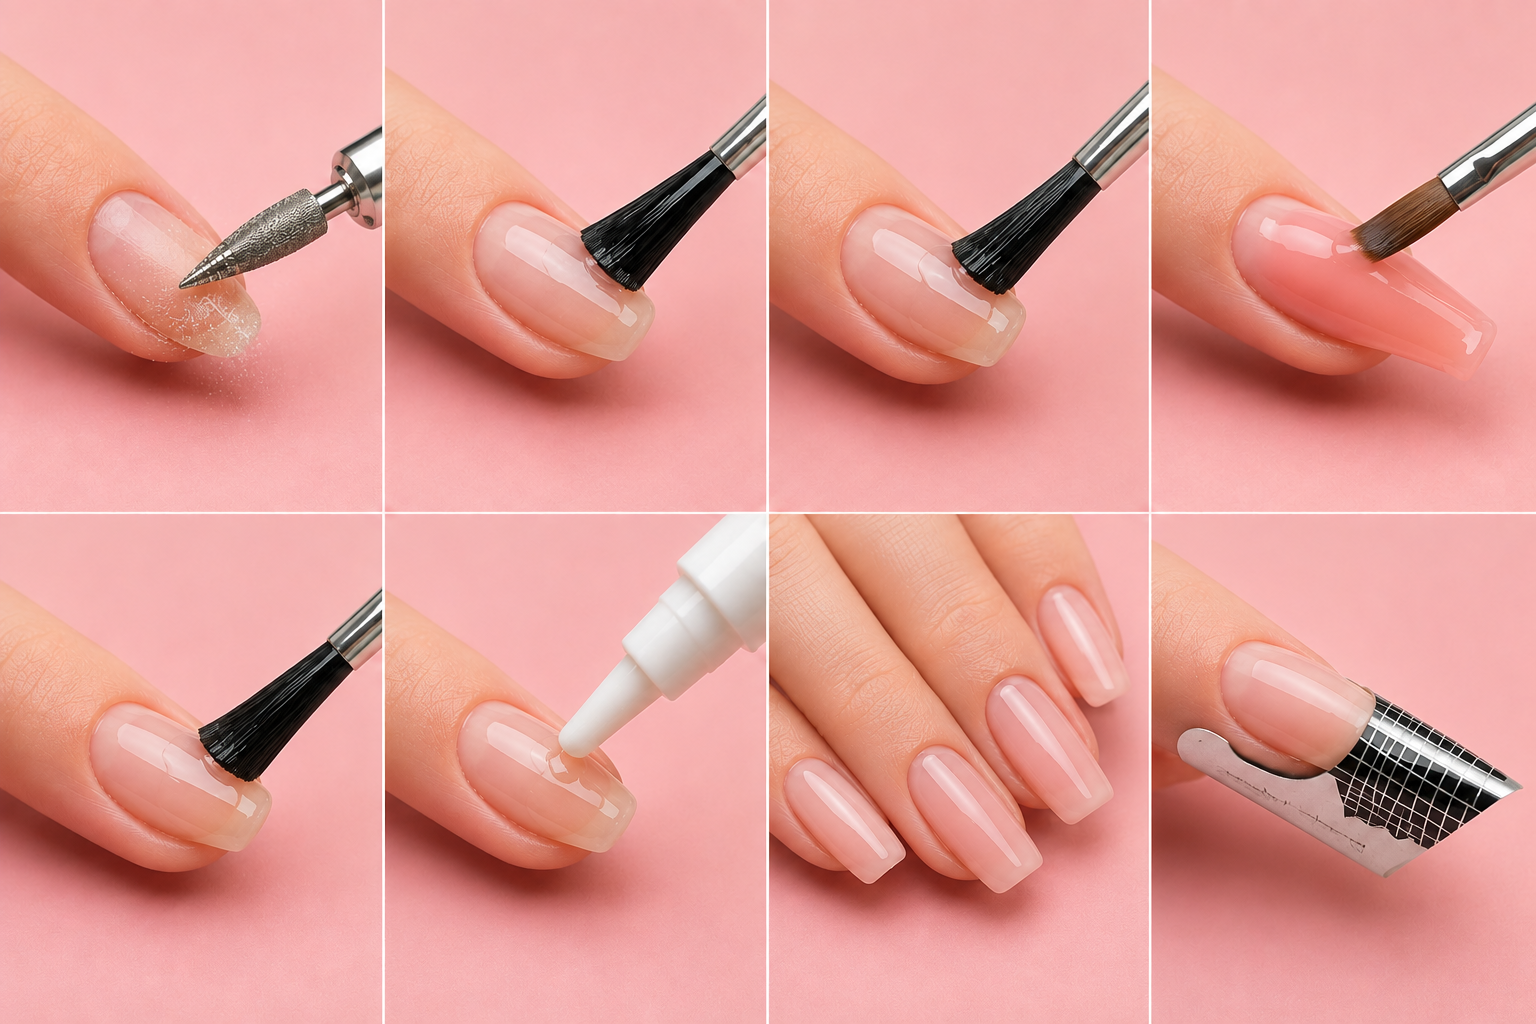
1. Prepare the Nails
Work on the cuticle with a nail drill, remove the pterygium, and shape the nails as desired. After filing, carefully remove the dust with a nail brush.
2. Apply the Primer
Apply the primer and let it air-dry for 30 seconds.
3. Apply the Base Coat
Apply a thin layer of base coat and cure it in the lamp: 60 seconds in an LED lamp or 120 seconds in a UV lamp.
4. Model the Nails
Apply builder gel or modeling gel, distribute it evenly over the nail plate, and cure it in the lamp for 60–120 seconds. After curing, correct the nail shape if necessary.
*If you need to create the perfect nail architecture and achieve an even length and shape, use special nail extension forms.
*If you need to create the perfect nail architecture and achieve an even length and shape, use special nail extension forms.
5. Apply the Top Coat
Apply a no-wipe top coat and cure it in the lamp: 60 seconds in an LED lamp or 120 seconds in a UV lamp.
6. Apply Cuticle Oil
After completing the manicure, apply cuticle oil and gently massage it into the skin. This will moisturize the cuticles and give the manicure a neat, finished look.
7. Protection and Care
Your manicure is ready — now you can enjoy your flawless results!
Rules for Working with a Nail Drill
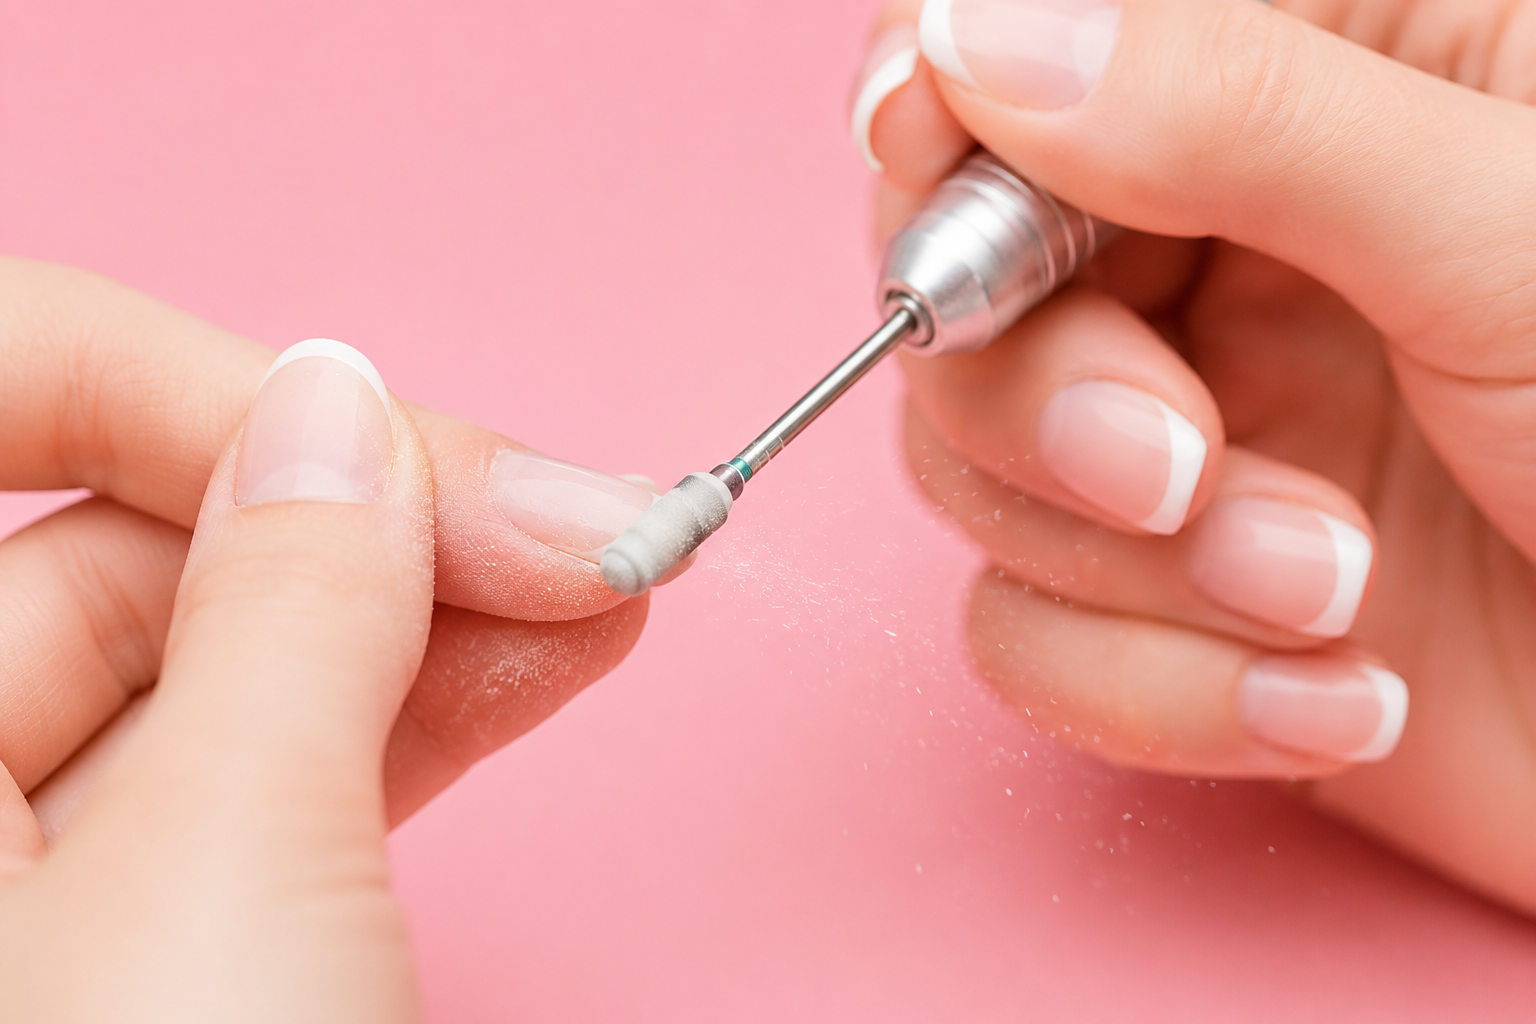
To ensure your manicure drill lasts longer and continues to work effectively, it’s important to use and maintain it correctly. Follow these simple but important rules to extend the life of your equipment:
• Hold the nail drill lightly and confidently, like a regular pen.
• Do not apply excessive pressure — let the drill bit do the work.
• Move the drill smoothly, avoiding sudden movements and stops.
• Clean the drill bit regularly to remove nail dust and maintain its effectiveness.
• Choose a moderate speed appropriate for the procedure.
• Move the drill bit from the cuticle area toward the free edge of the nail.
• Do not apply excessive pressure — let the drill bit do the work.
• Move the drill smoothly, avoiding sudden movements and stops.
• Clean the drill bit regularly to remove nail dust and maintain its effectiveness.
• Choose a moderate speed appropriate for the procedure.
• Move the drill bit from the cuticle area toward the free edge of the nail.
Rules for Working with a Nail Lamp
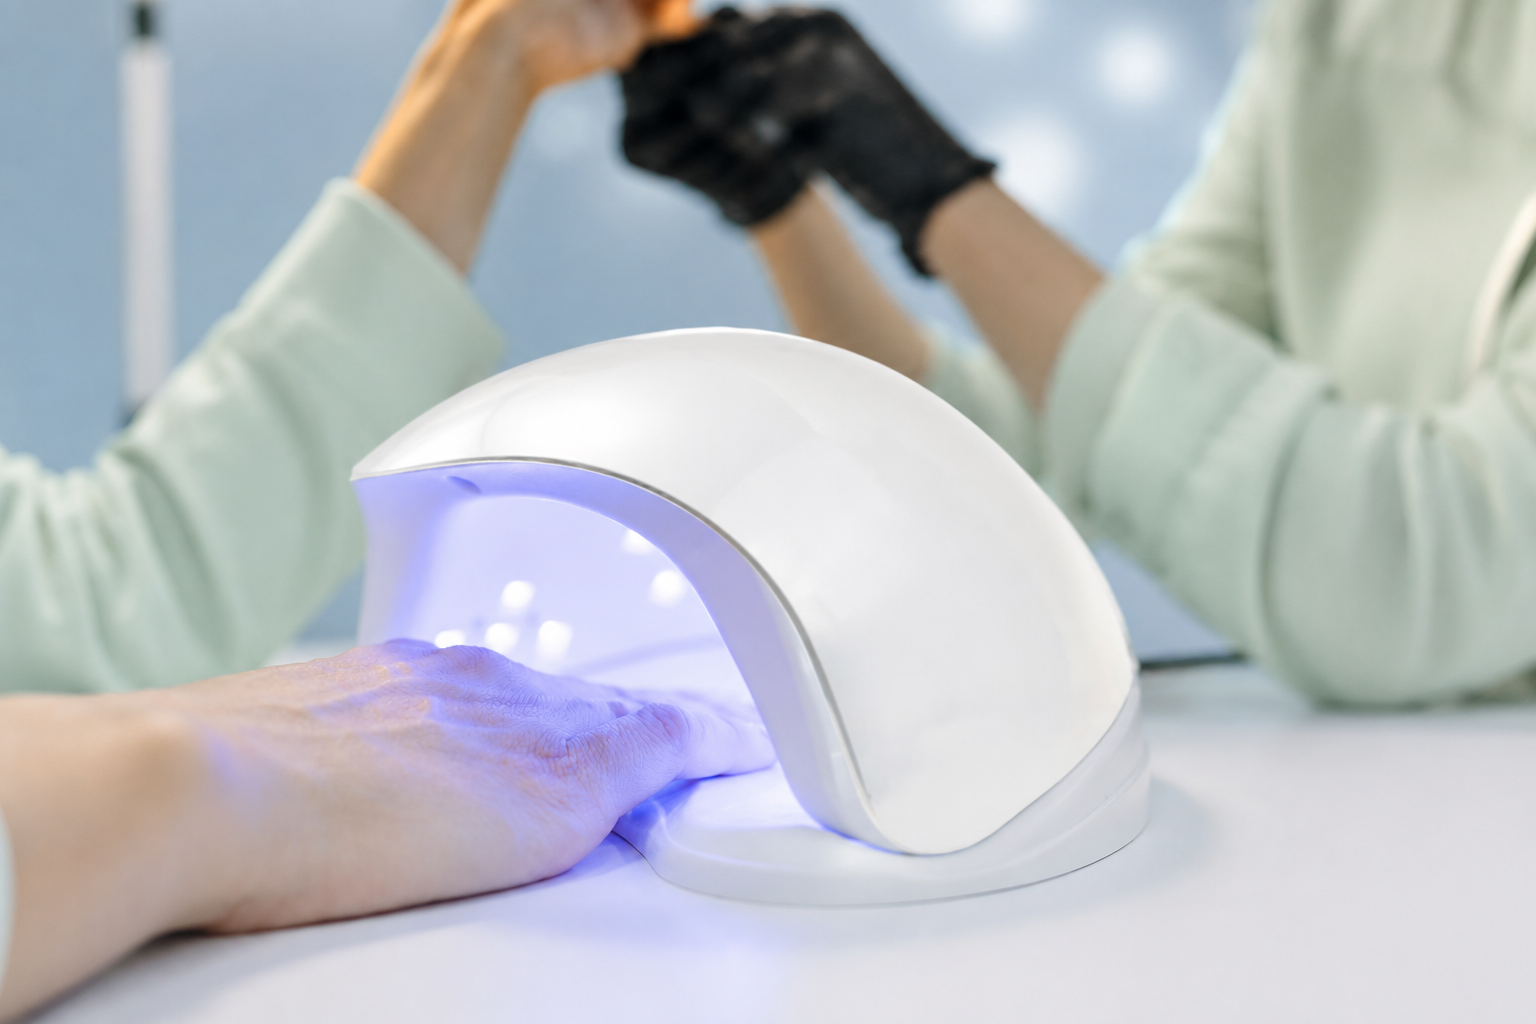
• Do not open the lamp during curing, as this may interfere with the polymerization process.
• Clean the lamp and reflective surface regularly to remove dust and product residue and maintain curing efficiency.
• LED lamps are considered safe for skin and eyes when used correctly.
• Follow the recommended curing time: 60 seconds in an LED lamp and 120 seconds in a UV lamp. Always follow the instructions provided by the manufacturer of the specific product.
You now have a unique opportunity to purchase a nail extension kit with a 20% discount and free delivery! With just one click, everything you need for professional nail care can be delivered straight to your home.