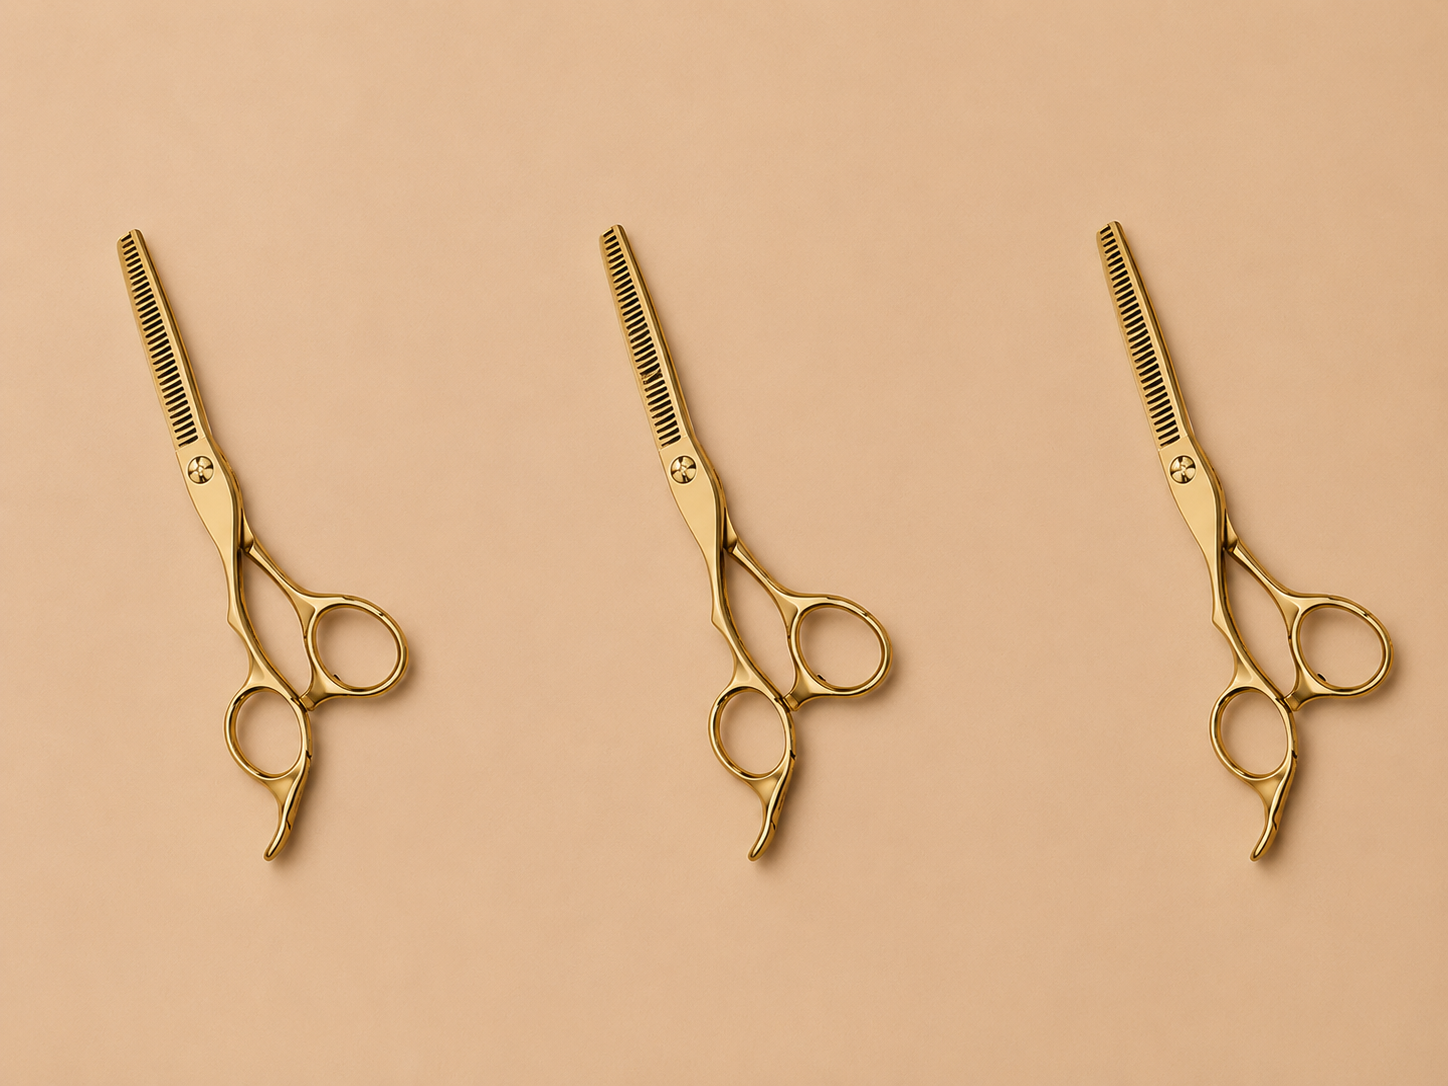
Hair cutting at home may seem challenging, but the right tools can make the process much easier. Good thinning scissors can help carefully remove excess volume and add texture to the hair, creating a professional-looking finish. To achieve the desired result even on straight hair, it is important to know the proper technique. Below, we share professional hairstylists’ tips on how to choose the right thinning scissors and use them correctly for thinning and texturizing hair at home.
What Are Hair Thinning Scissors?
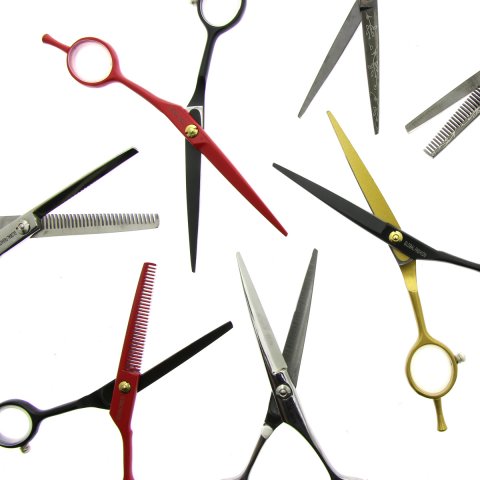
Thinning scissors, also known as texturizing or thinning shears, are a tool with one serrated blade and one smooth blade. The teeth remove a portion of the hair, helping to reduce excess volume. These scissors can also soften harsh lines and smoothly blend different sections of the hair, creating a neat and balanced hairstyle.
What Are They Used For?
Thinning scissors are an excellent tool for reducing excess volume in specific areas of the hair and creating a soft, natural-looking effect.
However, they can also add volume: if the hair looks too flat, thinning scissors can help create a more textured finish.
It is important to remember that thinning scissors are a finishing tool, not a way to create the basic shape of a haircut. Do not use them to shape the haircut — use them to “decorate” an already established shape. Ideally, thinning scissors should only be used during the final 10% of the haircut.
Types of Hair Thinning Scissors
The main difference between thinning scissors is the number of teeth: some have widely spaced teeth, while others have many teeth positioned close together. The number of teeth determines the tool’s purpose. There are three main types of thinning scissors:
• Texturizing and blending: These scissors usually have finer, more closely spaced teeth — 25 or more. They are ideal for creating smooth blends and softening harsh lines. The finer the teeth, the more evenly and gradually the volume is removed.
• Finishing: Finishing scissors have 15–22 teeth. They create a soft, polished effect on the ends of the hair, making heavy-looking hair appear lighter and more airy.
• Removing excess volume: These scissors usually have 7–15 widely spaced teeth and are designed to remove excess volume. However, be careful with the spacing between the teeth: the wider the gaps, the larger and more aggressive the cuts will be.
Is It Safe to Use Hair Thinning Scissors at Home?
Experts consider thinning scissors safe for home use when the necessary precautions are followed. Their blades are less sharp than those of regular hair-cutting scissors, so the risk of injury or accidentally removing too much hair is significantly lower. However, it is still important to work carefully and choose the right scissors.
When using thinning scissors at home, start from the mid-lengths of the hair and gradually work toward the ends.
How to Use Hair Thinning Scissors Correctly
The most important things to consider when working with thinning scissors are the cutting position and the direction of the tool. These scissors can leave gaps in the hair, especially when they have widely spaced teeth.
Thinning scissors shorten individual strands, so working too close to the scalp or hairline can create an unwanted effect. Very short strands may stick up, while moving the scissors against the direction of hair growth can result in a noticeable and uneven cut.
Remember: when working with this tool, just a few cuts are usually enough.
For texturizing or removing excess volume:
1. Comb the hair to remove any tangles.
2. Separate a section of hair about 2.5 cm wide and hold it between your index and middle fingers.
3. Position the thinning scissors about 2.5 cm from the ends of the hair and point them downward, in the direction of hair growth. Each cut should resemble a combing motion: close the scissors and smoothly glide them along the section toward the ends.
4. If you need to remove more volume, make the first cut another 2.5 cm higher up from the ends.
1. Comb the hair to remove any tangles.
2. Separate a section of hair about 2.5 cm wide and hold it between your index and middle fingers.
3. Position the thinning scissors about 2.5 cm from the ends of the hair and point them downward, in the direction of hair growth. Each cut should resemble a combing motion: close the scissors and smoothly glide them along the section toward the ends.
4. If you need to remove more volume, make the first cut another 2.5 cm higher up from the ends.
Hair thinning scissors are an excellent way to add texture and remove excess volume from a hairstyle. They can also be used at home, but the procedure requires caution. It is important to choose the right tool for the desired result: the spacing between the teeth determines the effect on the hair. If you are thinning your hair yourself for the first time, start no higher than the mid-lengths and work gradually. After all, you can always remove more hair, but you cannot put it back.
PROFESSIONAL HAIR THINNING AND CUTTING SCISSORS --->
PROFESSIONAL HAIR THINNING AND CUTTING SCISSORS --->