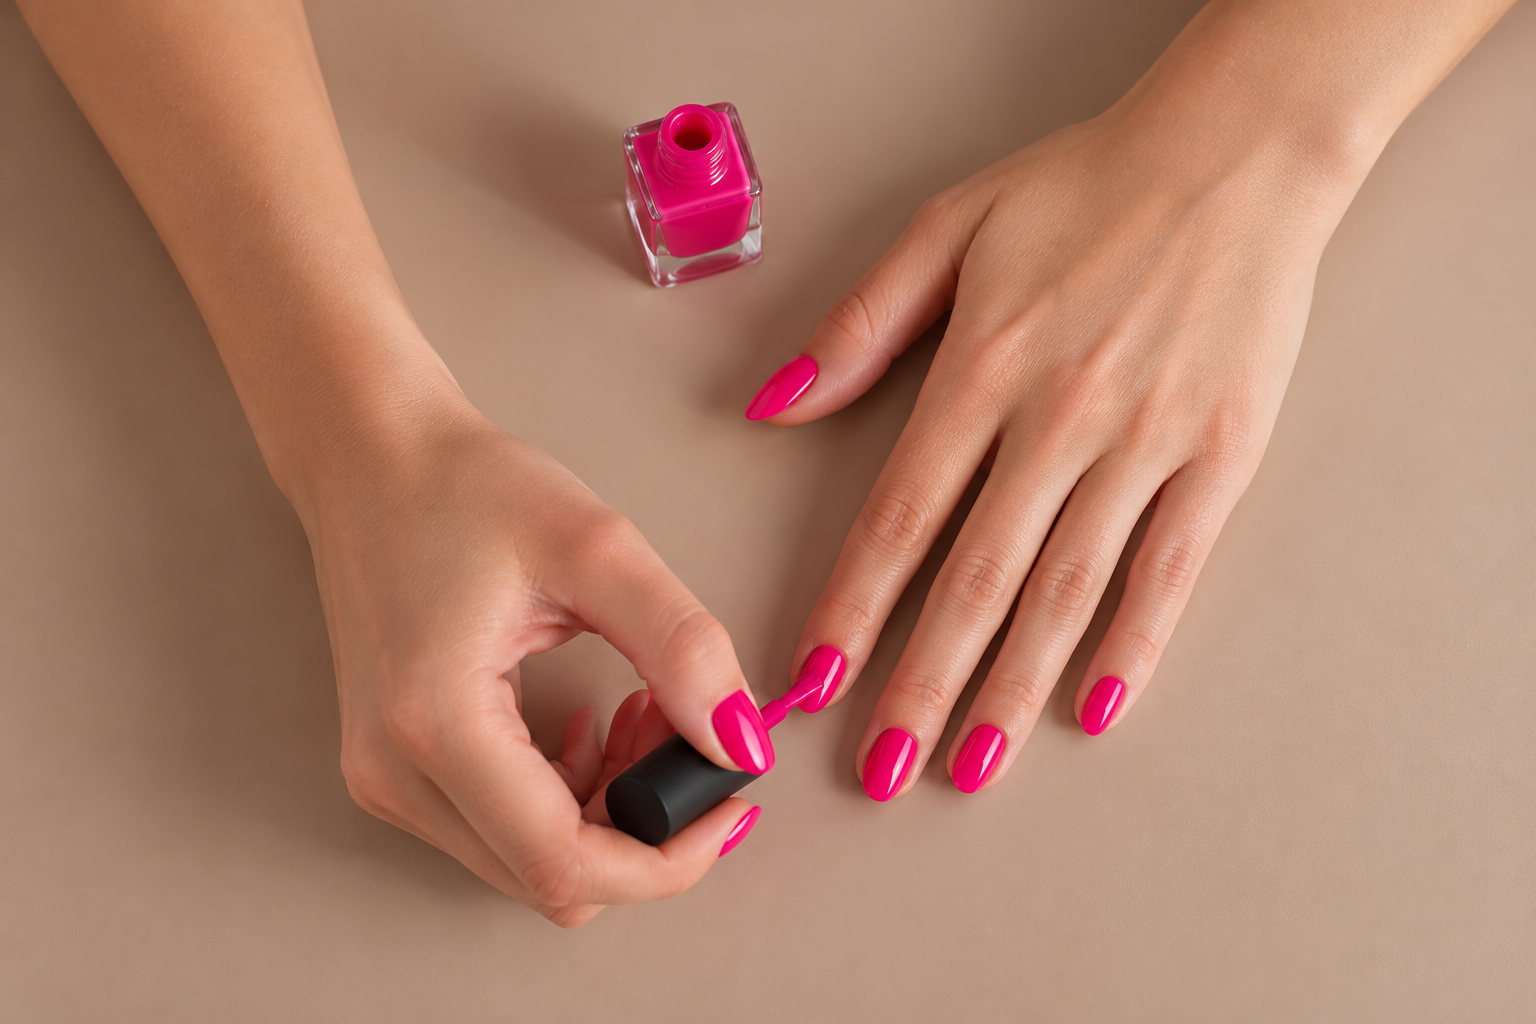
Do you feel pressured to always have salon-perfect nails, but still want to change your manicure color according to your mood? Beauty shouldn’t be an obligation — it’s your choice. Classic nail polish gives you the freedom, flexibility, and opportunity to express your style without limitations.
If your polish starts chipping after just two days or quickly loses its shine, the issue may not be the quality of the polish alone, but also the application technique. By applying each layer correctly and choosing professional formulas, you can achieve a long-lasting manicure that stays neat for 7–10 days — without a lamp or complicated procedures. Let’s take a look at how to apply classic nail polish correctly and make your manicure last longer!
What Is Classic Nail Polish and What Are Its Benefits?
Classic nail polish is a coating that dries naturally in the air and does not require a UV or LED lamp. It is easy to apply, quick to remove with nail polish remover, and allows you to change your shade as often as you like.
On average, classic nail polish lasts 5–7 days. With proper application and professional products, it can maintain a neat appearance for up to 8–10 days without noticeable chipping. It is a great option for those who love experimenting with seasonal trends.
Modern formulas feature rich pigmentation, a smooth texture, and ingredients that comply with European requirements. Many products are cruelty-free and free from formaldehyde or toluene. As a result, you get intense color and an even finish without unnecessary compromises when it comes to safety.
How to Apply Classic Nail Polish Correctly — Step-by-Step Guide

Follow the correct order of steps — each one affects the durability of your manicure.
1. Prepare Your Nails Properly
Start by completely removing the old polish. Use a nail polish remover suitable for your nail type. For brittle nails, it is better to choose an acetone-free formula if you use remover frequently.
Wash your hands and dry them thoroughly. Do not soak your nails before applying polish: the nail plate absorbs water, expands slightly, and returns to its original shape after drying. This can cause the polish to crack.
Gently push back the cuticles with a wooden stick and lightly buff the surface with a soft buffer. Do not apply too much pressure: the goal is to remove the natural shine, not thin the nail plate. Then degrease the nails with a cleanser or alcohol to remove any remaining sebum.
For a long-lasting result, make sure your nails are completely clean and dry before moving on to the next step.
2. Apply the Right Base Coat
Do not skip the base coat. It improves adhesion between the natural nail plate and the polish while also helping prevent staining.
Choose a base according to your needs:
• classic — for everyday use;
• strengthening — if your nails are prone to splitting;
• smoothing — if the nail surface has ridges.
• classic — for everyday use;
• strengthening — if your nails are prone to splitting;
• smoothing — if the nail surface has ridges.
Apply a thin, even layer. Seal the free edge by brushing along the tip of the nail. This helps reduce the risk of chipping in the most vulnerable area.
Allow the base coat to dry completely. Rushing this step can affect the durability of the following layers.
3. Apply the Polish in Thin Layers
Roll the bottle between your palms to mix the product. Do not shake it, as this can create air bubbles that may end up on your nails.
Remove excess product from the brush. Place it 1–2 mm away from the cuticle and gently push it toward the base of the nail, then move the brush toward the free edge. Repeat on both sides. Usually, three strokes are enough to achieve an even application.
The first layer should be thin and slightly translucent. Wait 3–5 minutes, then apply a second thin layer to intensify the color and even out the finish. Do not apply layers that are too thick: they take longer to dry and are more likely to chip.
Don’t forget to seal the free edge of the nail with every layer of color polish!
4. Finish with a Top Coat
A top coat protects the pigment and gives your nails either a glossy or matte finish, depending on your preference. Choose a classic formula, a quick-drying top coat, or one designed for enhanced durability.
Apply an even layer and seal the free edge of the nail. To extend the wear time, refresh the manicure with a thin layer every 2–3 days. This helps maintain shine and provides additional protection.
Allow the manicure to dry completely for 30–60 minutes. The surface may feel dry after just 10 minutes, but the deeper layers need more time to fully set.
Common Mistakes That Make Classic Nail Polish Chip Faster
• Applying polish to oily or damp nails can cause it to lift quickly.
• Layers that are too thick may wrinkle and dry unevenly.
• Contact with hot water during the first few hours can reduce the adhesion of the polish to the nail plate.
• Using your nails instead of tools can lead to microcracks.
Proper aftercare is equally important. Wear gloves while cleaning, and apply cuticle oil from the Global Fashion range daily. Nail flexibility helps the polish maintain its durability for longer.
How to Choose the Right Products?
The quality of the formula directly affects the result. Choose polishes with rich pigmentation that provide even coverage in two coats, as well as a convenient wide brush for smooth application.
Check the expiration date and consistency. If the polish has thickened, use a dedicated nail polish thinner rather than acetone. Store your products at a stable temperature, away from direct sunlight.

Classic Nail Polish Manicure Trends
This season, cherry red, warm nude, and chocolate brown shades are dominating. Glossy finishes remain favorites thanks to their elegant look, while matte top coats are increasingly popular for minimalist manicures.
If you prefer a neat, natural look, try a milky pink shade in two thin coats and finish with a glossy top coat. For a more modern effect, apply a matte top coat over a rich burgundy shade. Experiment with textures and choose colors that enhance your personal style.
Beauty is a choice. Only you can decide what your manicure should look like. Create your own style without compromise.
Frequently Asked Questions (FAQ)
How long does classic nail polish last when applied correctly?
On average, 5–7 days. With thorough nail preparation, thin layers, and a refreshed top coat every few days, you can extend its wear time to 8–10 days without noticeable chipping.
Can I apply classic nail polish to peeling nails?
Yes, but the polish may apply unevenly. Gently smooth the surface with a soft buffer and apply a strengthening base coat before the color polish. If your nails are severely damaged, take a break for a few days and use nourishing care products.
How can I speed up drying while maintaining shine?
Apply the polish in thin layers and use a quick-drying top coat. Avoid hot air. Special drying sprays or drops designed for classic nail polish can also help speed up the drying process.