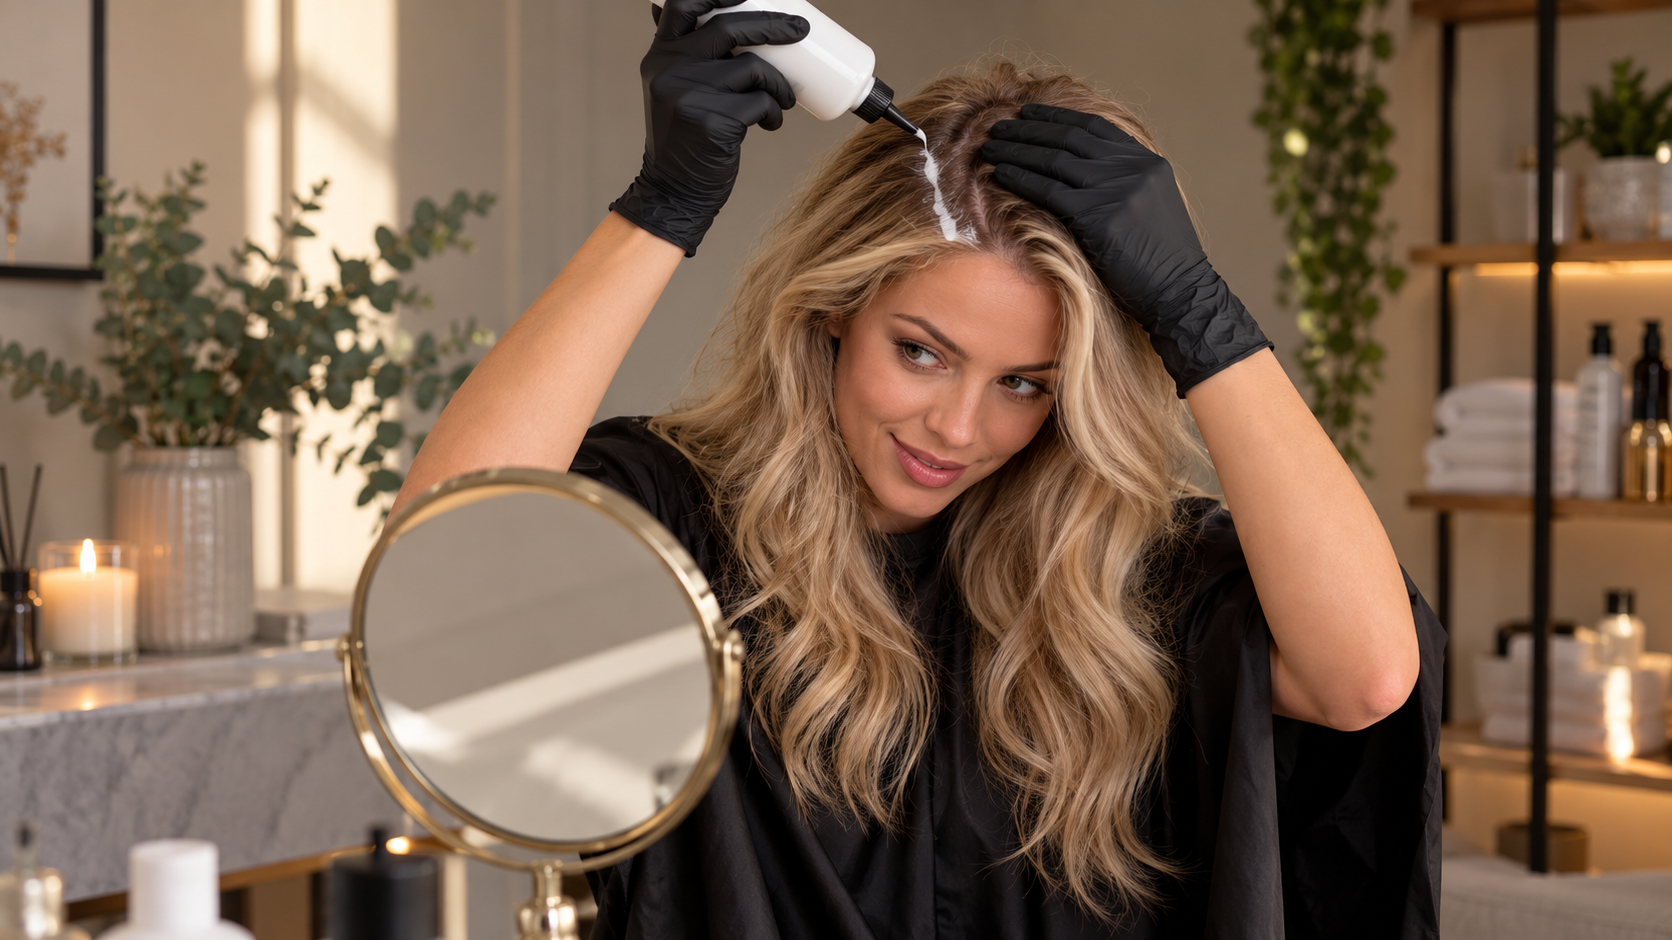
Coloring your hair at home may seem like a simple process at first glance: prepare the mixture, apply it to the hair, leave it on for the recommended time, and rinse — sounds easy, right? However, you may encounter unpleasant consequences, such as an unexpected color, dye stains on your skin and clothes, as well as dry and damaged ends.
To make sure you are happy with the result of your at-home hair coloring, it is important to follow a few simple recommendations. In our new article, you will find 7 key rules that will help you avoid common mistakes when coloring your hair at home. Save this guide so you don’t lose it!
Consider Your Starting Hair Color When Choosing a Dye
The image on the packaging only shows the expected result on a specific starting hair color. The manufacturer cannot guarantee that the shade will look exactly the same in every individual case.
The coloring result depends on whether your hair is natural or has been previously colored. For example, it is practically impossible to lighten dark, previously colored strands at home because a new dye cannot remove artificial pigment that is already embedded in the hair.
If achieving the desired color requires a significant change, you may first need to remove or lighten the previous pigment. Such procedures are best left to a professional colorist.
Experts recommend not going more than three shades lighter or darker than your natural hair color. The more you need to lighten your strands, the higher the concentration of peroxide typically used, which increases the risk of damaging the hair shaft. Coloring your hair darker generally puts less stress on the hair than intensive lightening.
Don’t forget about gray hair, either. If you have a significant amount of gray, the dye’s ability to cover gray hair is particularly important, as not every shade or type of dye is designed for full coverage. In this case, it is best to follow the instructions provided with the specific dye rather than relying on advertising claims.
Always Test the Dye for an Allergic Reaction
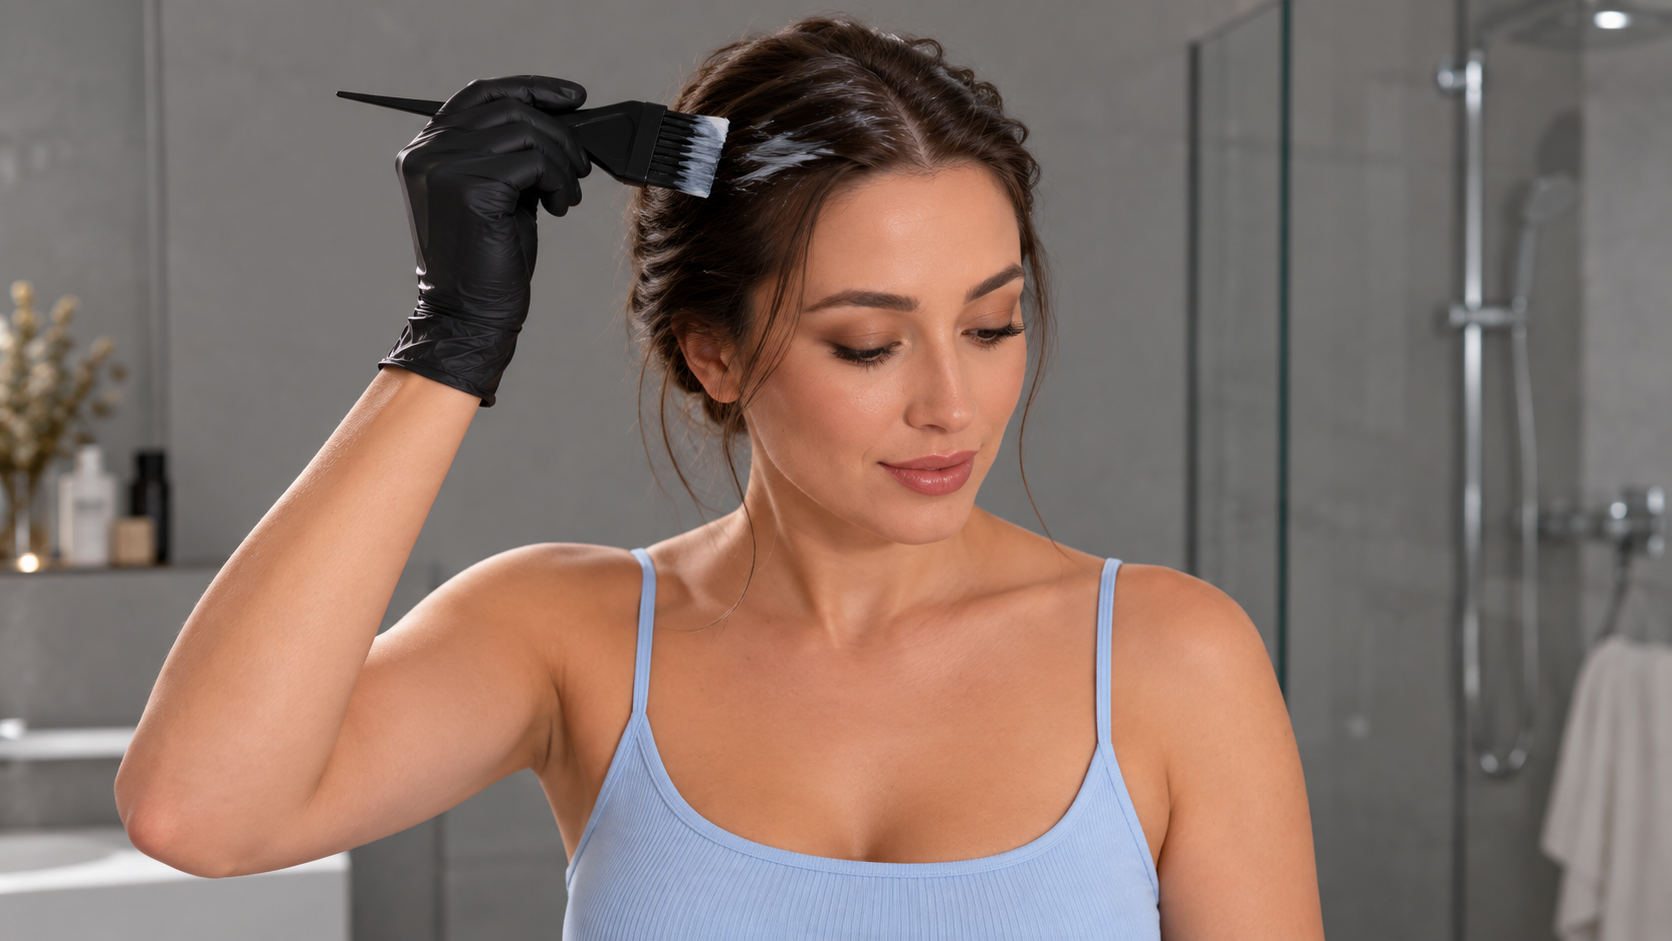
Before every coloring session, doctors recommend performing a skin allergy test. Apply a small amount of the product to the skin according to the manufacturer’s instructions and monitor the area for 48 hours. If redness, itching, a rash, or any other signs of irritation appear, do not use the dye.
One of the most well-known allergens found in hair dye formulas is PPD, or paraphenylenediamine, which is often present in permanent dyes for darker shades. However, PPD is not the only possible cause of a reaction: formulas vary between products, so always carefully check the ingredients and warnings on the packaging.
If you have previously experienced a severe allergic reaction after hair coloring, do not try a new product on your own. In this situation, it is better to consult a dermatologist and determine which specific ingredient causes the unwanted reaction so that you can avoid it in the future.
Test the Product on a Strand of Hair
Testing the dye on a small strand allows you to see in advance what result the selected shade will produce. This is especially useful for previously colored or bleached hair, hair with uneven color along the length, and before using a new product.
Do not skip this step when choosing unusual shades or coloring heavily lightened hair.
Follow the Exact Mixing Ratios and Processing Time
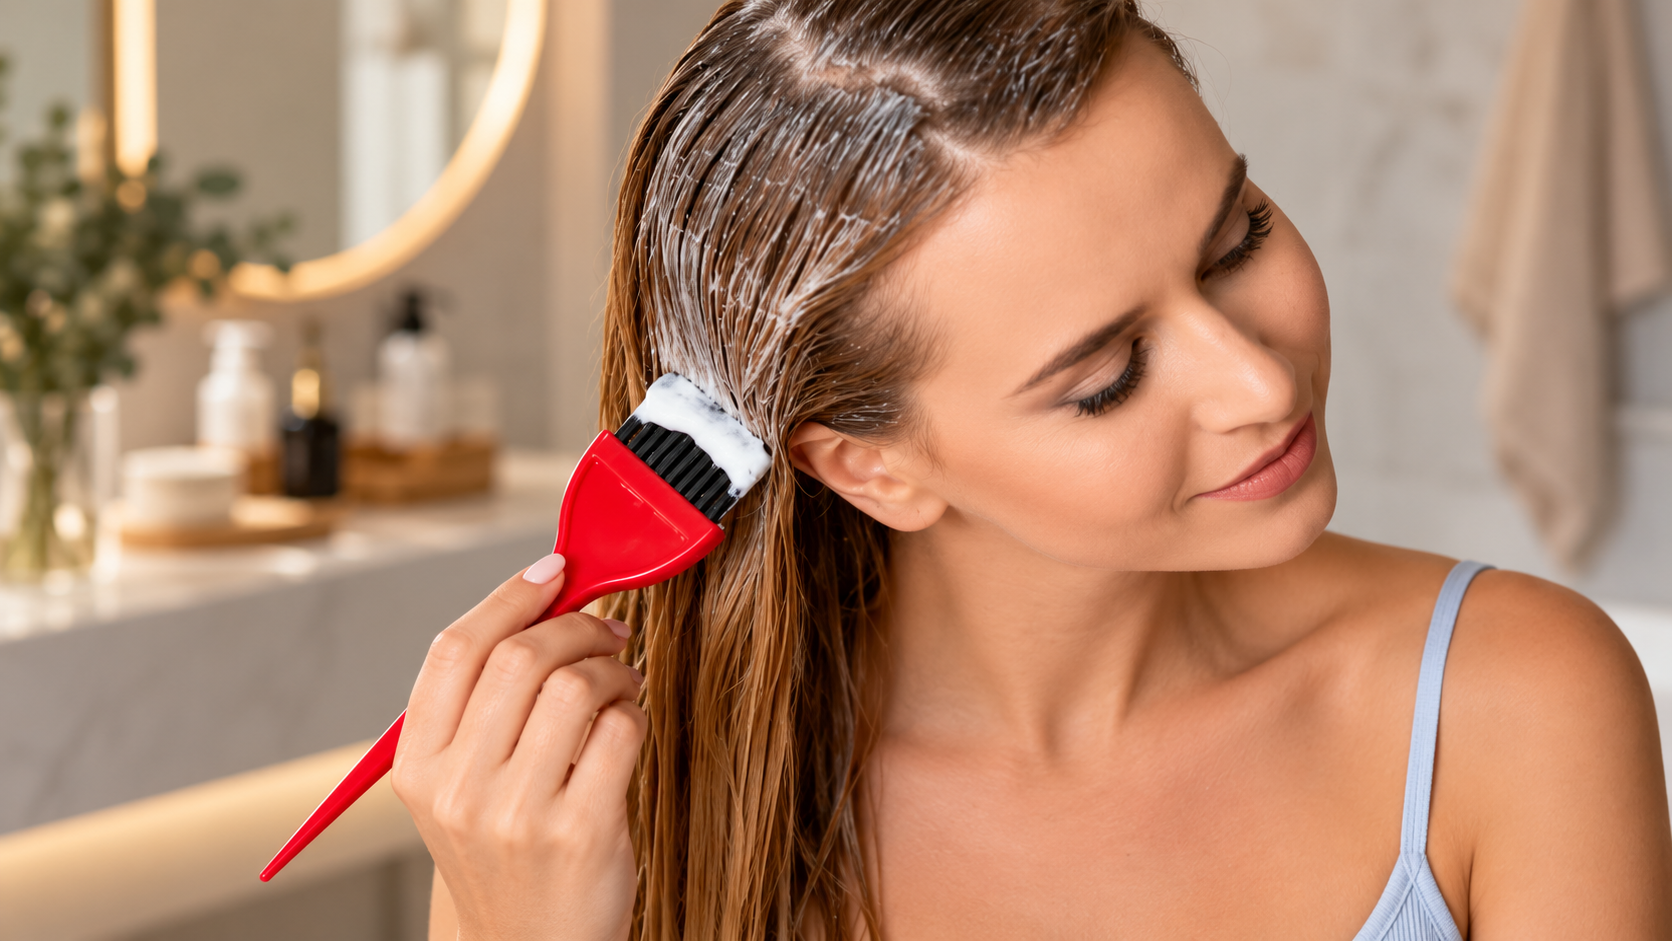
If the color does not seem saturated enough, you might think that leaving the dye on your hair for another twenty minutes will solve the problem… but that is not how it works! Each dye has a specific application method developed by the manufacturer, including particular ingredients, mixing ratios, and processing time.
The same applies to the developer. Do not change its concentration or add it “by eye” unless the instructions specifically allow such a combination. Quality dye formulas are developed around a specific ratio of ingredients.
There is another important rule: do not mix two different hair dyes in the same container to create an intermediate shade. If the manufacturer does not recommend combining the products, it is best not to experiment with them.
You Don’t Need to Color Your Hair From Roots to Ends Every Time
For example, you colored your hair dark brown a month ago and have now noticed your roots have grown out. Reapplying permanent dye to the entire length is not the best solution. For many coloring techniques, manufacturers recommend coloring the roots separately and refreshing the shade along the lengths.
The reason is obvious: the hair already contains artificial pigment. Regularly applying permanent dye to the entire length will not necessarily make the color more intense, but it can increase unnecessary chemical stress on the hair.
Don’t Try to Achieve the Impossible
At-home hair coloring is not suitable for every type of transformation. The more dramatically you need to change the tone level, especially when lightening the hair, the greater the risk of damaging its structure.
Extra caution is needed with hair that has previously been bleached, permed, straightened, or frequently colored. Repeated exposure to chemical formulas can increase dryness and breakage.
At the same time, refreshing the color, making the shade deeper, or carefully covering grown-out roots with a quality dye is entirely possible.
Do Not Color Your Hair If Your Scalp Is Irritated
The ingredients in hair coloring products can irritate the skin and mucous membranes. If the skin barrier is already compromised, the risk of an unwanted reaction increases. A mild odor typical of hair dye or a moderate warming sensation does not necessarily indicate an allergic reaction. However, if you experience intense burning, pain, severe itching, swelling, or rapidly increasing discomfort, immediately rinse out the product and stop the procedure.
How to Care for Your Hair After Coloring at Home

Once the processing time is over, thoroughly remove the dye, washing the scalp and all areas where the product may have come into contact with the skin.
Colored hair, especially bleached hair, can become drier and more fragile. Sun exposure can further worsen its condition by increasing dryness, roughness, breakage, and color fading. Use a quality leave-in product, preferably one with SPF, to help protect your hair from these effects.
There is no need to buy a large number of restorative products after coloring. A good conditioner or hair mask, gentle brushing and styling, and careful treatment during subsequent chemical procedures are usually enough.
What to Do If Your At-Home Hair Color Turns Out Badly
The most important thing is not to try to fix an unsatisfactory color yourself by putting your hair through several chemical procedures one after another: lightening, toning, and recoloring. This kind of chemical marathon is unlikely to end well.
First, determine why you are unhappy with the result: is the color too dark, is the shade unsuitable, is the color uneven, or was the wrong tone level chosen? The next steps depend on the specific issue.
If you need to remove artificial pigment, lighten the hair, correct uneven patches after an unsuccessful coloring, or achieve a complex blonde shade, it is best to have the color correction performed by a professional colorist.
Read also: