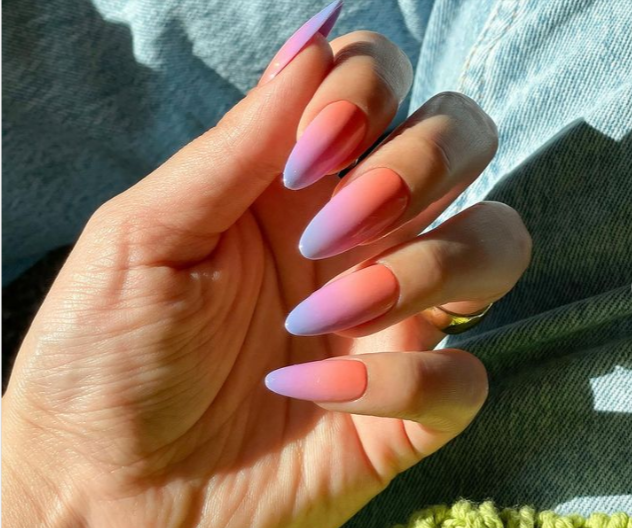
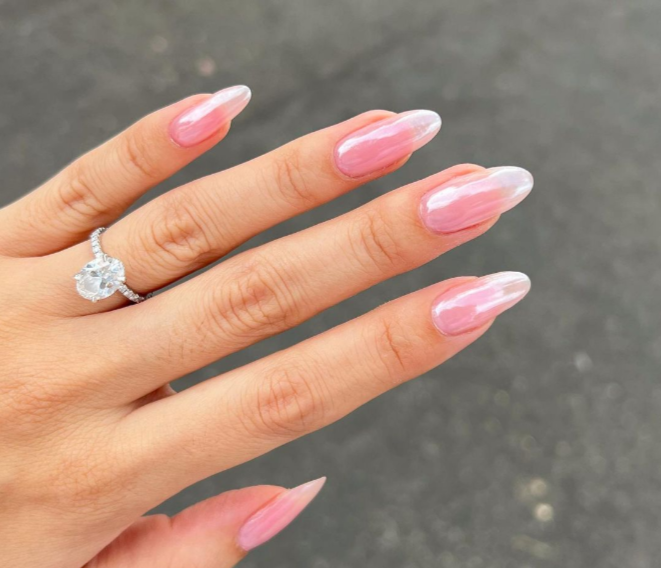
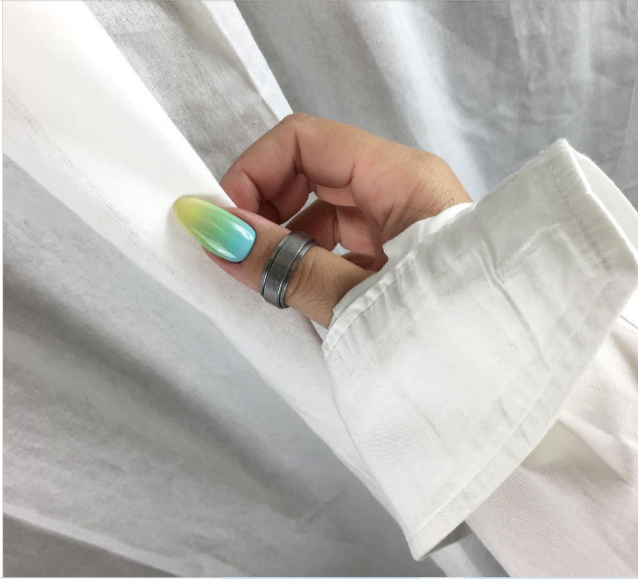
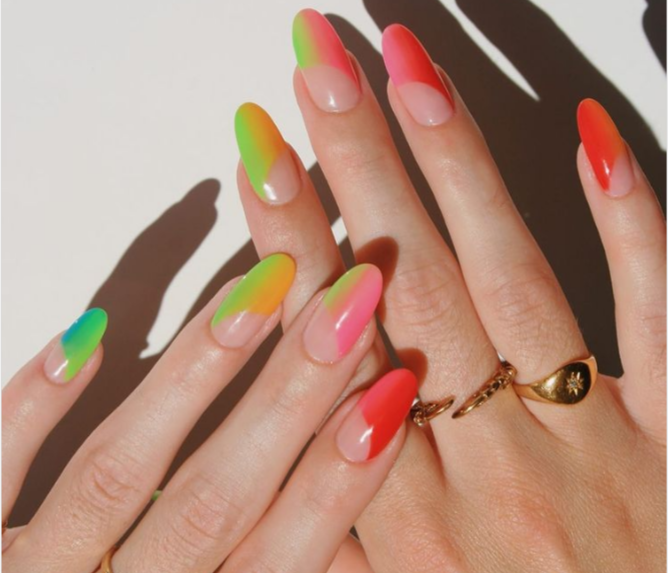
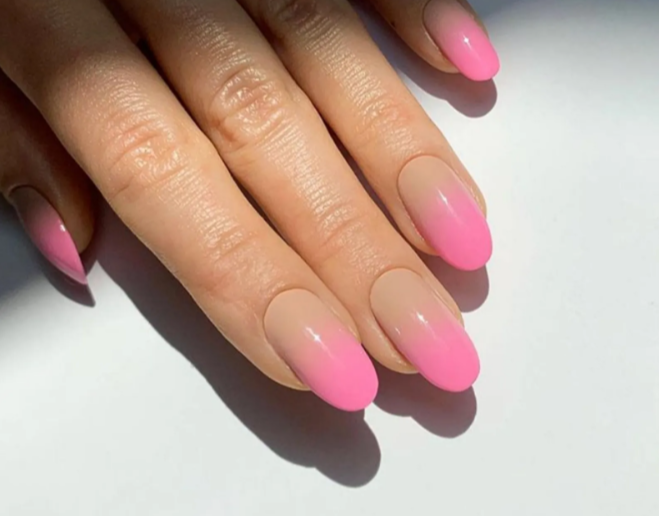
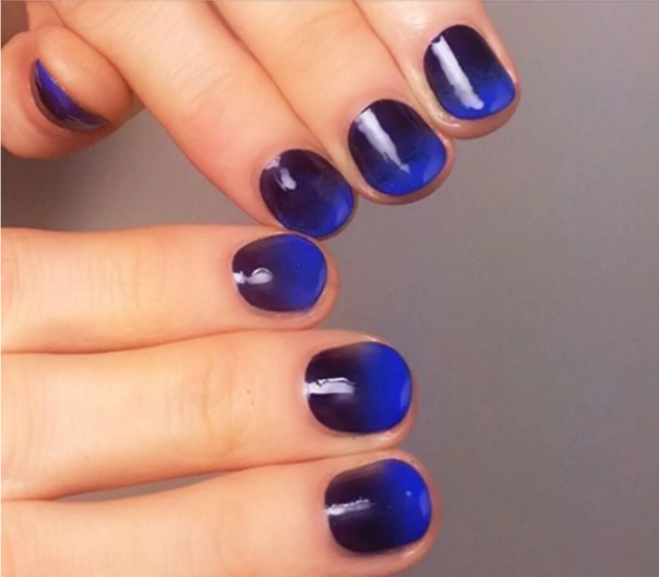
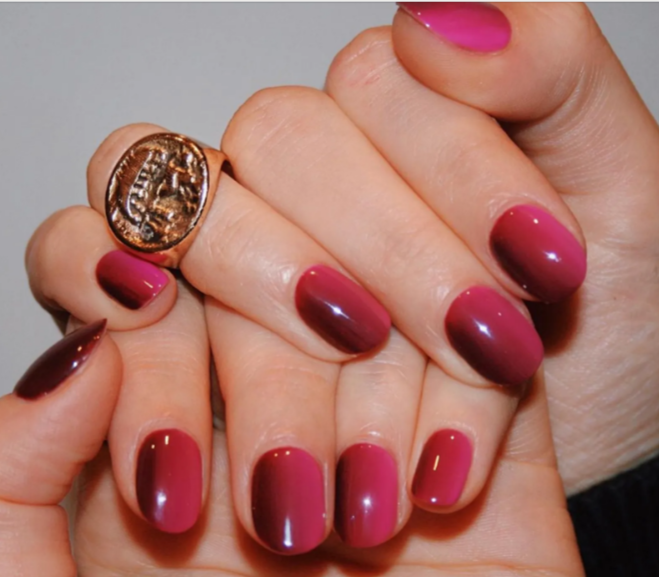
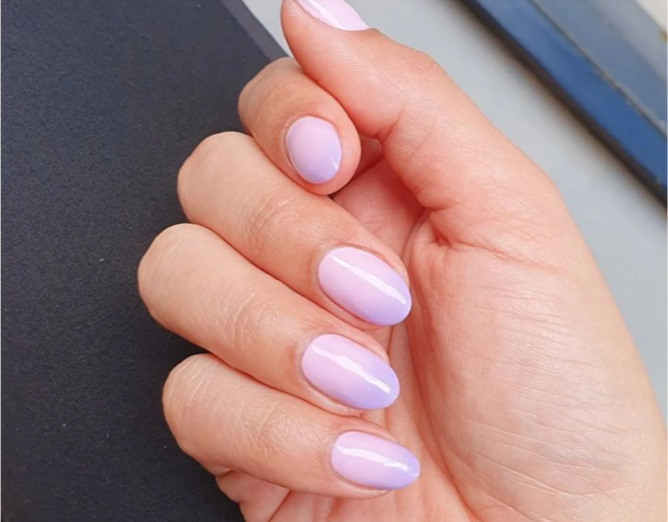
Ombre on nails may no longer be a novelty, but it is again in trend, and many girls dream of such a beautiful design.
This article is dedicated to ombré manicure. What is ombré manicure, how to create it, what colours can be used, as well as ideas and much more - all this you will learn from our article.
This article is dedicated to ombré manicure. What is ombré manicure, how to create it, what colours can be used, as well as ideas and much more - all this you will learn from our article.
What is an ombré manicure?
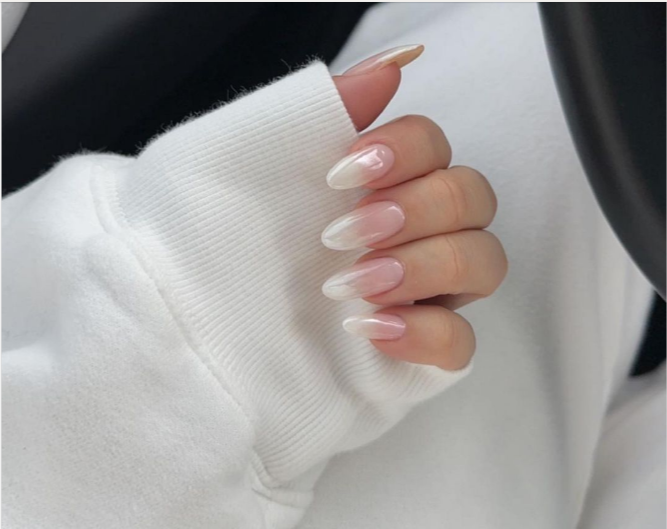
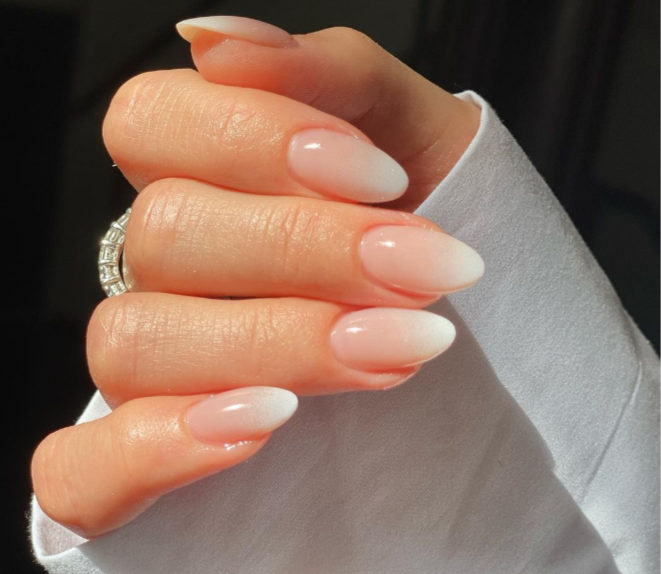
The ombré style on nails includes a smooth gradient transition between shades, creating the effect of natural fading or shimmering colours. For example, with classic French tips, this means a soft transition from creamy white tips to delicate pink tones without sharp contrasts.
What colours are best for an ombré manicure?
The final choice depends on personal preference. For example, for a classic French ombré, neutral tones such as white, cream or pink are ideal. If you prefer gradient ombré, you can use several shades of the same colour or go from one colour to another by playing with different shades (e.g. dark blue, medium blue and light blue).
Families of shades such as pastels or jewel tones also work well. If you want something more dramatic, you can experiment with combining ombré in opposite nail colours.
How long do ombré manicures last?
How long your manicure lasts depends on the coating you choose. Regular polish can last up to a week or two, depending on the condition of your nails. Gel polish will last much longer - about two to three weeks. Acrylic nails will keep the perfect look even longer, up to three to four weeks.
How to do an ombré manicure?
The ombré manicure, despite the initial difficulty, is actually easy to do once you learn the secrets of this technique. This style has a universal charm: whether it's bold colour accents, a minimalist approach or a strict colour palette, it caters to all tastes.
What you need for an ombré manicure
- Base
- Base
- Light gel nail polish
- Darker gel nail polish
- Make-up sponge
- Top
- Gel polish remover
- Nail brush or cotton swabs
Follow these steps:
1. Apply the base evenly on each finger and dry in the lamp.
2. Take a rectangular makeup sponge and start applying the lighter colour horizontally from the top across the top of the sponge. Then carefully apply the darker colour just underneath, taking care to create an area in the middle where the two shades overlap. You can add more colour if you like.
3. To create an ombré effect, press the sponge against the nail so that the colours flow seamlessly into each other. Then fix the result by drying in the lamp.
4. The final step is to apply the top and then cure in the lamp.

