How to Do a Manicure at Home: A Step-by-Step Guide for Beginners
Neat and well-groomed nails don’t necessarily require a trip to the salon. You can easily do a beautiful manicure yourself, even without experience, if you follow the correct sequence and use the right tools. How can you do a manicure at home and achieve a neat result? We explain everything step by step in our article.
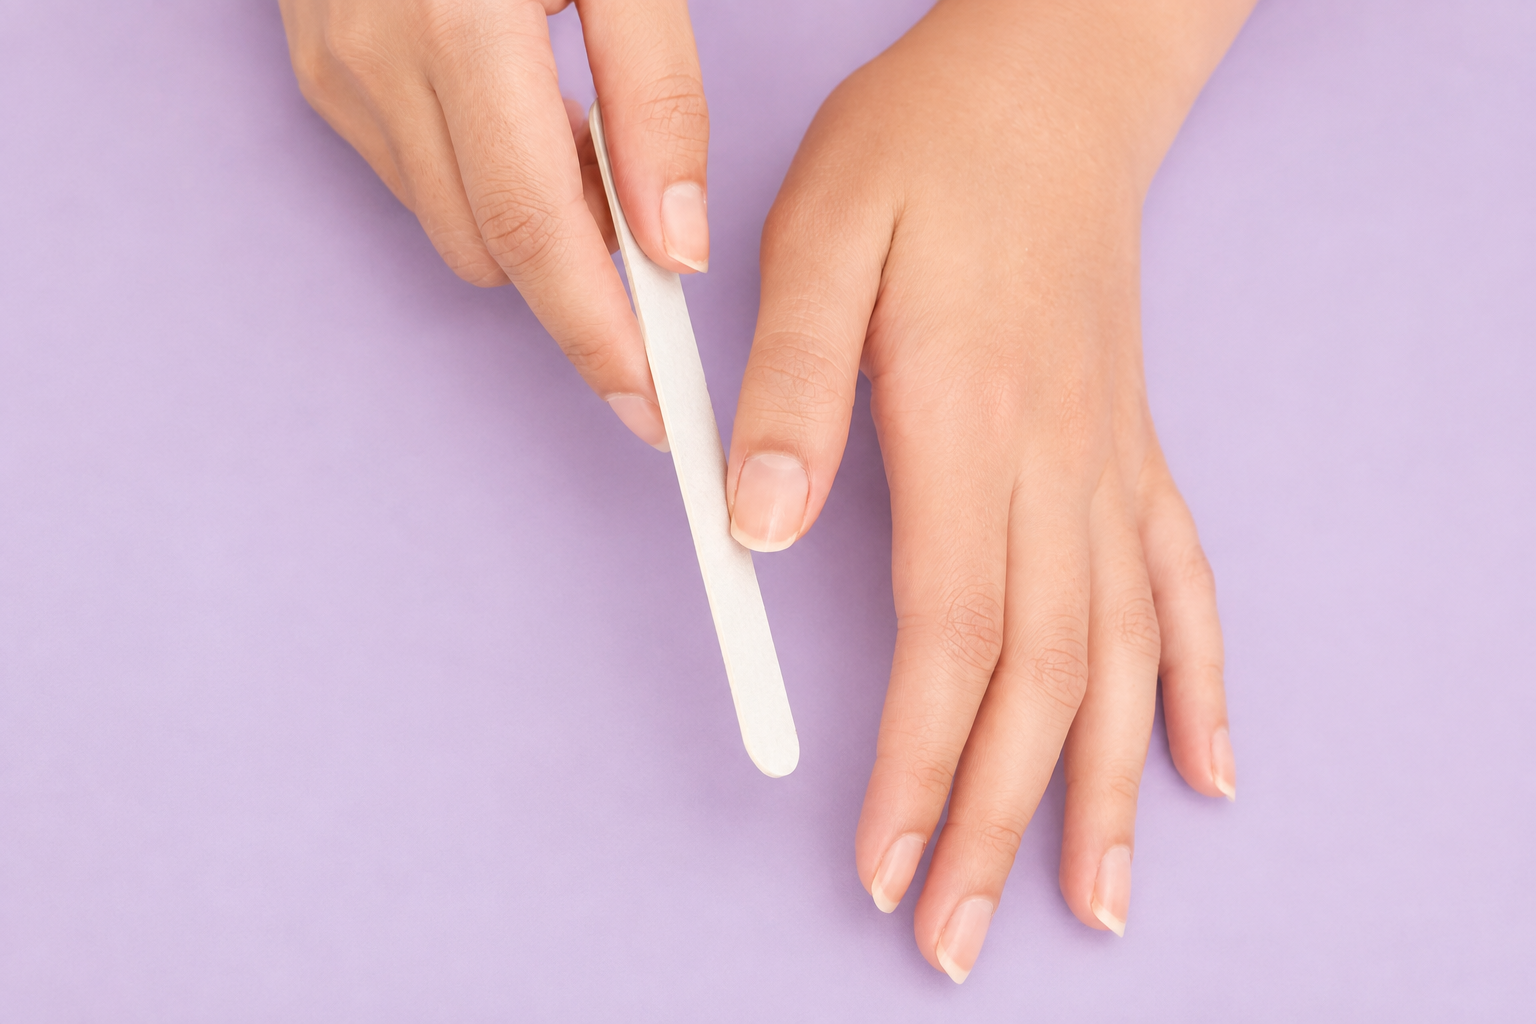
Remove any old nail polish and wash your hands thoroughly. Choose the desired length and shape of your nails. If you are doing a manicure at home for the first time, opt for a simple shape such as a soft square, oval, or almond. File your nails in one direction using smooth movements rather than sawing back and forth. This helps prevent the nails from splitting or peeling.
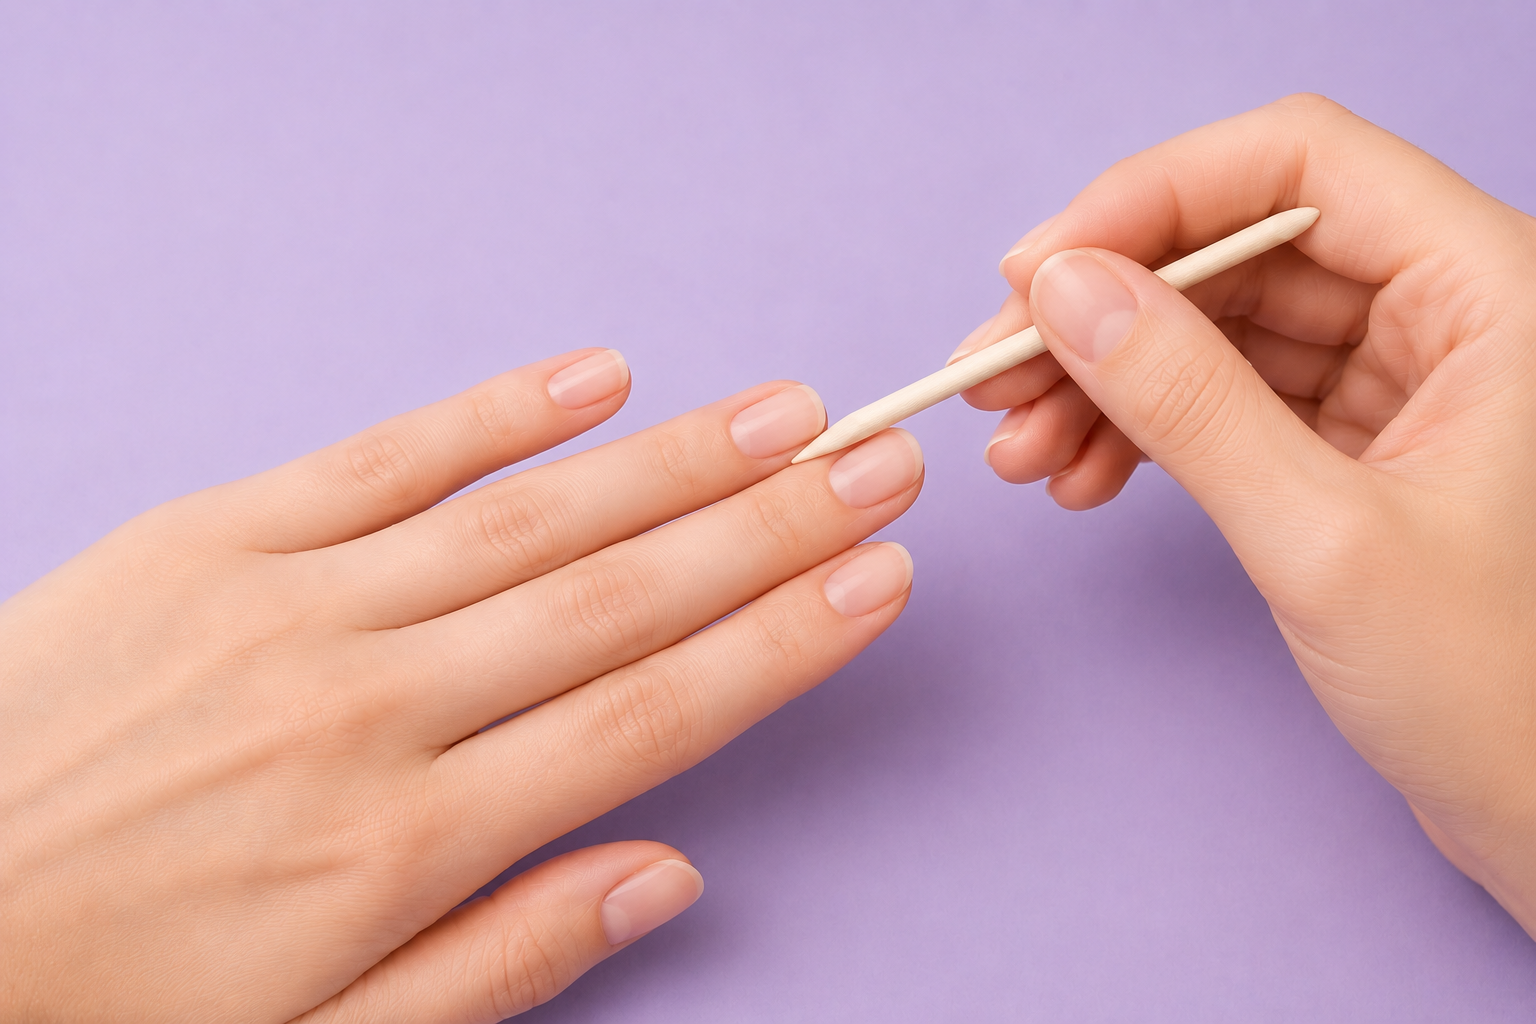
For your first home manicure, it is better to avoid cuticle nippers, as using them requires at least some practice. Apply a small amount of cuticle remover to soften the cuticles, or gently push them back after a shower. Carefully lift the cuticle with a pusher or orange stick and remove any remaining product.
If you do use cuticle nippers, trim only hangnails and dead skin without cutting into the living cuticle. Overly deep or aggressive cuticle treatment can cause irritation and micro-injuries.
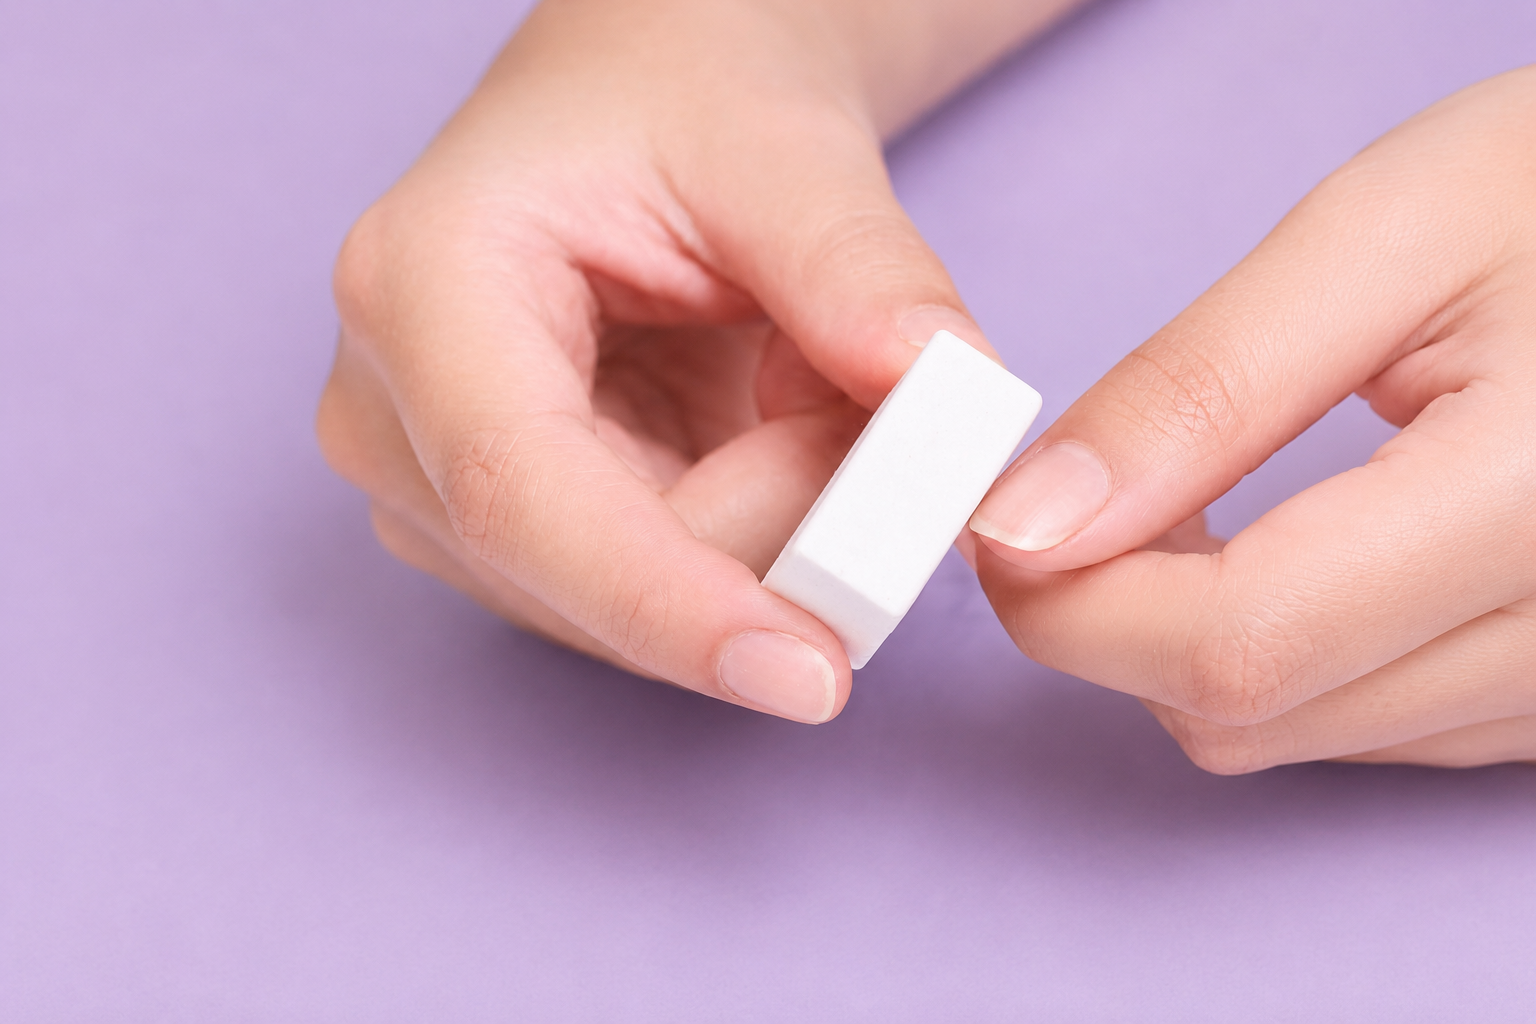
Using gentle movements, smooth the surface of the nail plate with a buffer. Do not apply too much pressure, as this can thin the nail. Then remove the dust with a nail brush and degrease the nail plate. Do not apply cream or oil before applying the coating, as they can reduce the adhesion of the product to the nail.
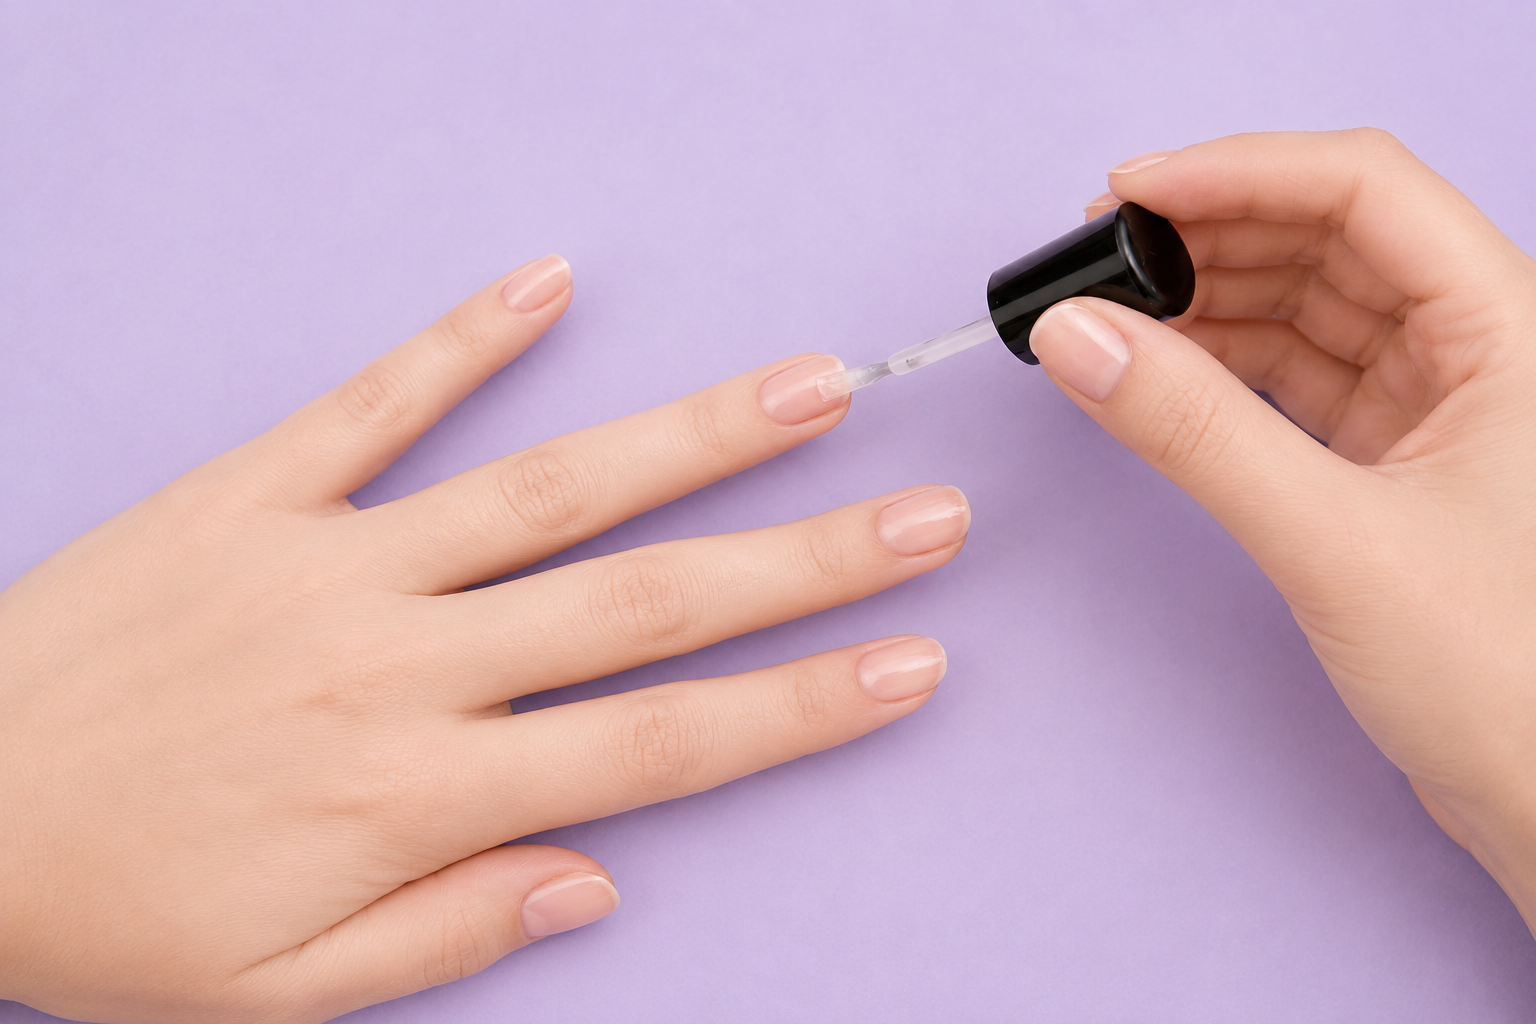
A base coat helps smooth the surface of the nail and creates a foundation for the colored coating. Apply a thin layer, taking care not to get the product on the skin.
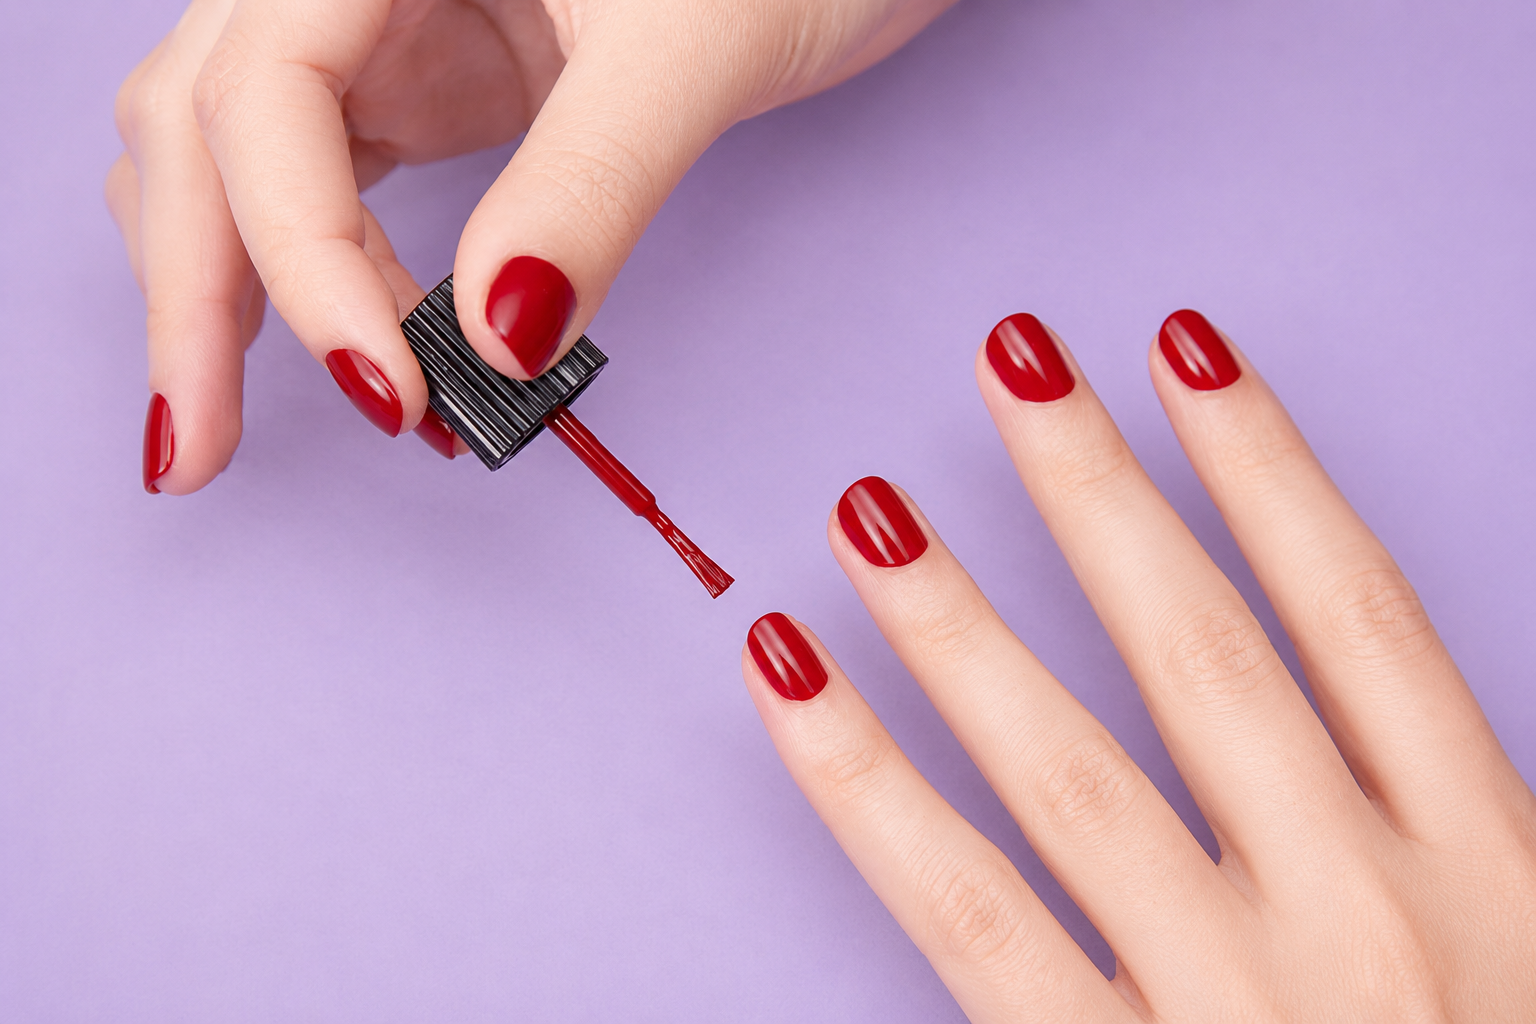
Step 5. Apply the Colored Polish Applying nail polish There is a simple but effective rule when applying nail polish: it is better to apply 2–3 thin layers than one thick layer.
Apply the first thin layer without trying to achieve full color intensity right away. Let it dry for about 6 minutes, then apply 1–2 additional layers if necessary. This technique helps create an even, neat coating without streaks or bubbles.
Leave a small gap around the cuticle. If polish gets onto the skin, carefully remove it with a cotton swab slightly moistened with acetone.
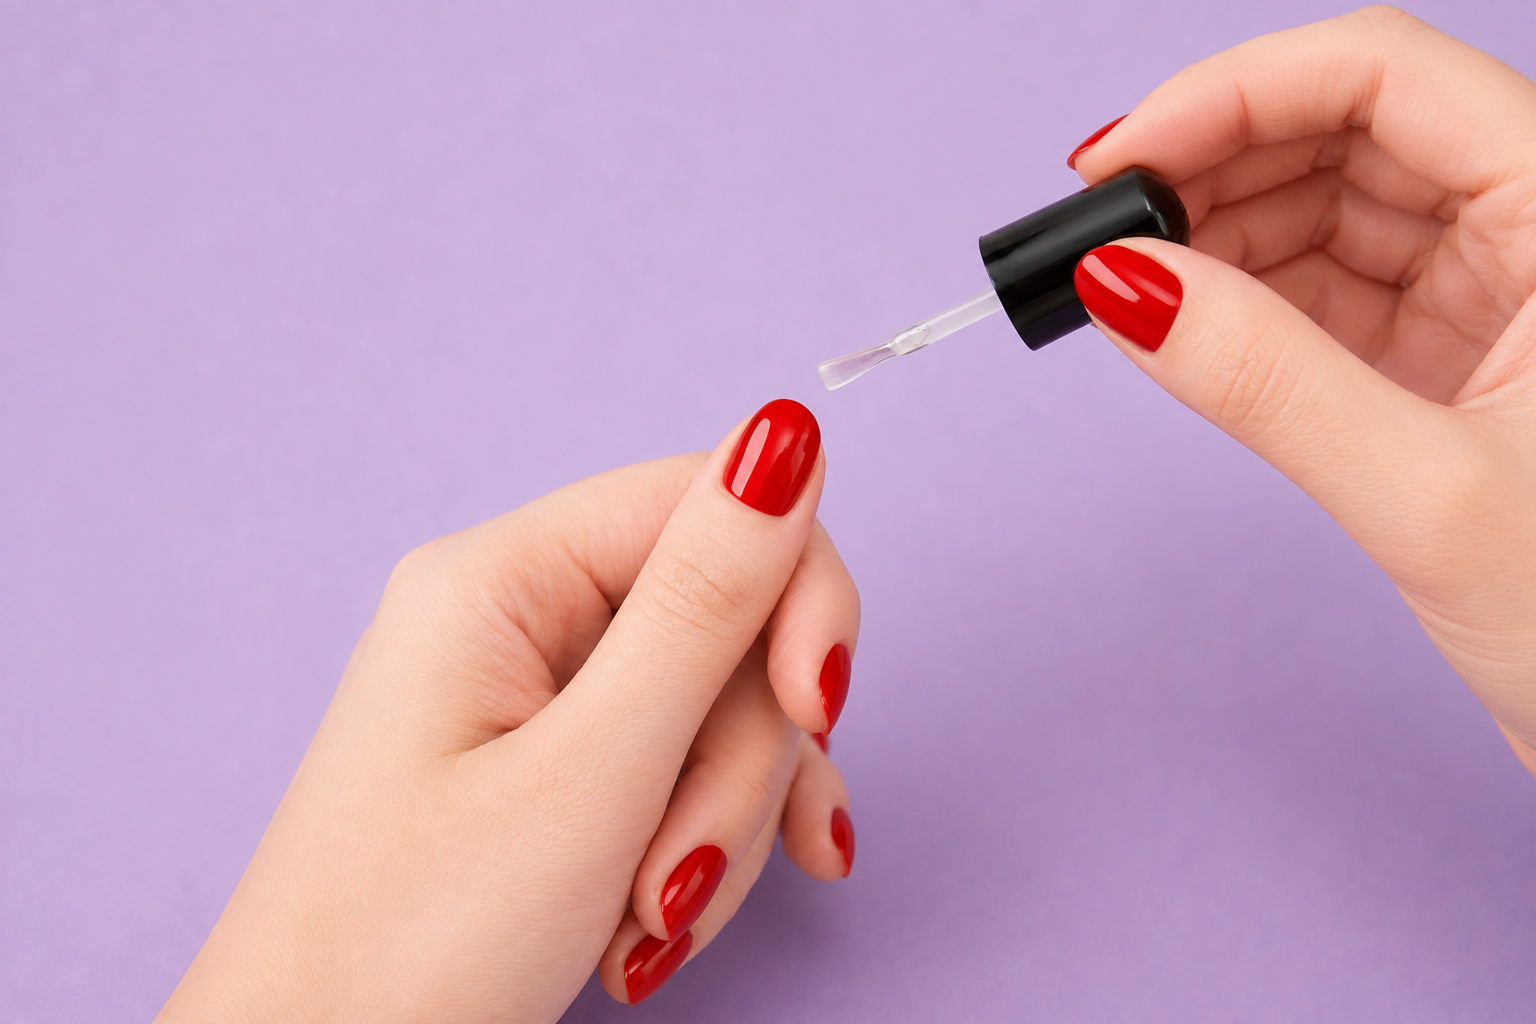
A top coat adds shine and protects the color. Apply a thin, even layer of top coat, carefully sealing the free edge of the nail. To keep your manicure looking flawless for longer, refresh the top coat every 4–5 days.
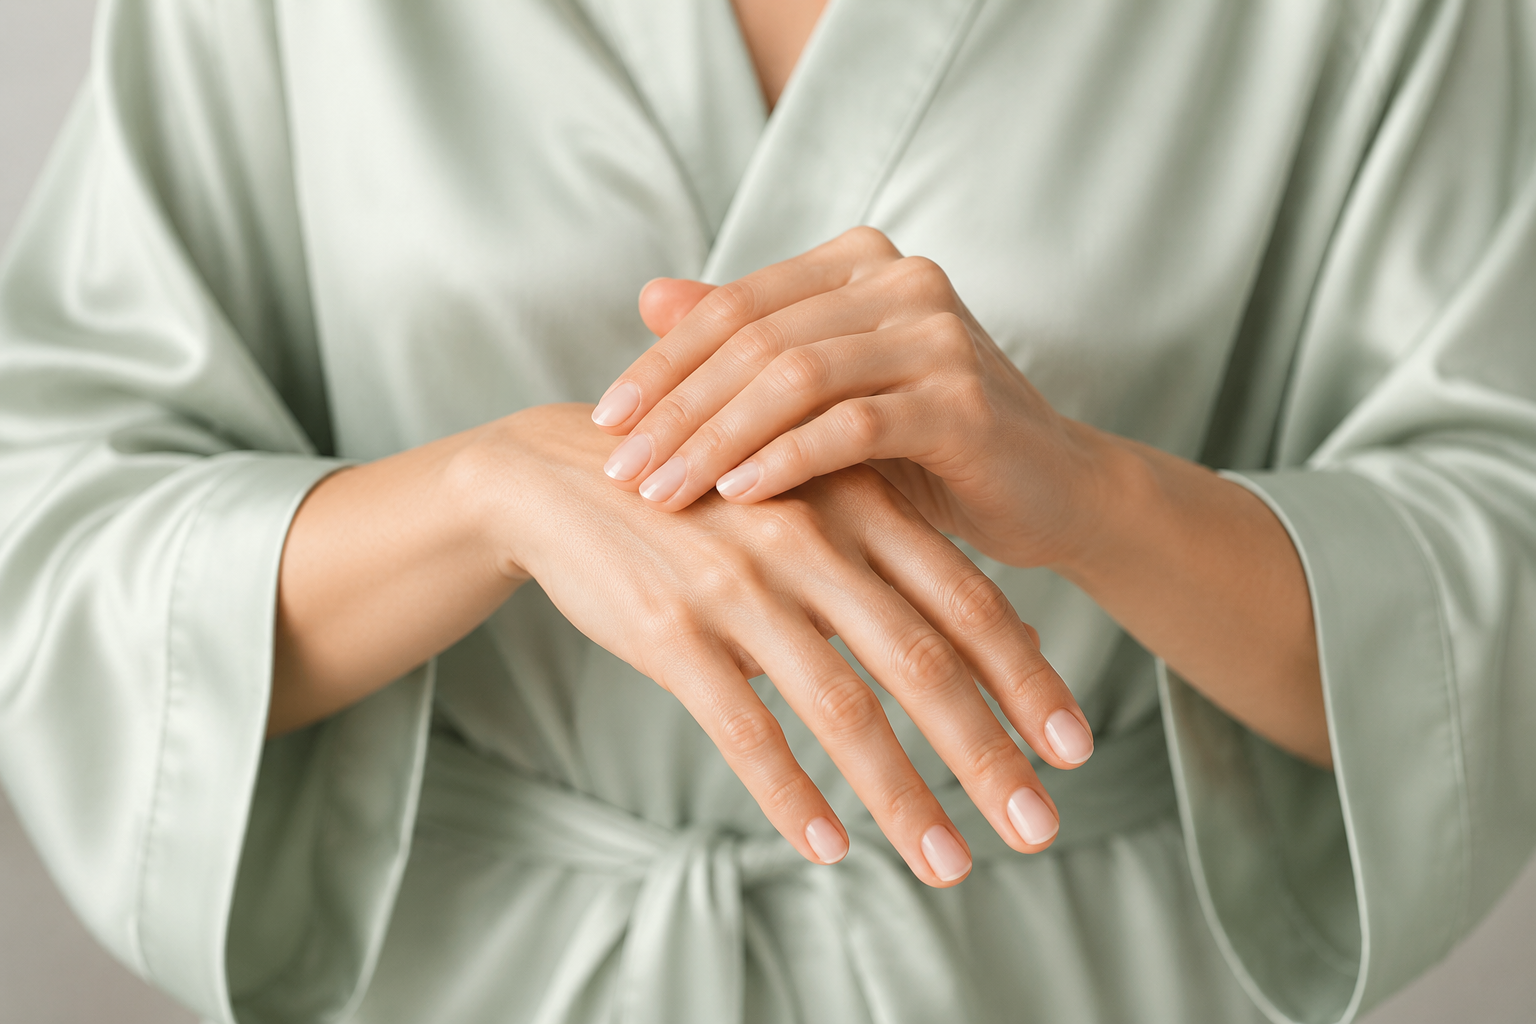
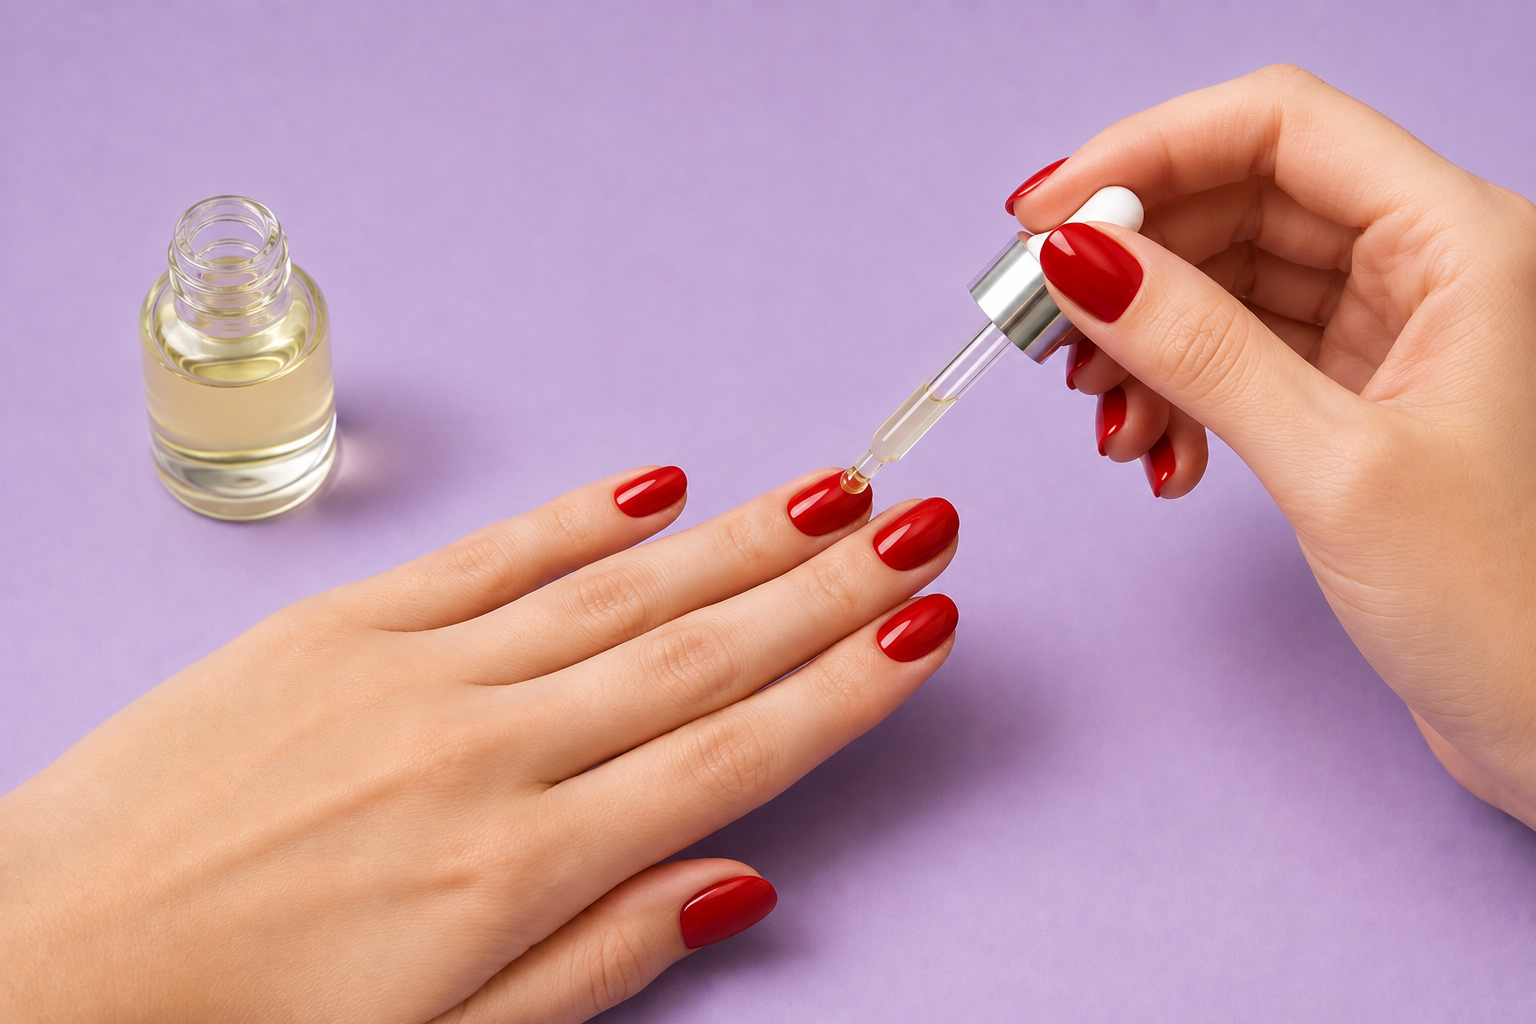
After completing the procedure, apply cuticle oil and gently massage it in, then moisturize your hands with hand cream. This will help keep the skin soft and give your manicure a more polished and well-groomed appearance.
The main secret to a beautiful home manicure is thorough preparation and careful application. Don’t try to do everything as quickly as possible: with practice, your movements will become more confident and the result more precise. Start with simple single-color manicures, and once you have mastered the basic techniques, try French manicures, gradients, minimalist nail art, and other designs.