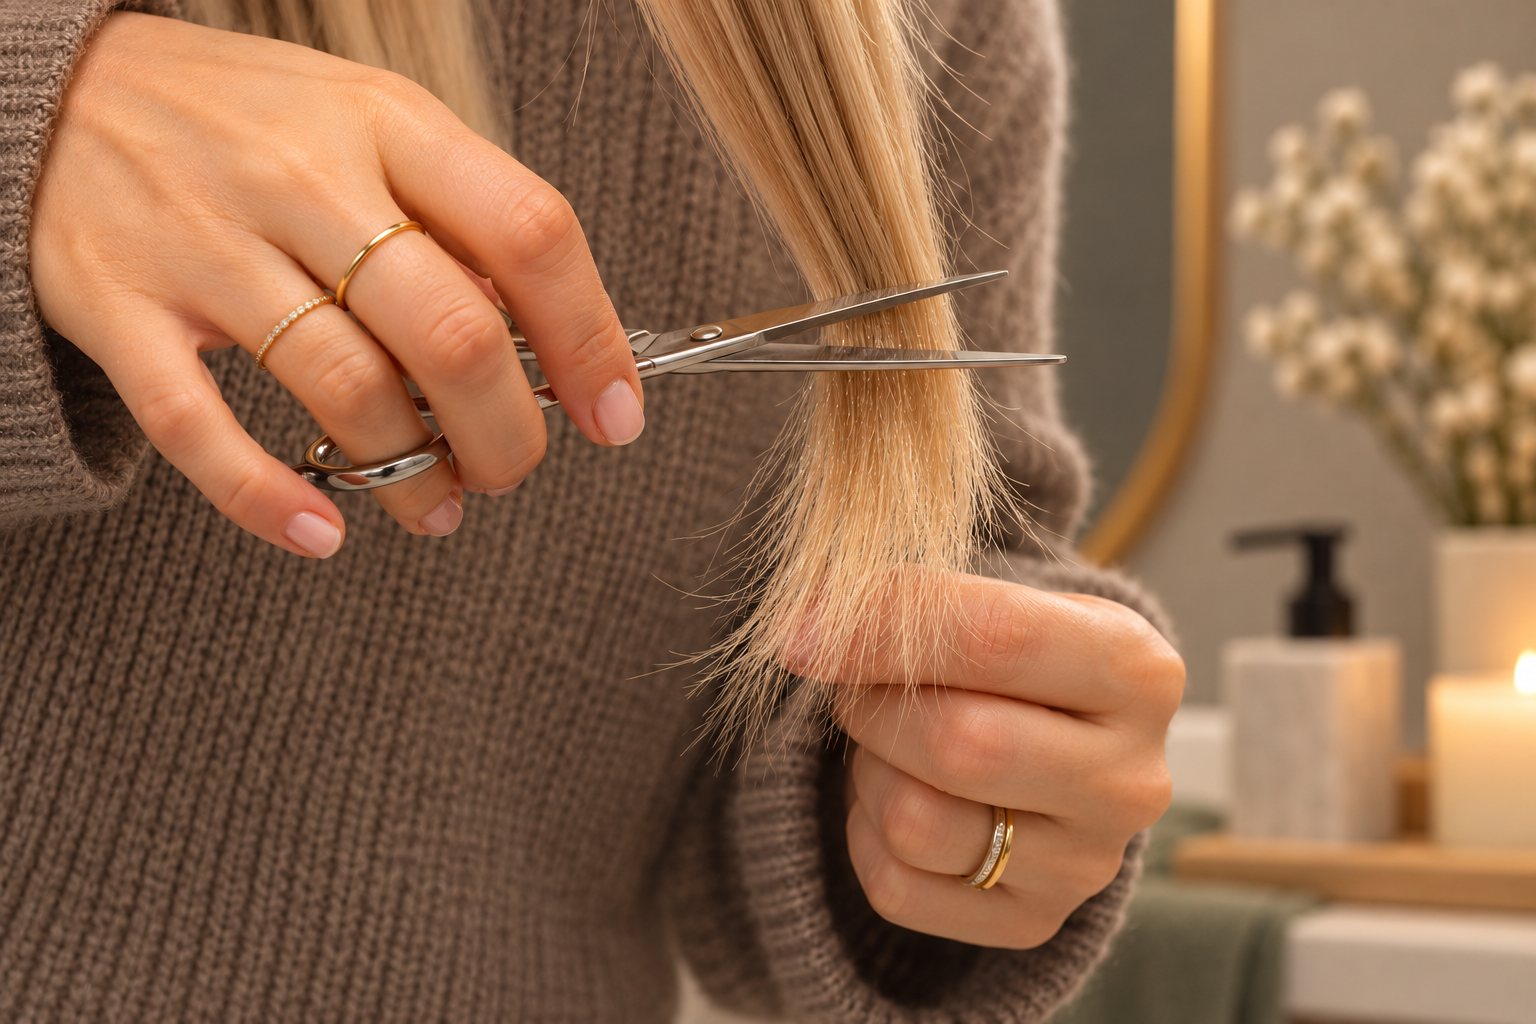
If you want to cut your hair yourself but don’t know where to start, try the high ponytail method, also known as the “unicorn haircut.” This technique has become popular on social media. It’s simple: gather your hair into a very high ponytail that resembles a unicorn’s horn, then cut off the ends in one snip. It may sound daring, but the results might not be as dramatic as they seem at first.
This method creates just one type of haircut: a heavily layered style. Professional hairstylists recommend it for people with very long or curly hair, as pronounced layers look particularly striking on long lengths and curls.
Fortunately, you’ll need only a few inexpensive tools to try this technique. Here’s what you’ll need:
• Hair-cutting scissors
• Two hair ties
• A detangling brush or wide-tooth comb
• A mirror
• Optional: thinning shears
Keep reading to learn how to refresh your hairstyle in just five minutes by following a few simple steps.
1. Wash your hair
Before cutting your hair at home, wash and style it as you normally would. This will help you see exactly where you need to trim your hair and avoid cutting off too much, which could leave you disappointed with the results. Then, apply an anti-frizz product to make your hair’s natural length easier to see.
2. Brush your hair
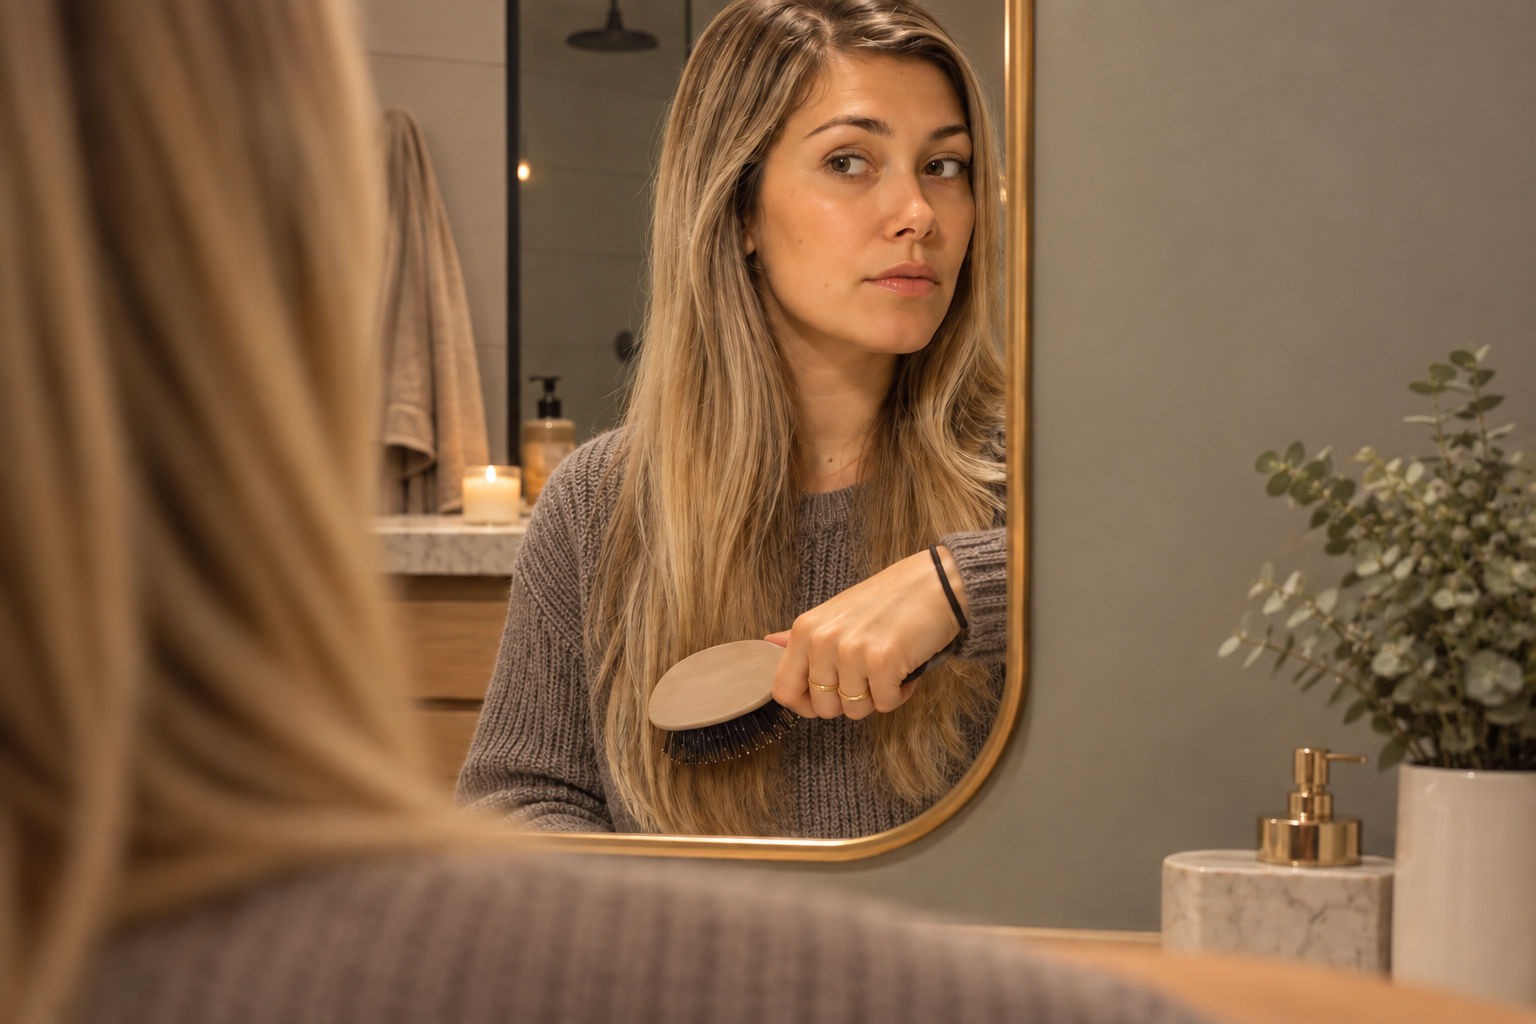
Start by thoroughly brushing your hair and removing any tangles. If you have curly hair, use a wide-tooth comb. Your hair should be completely dry to prevent shrinkage after cutting. It’s also best to cut clean hair, as natural oils can weigh down the strands and affect the final result.
3. Create a high ponytail without bumps
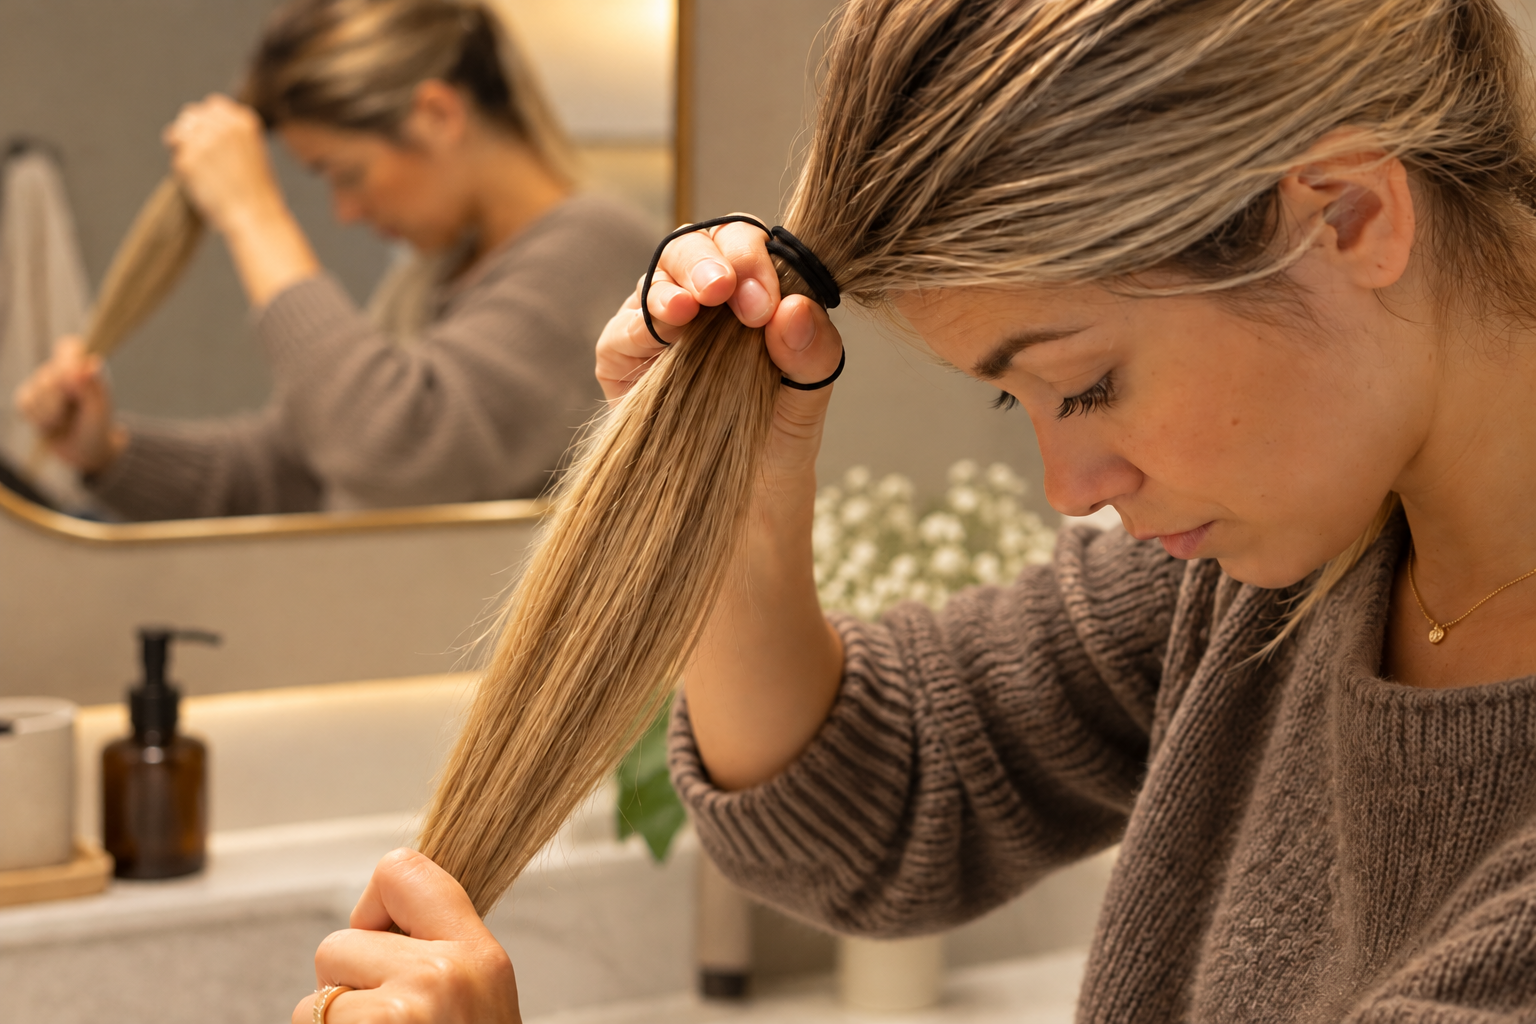
Next, tilt your head forward and gather your brushed hair into a high ponytail just above the center of your forehead, as if you were creating a unicorn’s horn. Raise your head, check in the mirror that the ponytail is centered, and secure it with a hair tie.
4. Choose your desired length

Next, decide how much length you want to remove. If you’re unsure, start with a small trim of ½–1 inch, depending on your hair’s original length. If you want to adjust the result, simply repeat the process. You can always cut off more hair, and the entire process takes just five minutes.
Use the second hair tie to mark your cutting line. First, secure it at the base of the ponytail, then slide it down to the desired length.
5. Make the cut
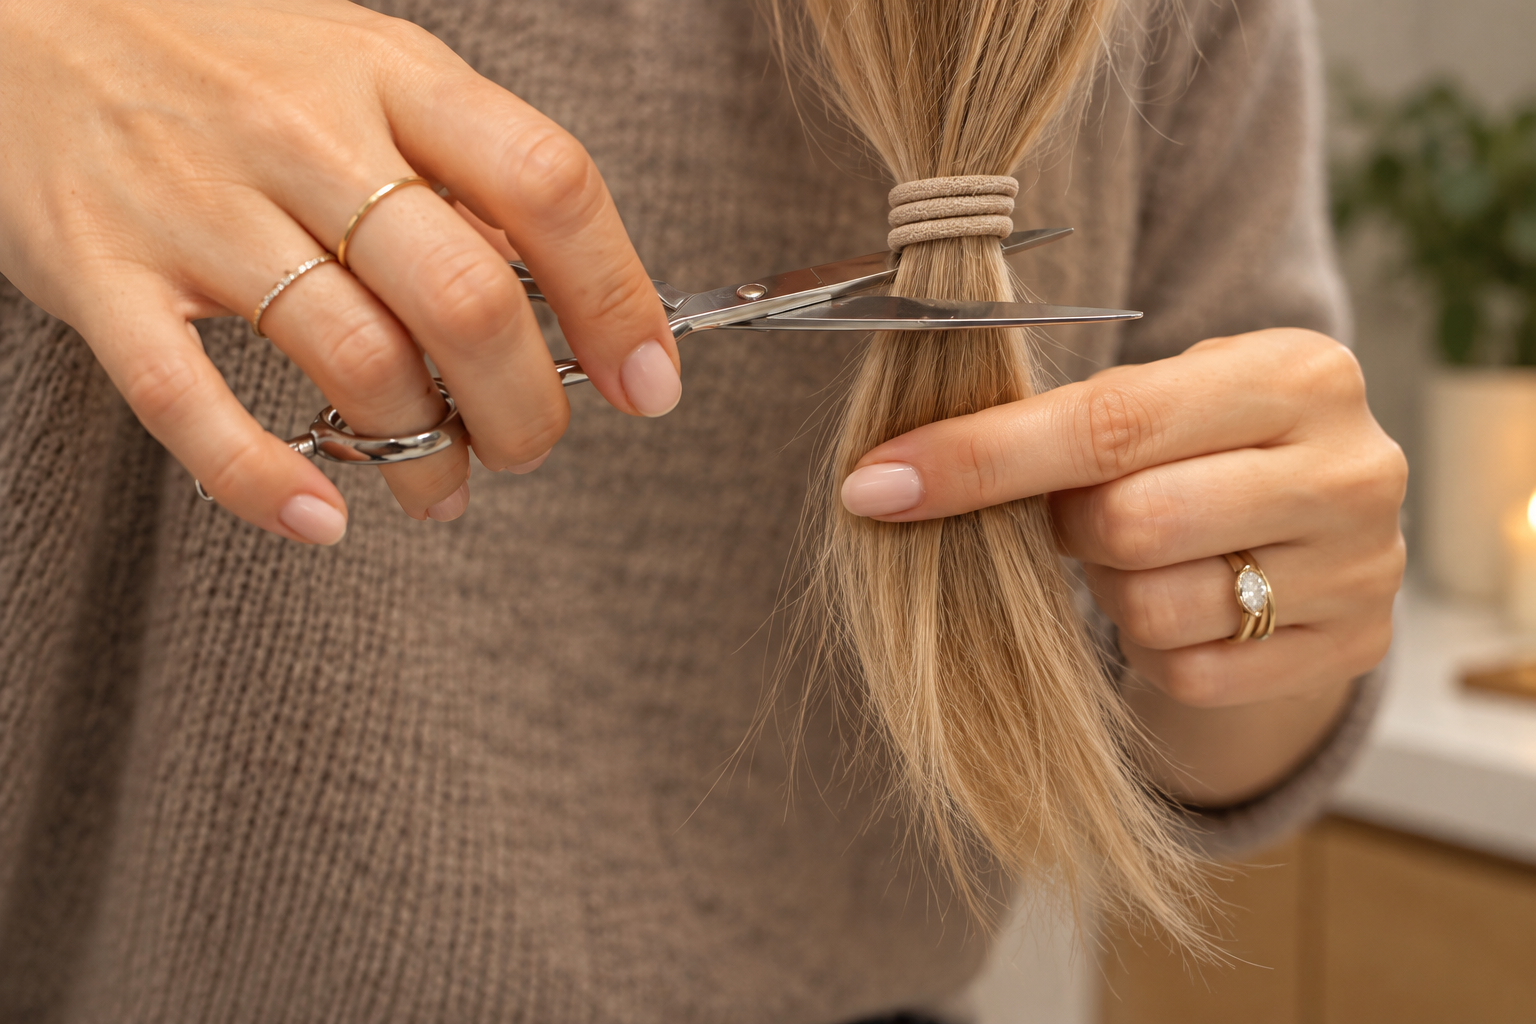
Make a single cut directly below the second hair tie, cutting the hair in a straight line. It’s important to use sharp scissors, especially when working with thick, dense hair. Use professional hair-cutting scissors, which are available at beauty supply stores.
Kitchen scissors and other tools with dull blades struggle to cut through thick hair, which can cause the ends to split more quickly. Avoid cutting your hair above chin level so that the shortest layer doesn’t end higher than your jawline. If you want curtain bangs or side-swept bangs, leave those sections out of the main cut and blend them into the rest of the layers afterward.
Regular hair-cutting scissors are suitable for this technique if you want clean, defined ends or want long, relatively thin hair to look fuller. If you have thick or curly hair, you can use thinning shears. They help soften the cut, reduce the risk of mistakes, and create a smoother, more gradual transition at the ends.
6. Make the final adjustments
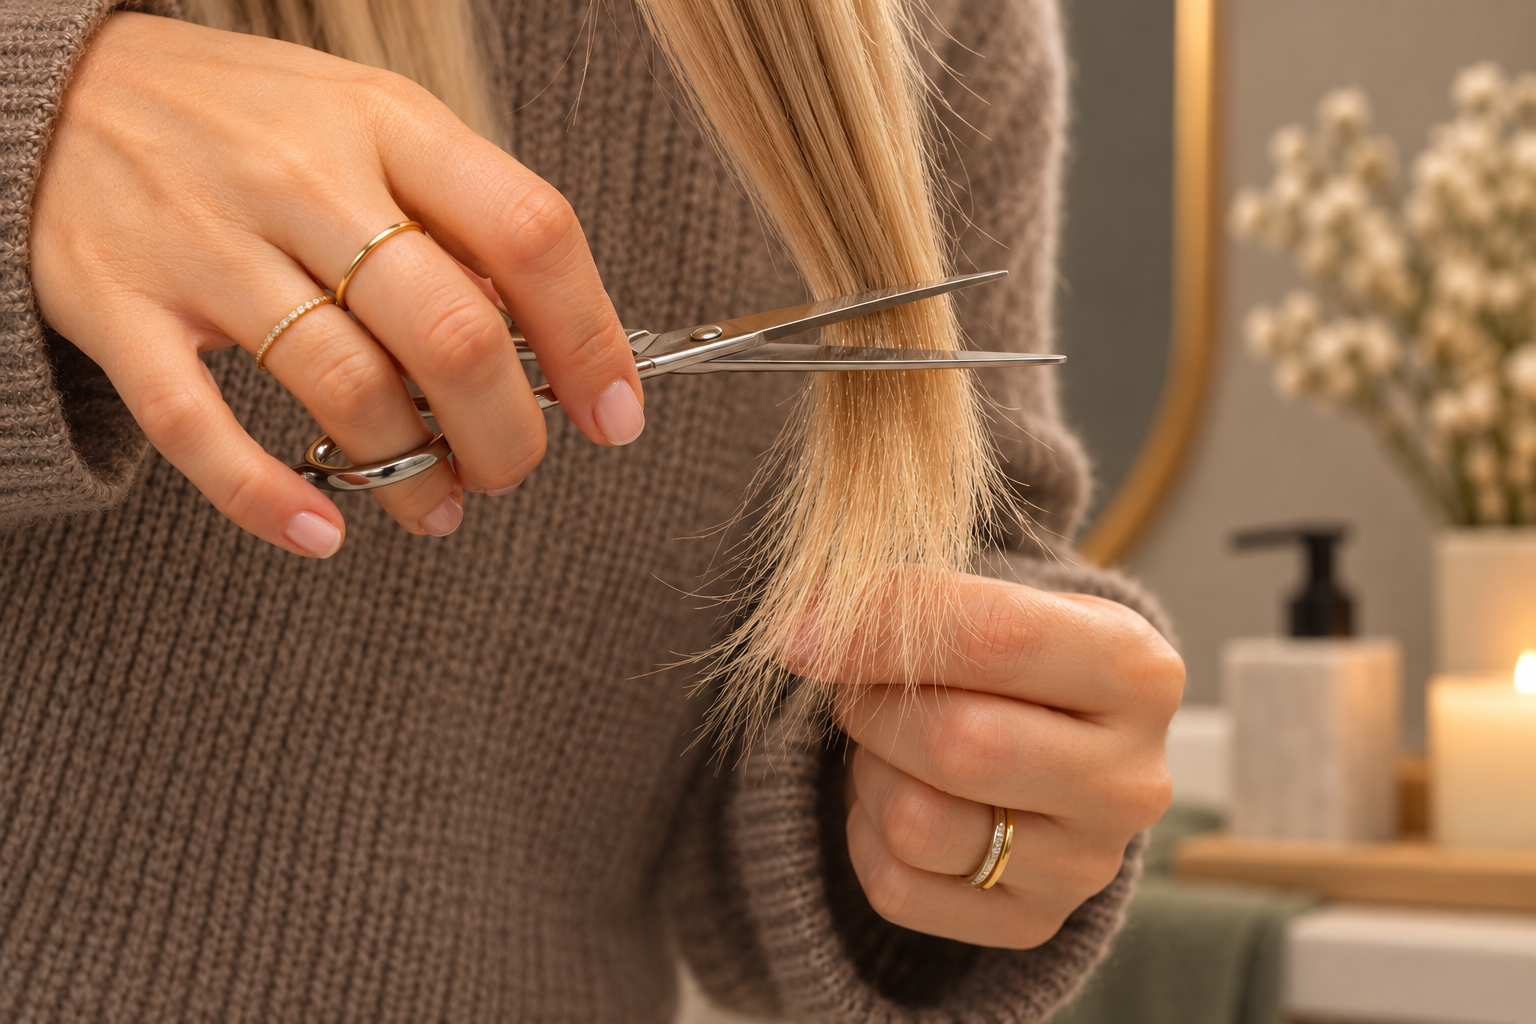
The main work is done, and your hair is almost ready. A few professional tips can help give your layered haircut a neater, more polished finish. These steps are optional, but they can improve the result.
• Soften the ends with point cutting: If the layers look too harsh and the ends appear blunt after you release your ponytail, try softening them. Gather your hair into a high ponytail at the crown again, as you did for the unicorn haircut. Take regular hair-cutting scissors or thinning shears, hold the ends firmly, and point the scissors vertically upward, making small snips along the edges. This technique adds lightness to the ends and helps soften the transitions between layers.
• Adjust the shape: When you use the ponytail method, your hair will usually form a pronounced V-shape at the back. If you prefer a softer silhouette, create a straight center part and bring both sections forward over your shoulders. Trim the bottom layer, then bring both sections together under your chin to check for symmetry. Removing the longer ends can soften the V-shape and create a more rounded U-shaped silhouette, similar to a square manicure with slightly rounded corners.
• Take your time: We recommend cutting off as little length as possible at first and trimming gradually if needed. Start with small cuts. You can always remove a little more hair if necessary. Brush your hair regularly to assess the result and decide whether you’re happy with it.
Read also: