


Stencil Nail Art: A Quick and Easy Way to Jazz Up Your Nails
Nail art has always been a popular form of self-expression, and with the rise of accessible beauty tools, there's never been a better time to experiment with different styles and designs. One of the easiest and most versatile ways to create intricate patterns is by using stencils. Stencils are a great alternative to freehand designs as they offer precision and consistency.
If you're just beginning your nail art journey, stencils are the ideal tool to start with. Here's a quick overview of what stencil nail art is and how it works:
What is Stencil Nail Art?
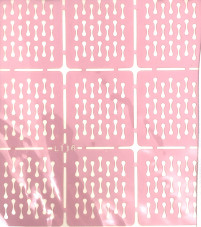
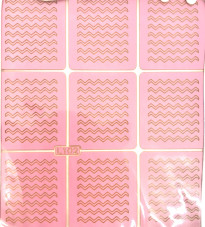
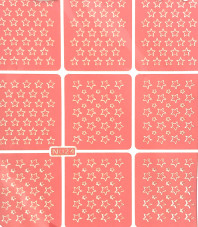
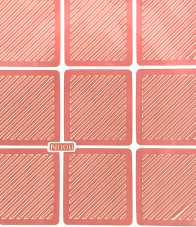
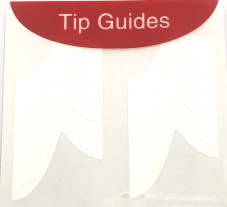
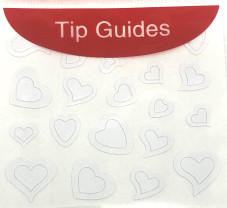
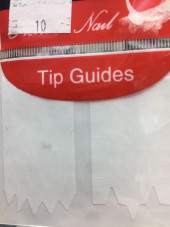
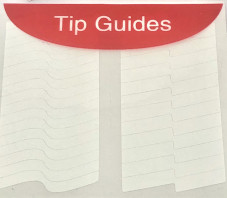
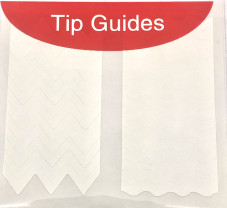
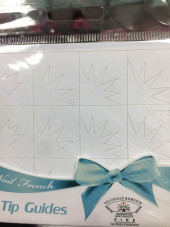
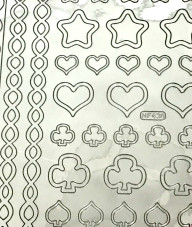
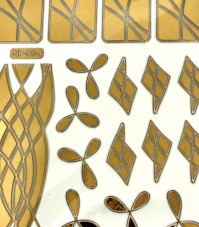
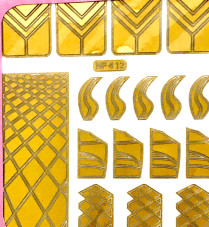
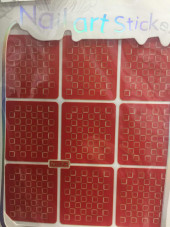
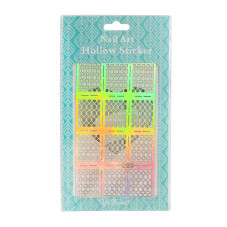
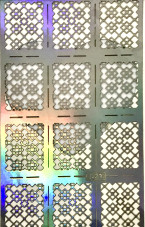
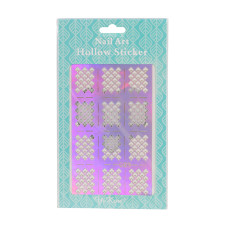
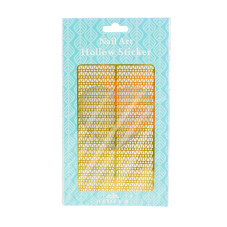
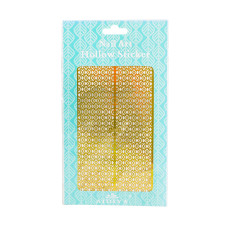
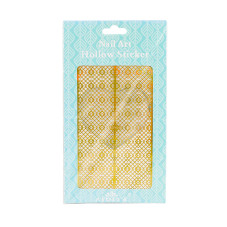
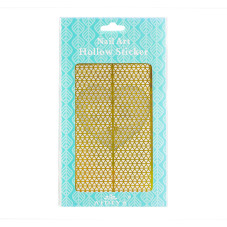
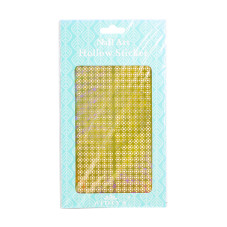
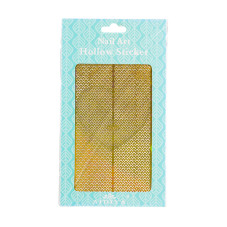
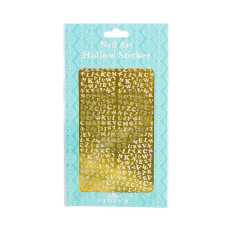
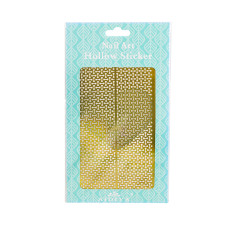
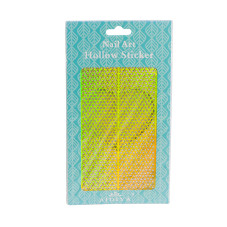
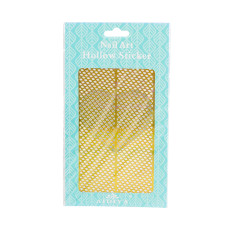
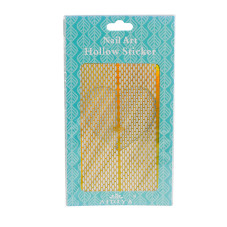
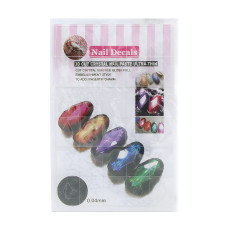
Stencil nail art is the process of transferring a pre-cut design onto your nail. Generally made of vinyl or plastic, stencils come in a range of shapes, sizes, and patterns. The most common type of stencil is a sheet of adhesive vinyl with cut-outs in the shape of your desired design. You place the stencil on your nail, apply polish over the cut-outs' gaps, then peel off the stencil to reveal a perfectly designed nail.
How to Use Stencil Nail Art?
Stencil nail art is incredibly easy to use. Follow these five simple steps to achieve stunning designs:
Step 1: Prep your nails by removing any old polish and cleaning them thoroughly. You can also apply a base coat to protect your nails from staining and increase the longevity of your design.
Step 2: Choose your stencil design, peel it off the sheet's backing, and place it on your nail. Make sure to align the stencils properly and apply them firmly.
Step 3: Apply your chosen nail polish over the stencil, covering all of the gaps.
Step 4: Remove the stencil, but don't let the polish dry completely.
Step 5: Clean up any excess polish or smudges with a small, angled brush dipped in polish remover, and let your design dry fully.
What Tools Do You Need for Stencil Nail Art?
Luckily, for stencil nail art, you don't need any specialist tools. Here's a list of everything you'll need:
- Nail polish in your chosen colour(s)
- Stencils
- Base coat and topcoat
- Angled brush
- Nail polish remover
Why Use Stencils?
Stencils offer several benefits when it comes to nail art. Firstly, they save time and effort by providing a precise outline for the design you're trying to accomplish. Secondly, you can use stencil nail art with both natural nails and nail extensions, so you don't need to have long, perfectly-shaped nails to achieve a stylish design. Additionally, you can mix and match stencils, creating unique designs that are bespoke to you.
In conclusion, stencil nail art is a fun and easy way to give your nails a quick update. If you're unsure where to start with your nail art journey, experimenting with stencils is the perfect place to start. Whether you're a beginner or an expert, stencils offer an exciting and creative way to experiment with new trends and styles.