Tips for Ombre Nail Designs

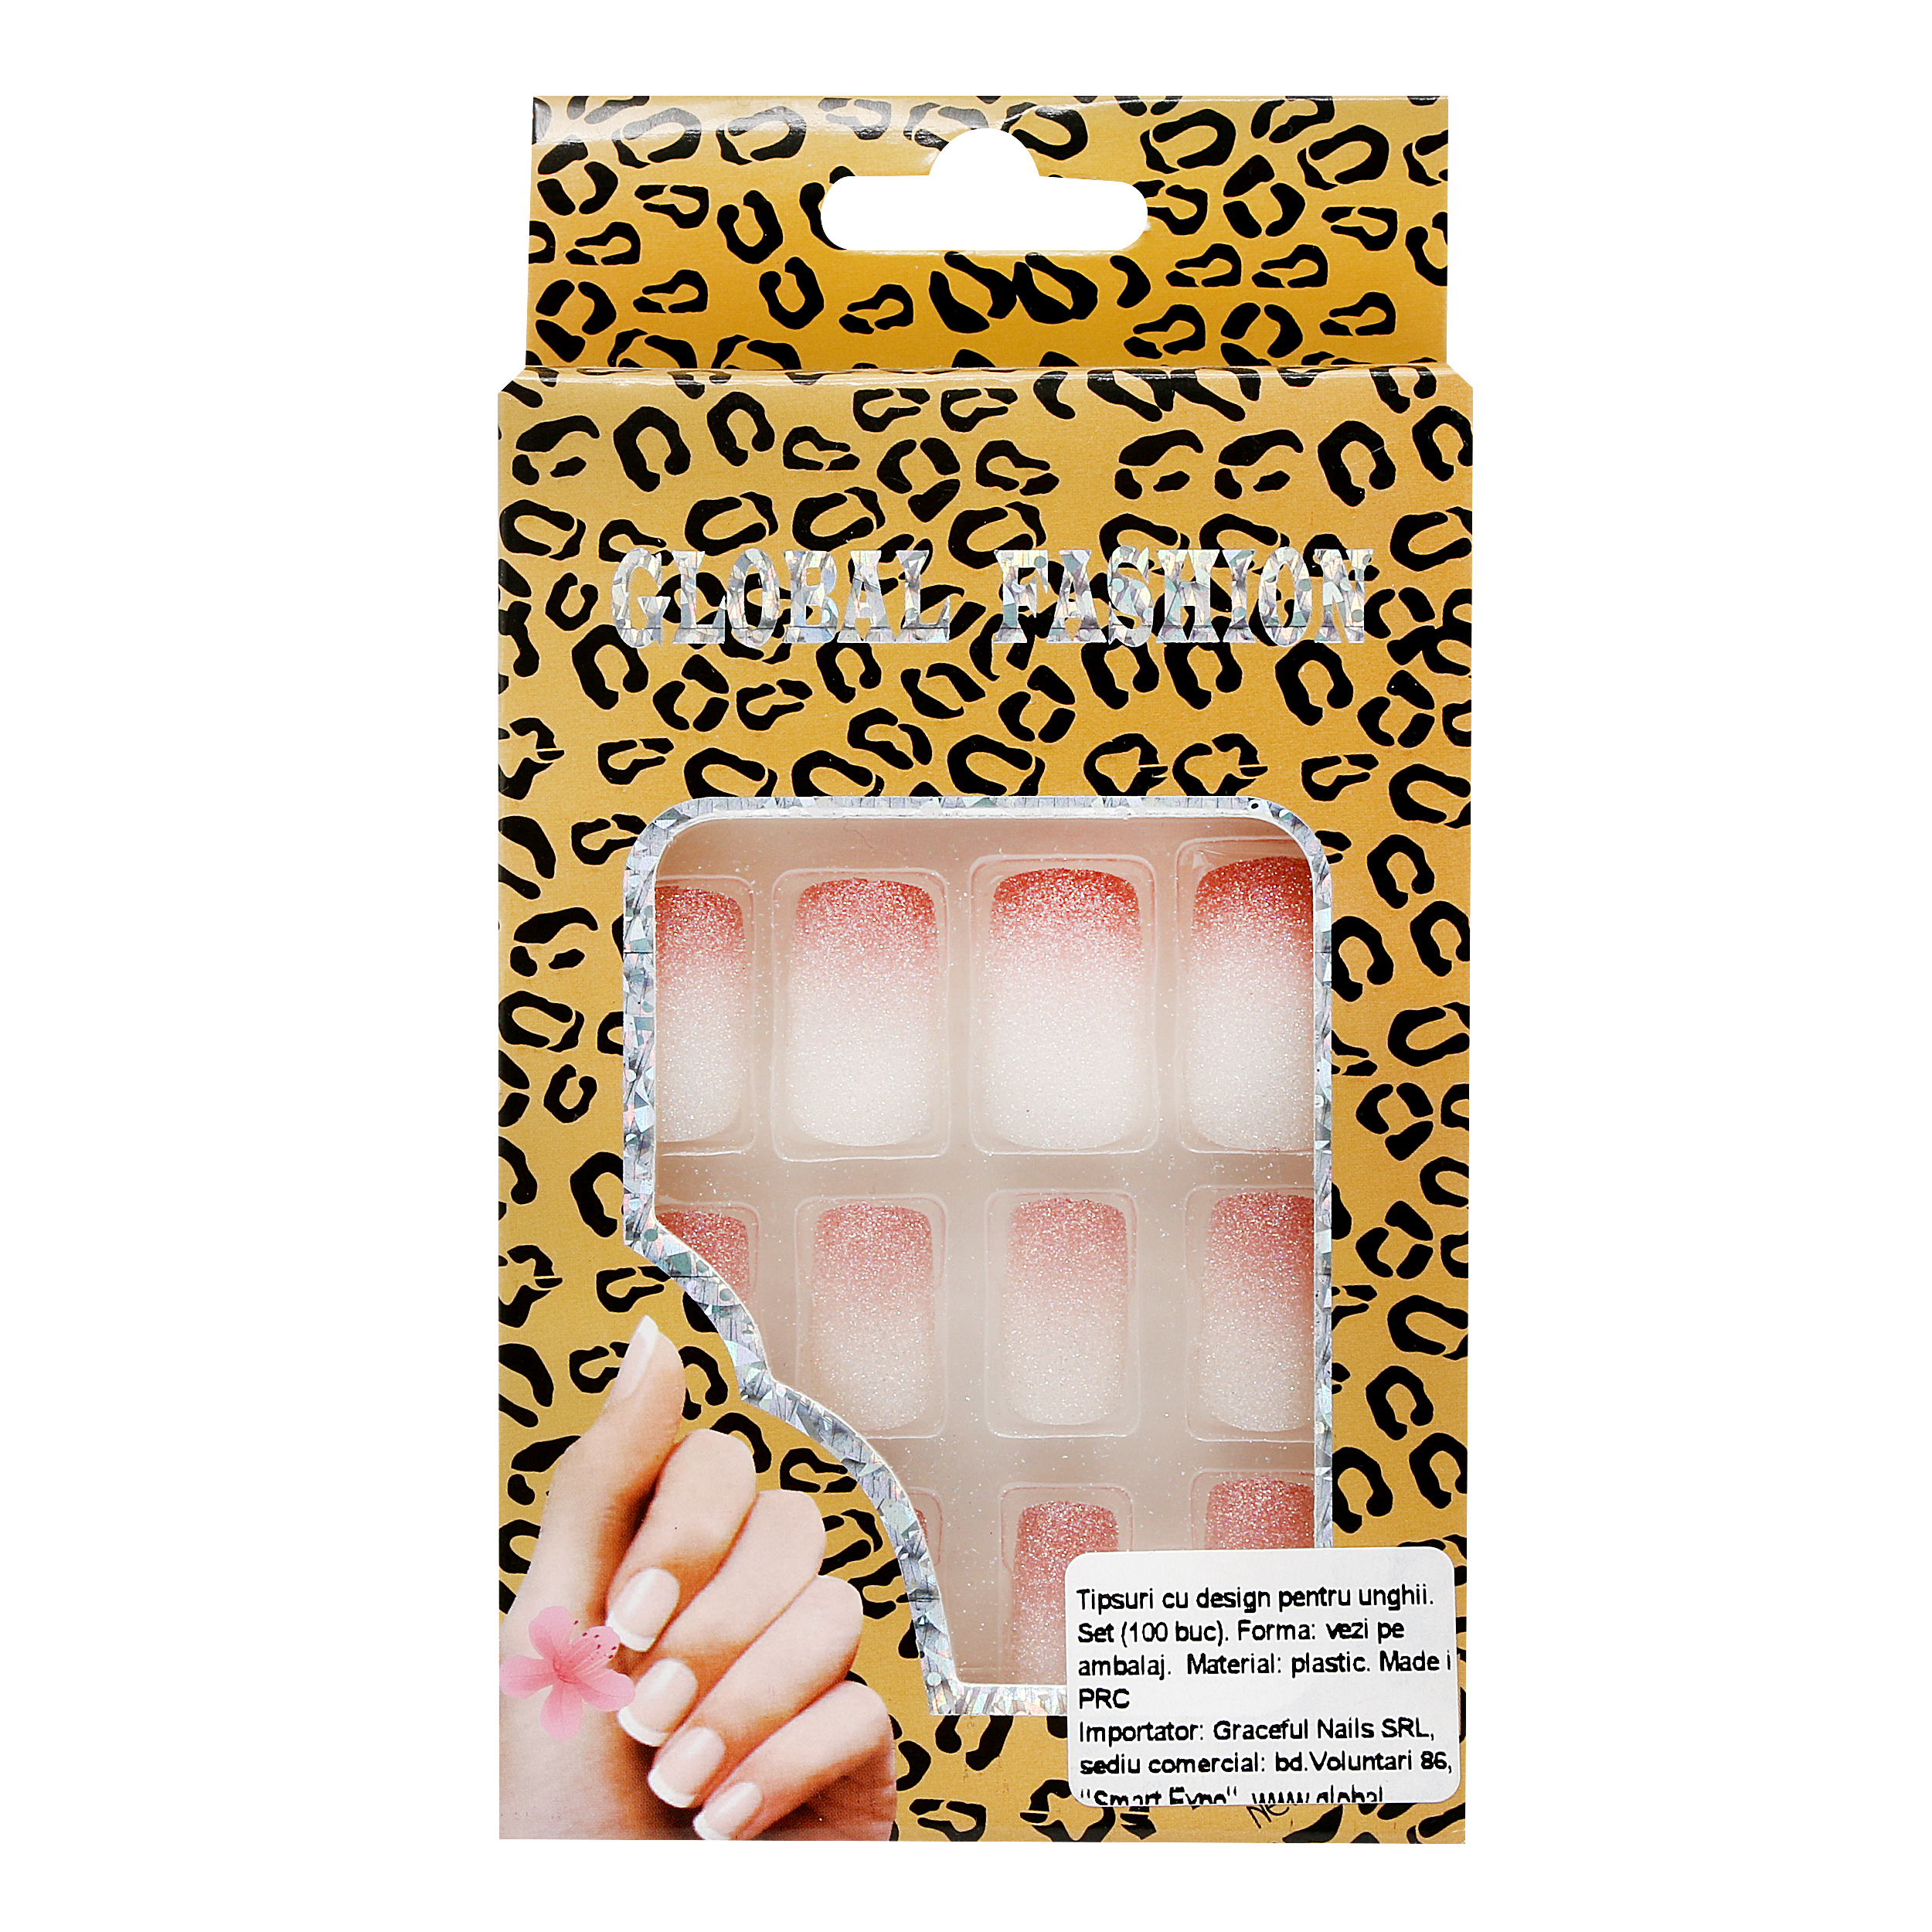
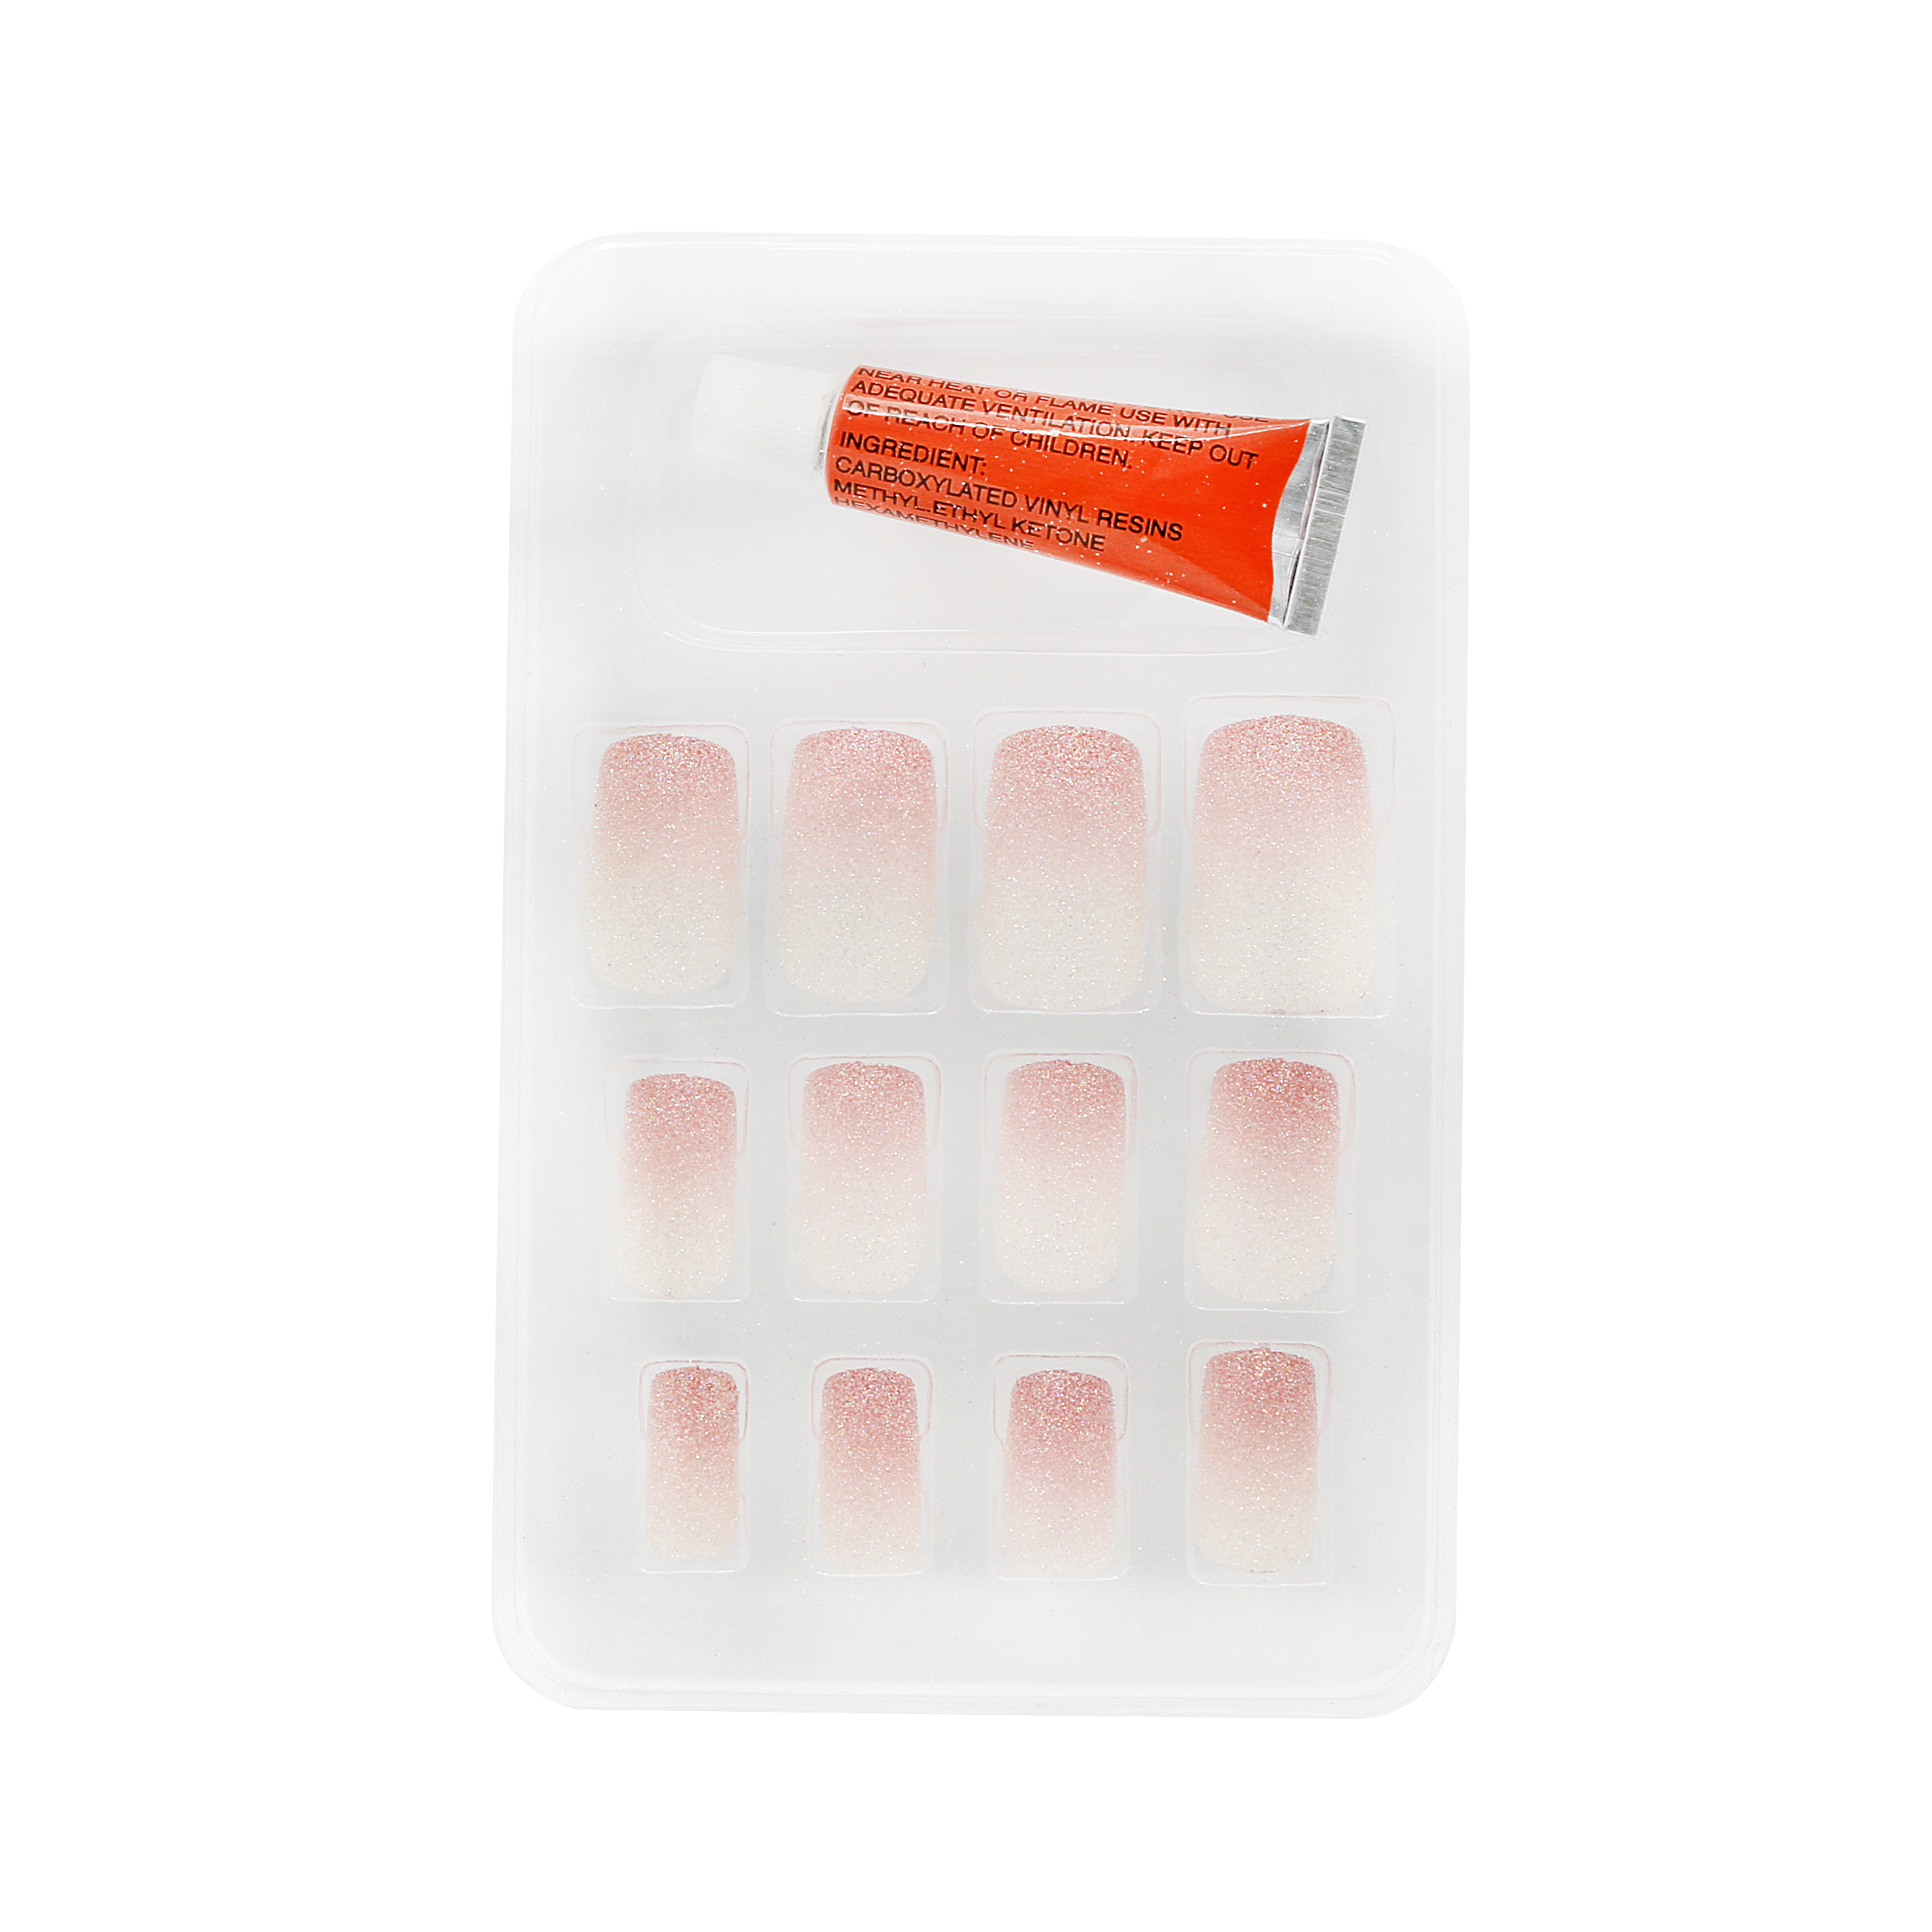
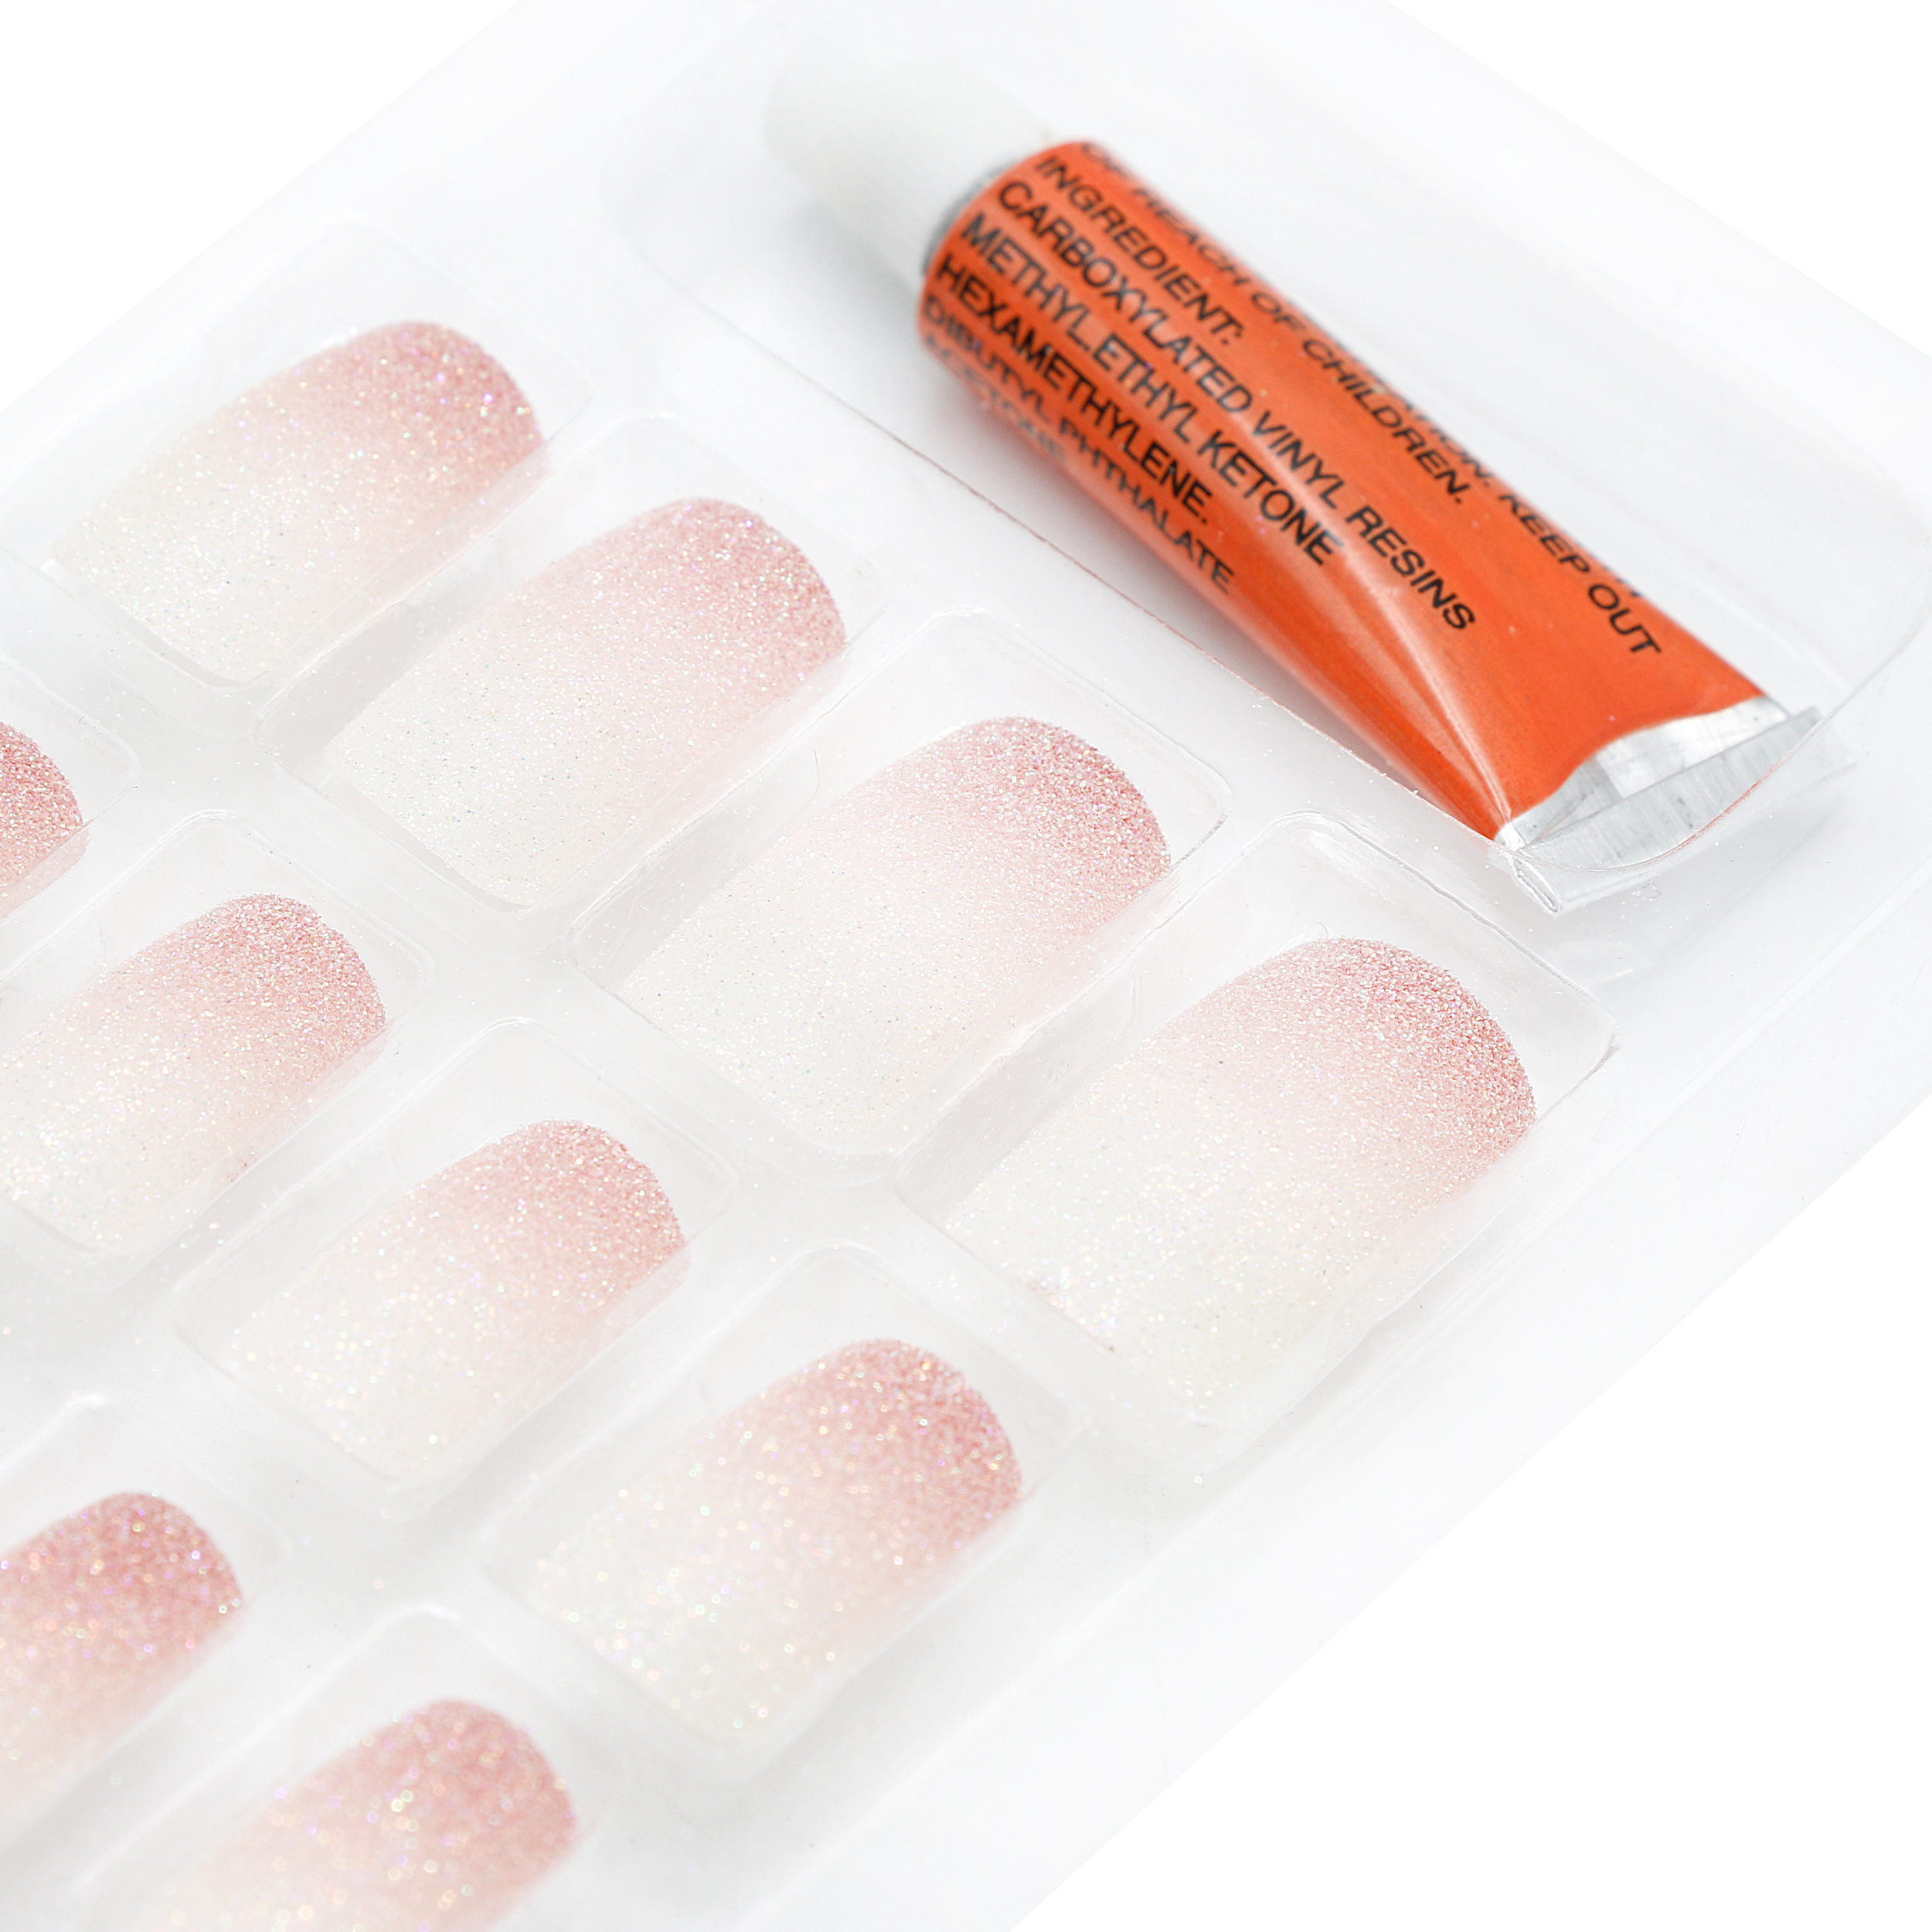
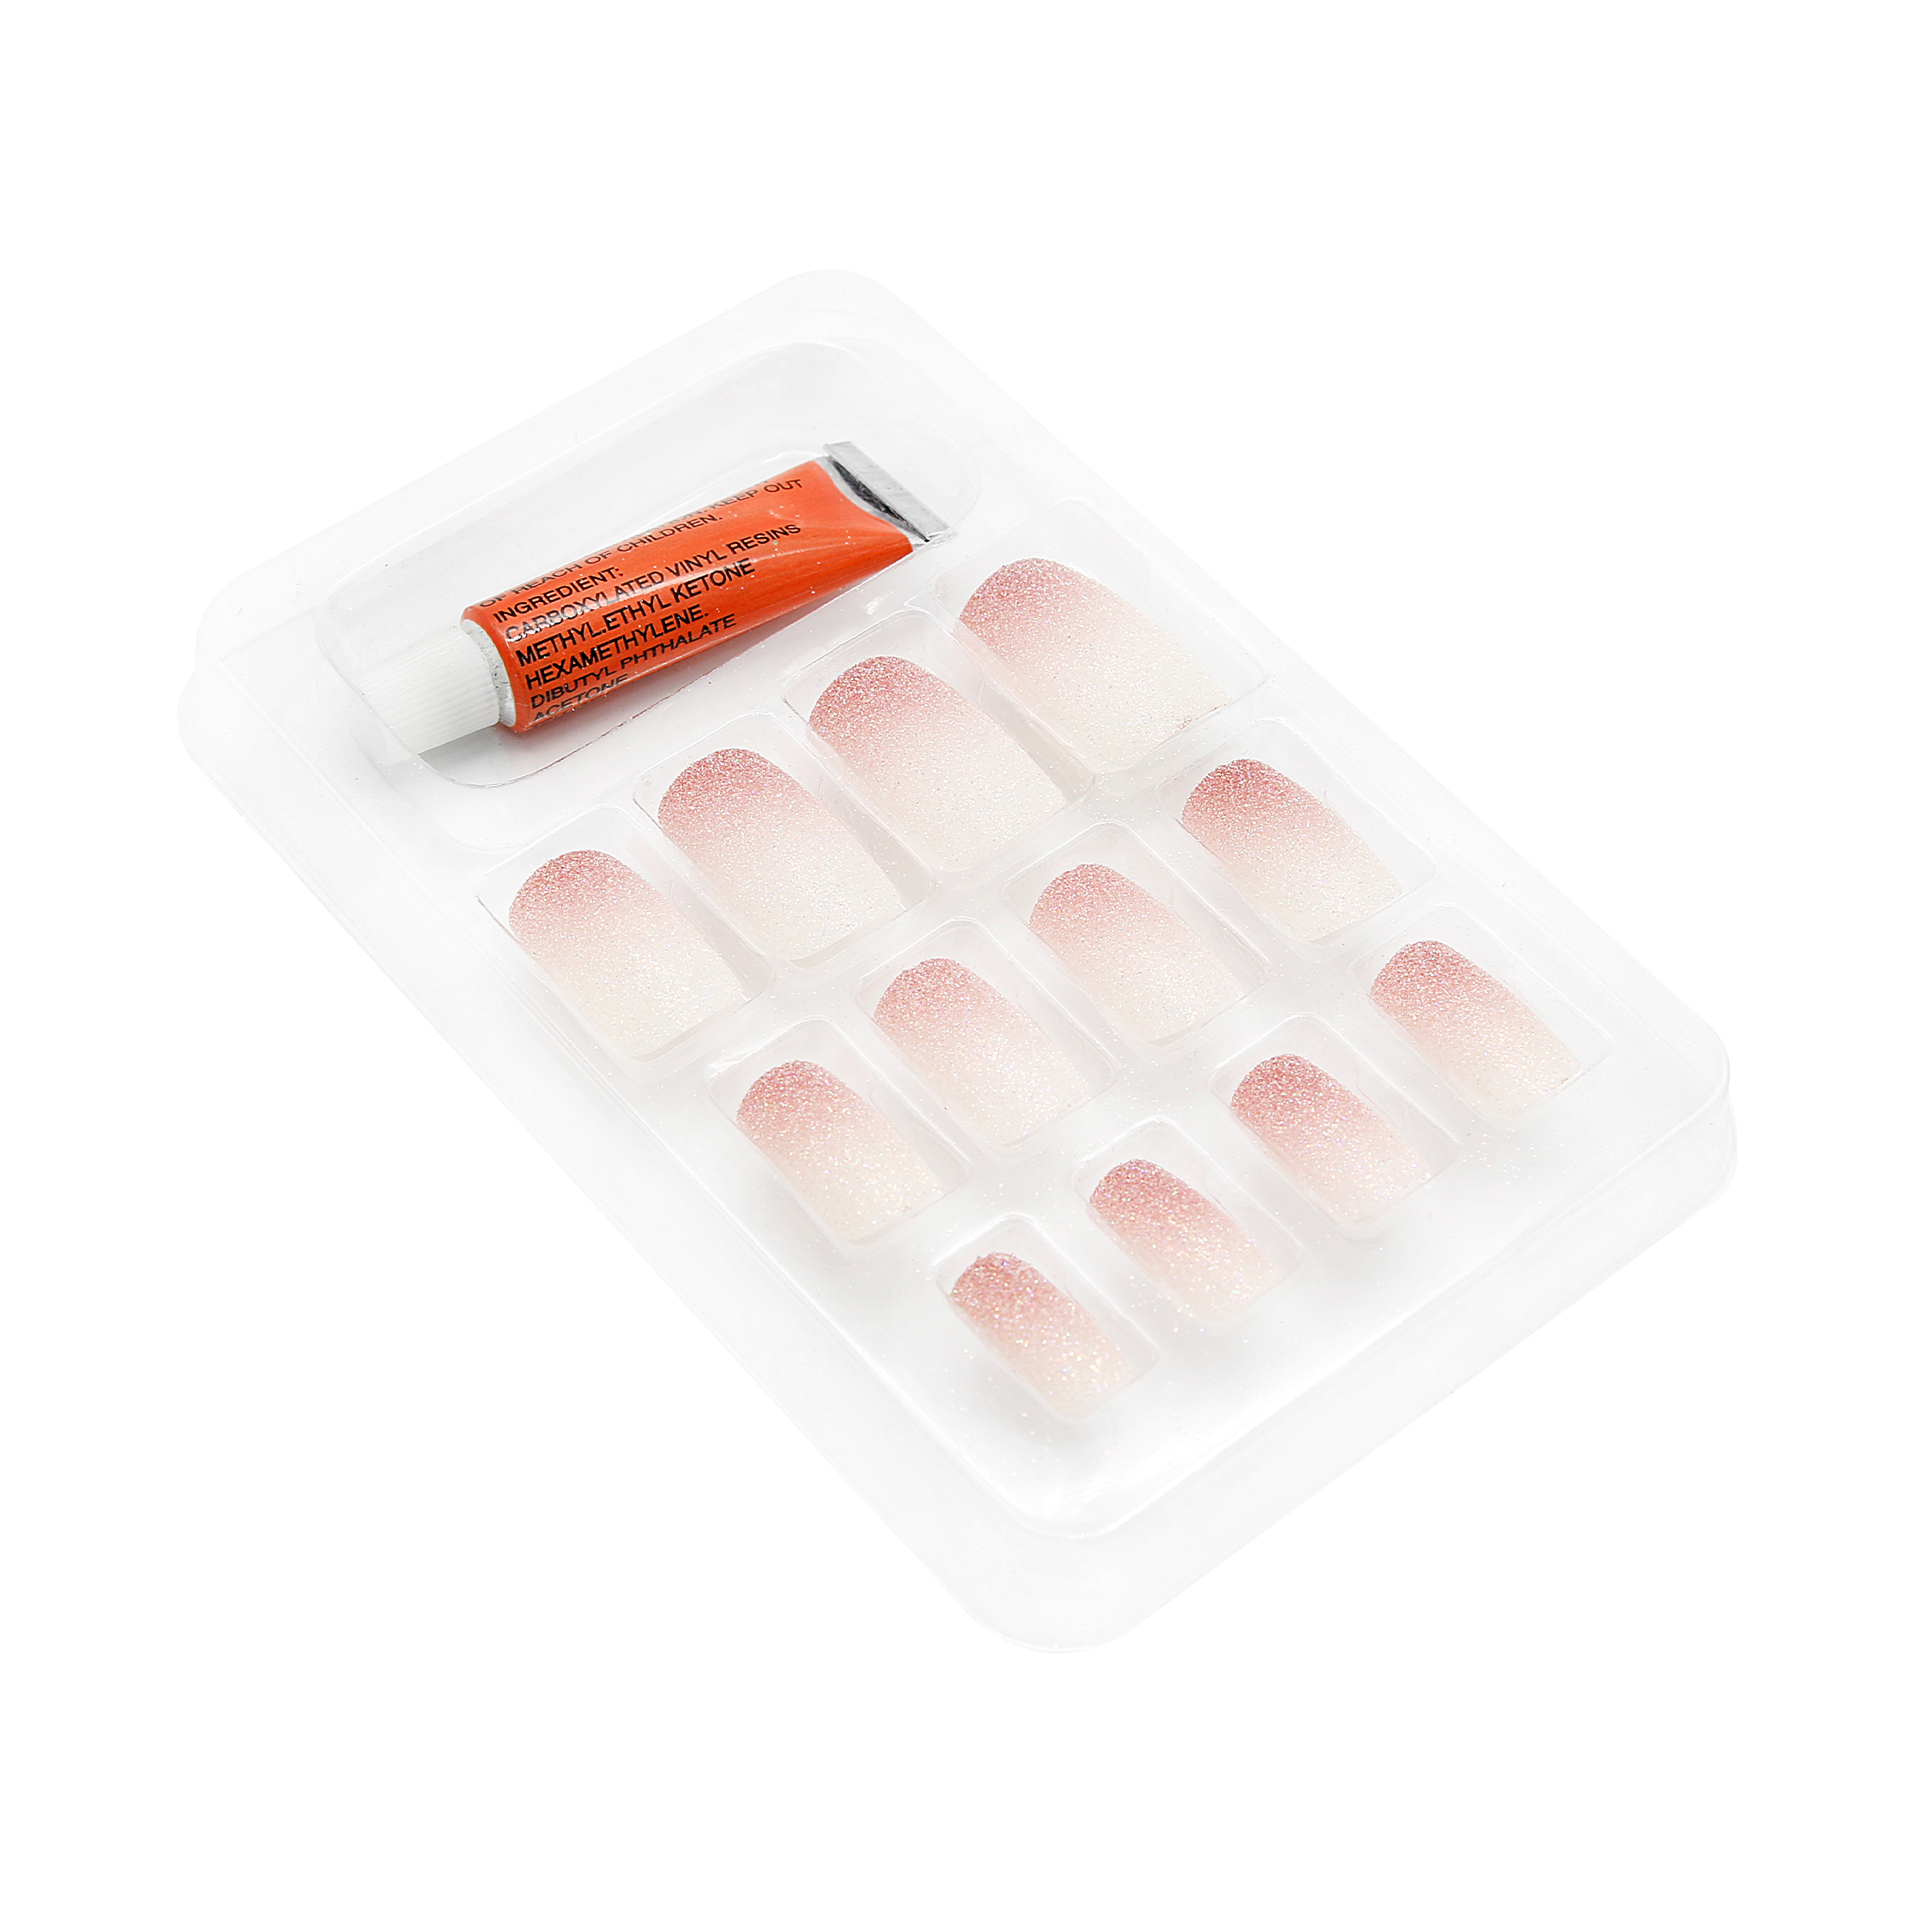
Nail extensions have become increasingly popular in recent years, and with good reason. They allow you to achieve a range of nail designs quickly and easily, and they look great! One of the most popular nail designs is the Ombre Nail. This is a style where each nail has a gradual transition from one color to another, creating a stunning gradient effect. If you're interested in trying this style out for yourself, here are some tips to help you get started.

1. Choose your colors carefully.

To achieve a perfect Ombre Nail, it's essential to pick the right colors. Usually, you'll need two or three shades to create the desired gradient effect. It's best to choose colors that are in the same color family, such as blues or pinks. You'll want to choose colors that blend well together, and don't clash.

2. Use the right tools.

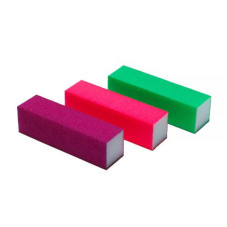
To create the perfect Ombre Nail, you'll need some specific tools. An Ombre brush is an excellent tool for creating the gradient effect, and a sponge is also useful for blending the colors together. You'll also need a base coat, top coat, and the nail polish colors you've chosen.

3. Begin with a base coat.

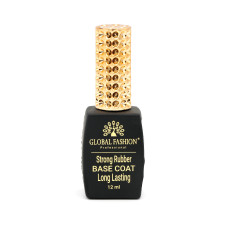
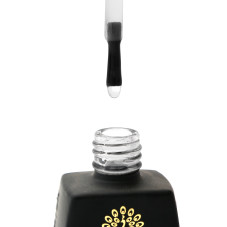
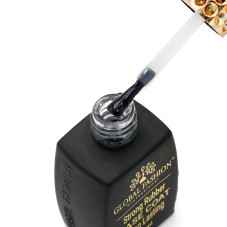
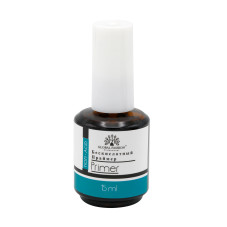
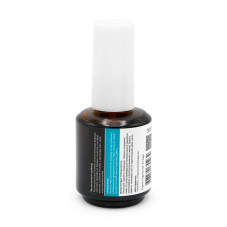
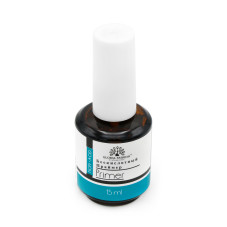
Before you apply any nail polish, you should always begin by applying a base coat. Not only does this help the polish adhere better, but it also protects the natural nail from discoloration. Allow the base coat to dry fully before moving on to the next step.

4. Apply your chosen colors.

Now it's time to apply your chosen colors. Begin by painting your nails with the lightest color you've chosen. You can apply two coats if necessary to achieve full coverage. Once the polish is dry, you'll want to apply a small amount of the second color to your Ombre brush, then gently blend the color onto your nail, working from the bottom up. Use the sponge to help blend the colors together.

5. Finish with a top coat.

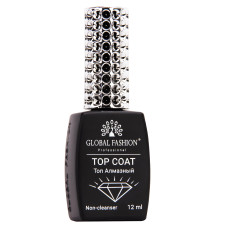
When you're happy with the gradient effect, it's time to finish with a top coat. A top coat helps to protect the nail polish, and it also adds shine, so your Ombre Nail design will look even more stunning. Allow the top coat to dry fully, and you're done!

In conclusion, Ombre Nails are a perfect choice for any occasion, and they're easy to do. Just remember to choose your colors carefully, use the right tools, and start with a base coat. With a little practice, you'll be able to create beautiful Ombre Nail designs that will turn heads!
